
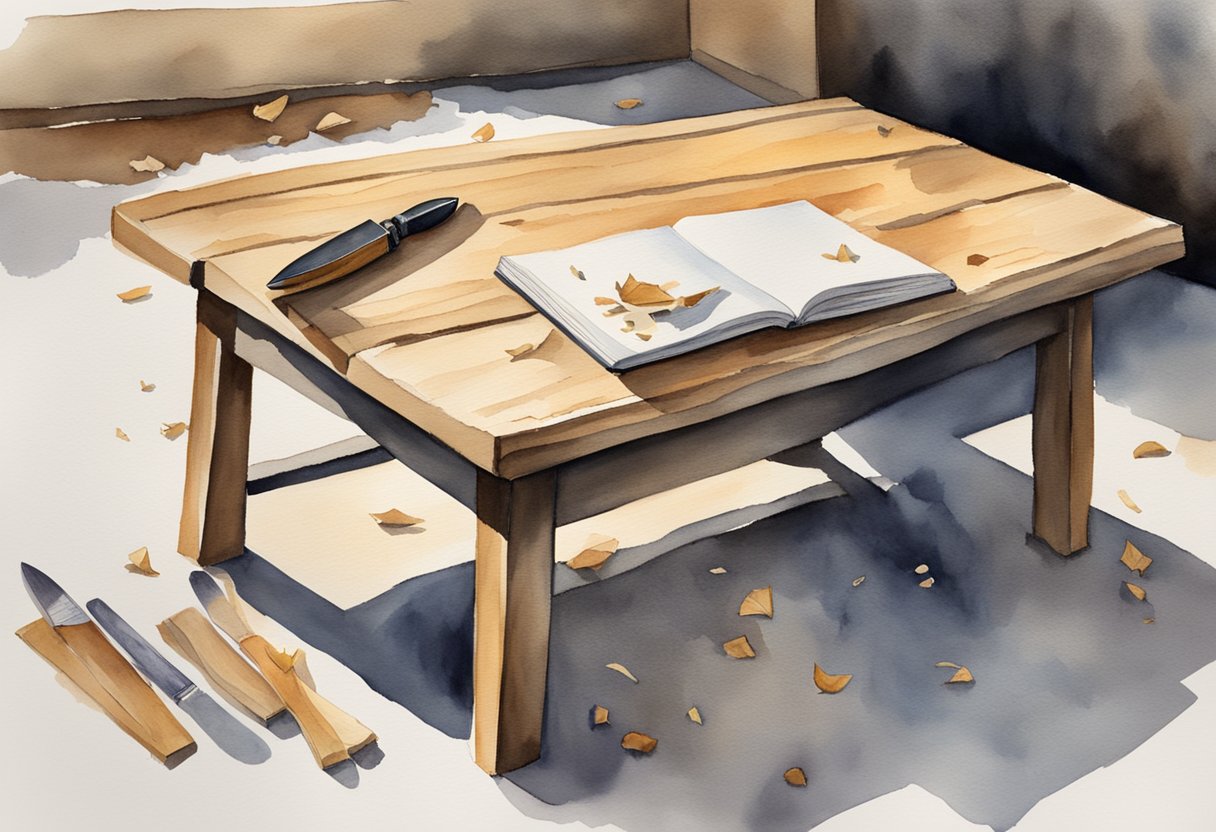
Beginner’s Guide to Whittling as a Hobby: Essential Tips and Techniques
Whittling is a timeless hobby that combines creativity, relaxation, and craftsmanship.
Whether you are aiming to carve intricate designs or simple figures, this activity offers a unique blend of artistic expression and meditative focus.
With the right tools and techniques, anyone can transform a simple piece of wood into a work of art.
Starting with the basics, choosing the right type of wood and tools is essential.
Softwoods like basswood and pine are perfect for beginners due to their ease of carving.
Once you have your materials, learning a few basic techniques will allow you to safely carve and create.
Safety is paramount, and knowing how to handle your tools correctly will ensure a rewarding experience.
By understanding how to make precise cuts and keep your tools sharp, you’ll be well on your way to crafting beautiful pieces while enjoying the calming nature of whittling.
Key Takeaways
- Choose beginner-friendly softwood.
- Learn basic techniques and safety.
- Use the right tools for easy carving.
Understanding Whittling
Whittling involves a variety of carving techniques to shape wood into desired forms.
You will learn about different styles of carving, such as chip and relief carving, while exploring the distinctions between whittling and wood carving.
Whittling Versus Wood Carving
Whittling and wood carving are related yet distinct crafts.
Whittling primarily involves using a simple carving knife to shape wood by removing small pieces. It’s often considered more spontaneous and requires limited tools, making it ideal for beginners.
In contrast, wood carving encompasses a broader range of techniques, including chip and relief carving, which often require specialized tools like chisels and gouges.
While wood carving can include both intricate and large-scale projects, whittling is typically associated with smaller, simpler objects like figurines and spoons.
Types of Whittling
Whittling encompasses several types, each offering unique challenges and opportunities for creativity.
Basic whittling involves simple cuts to create small items and is a great way to develop foundational skills.
As you gain proficiency, you might explore chip carving, a type that involves cutting small chips from the wood surface to form patterns.
For those interested in more complex designs, relief carving allows you to create detailed images by carving into the wood surface, giving it depth and dimension.
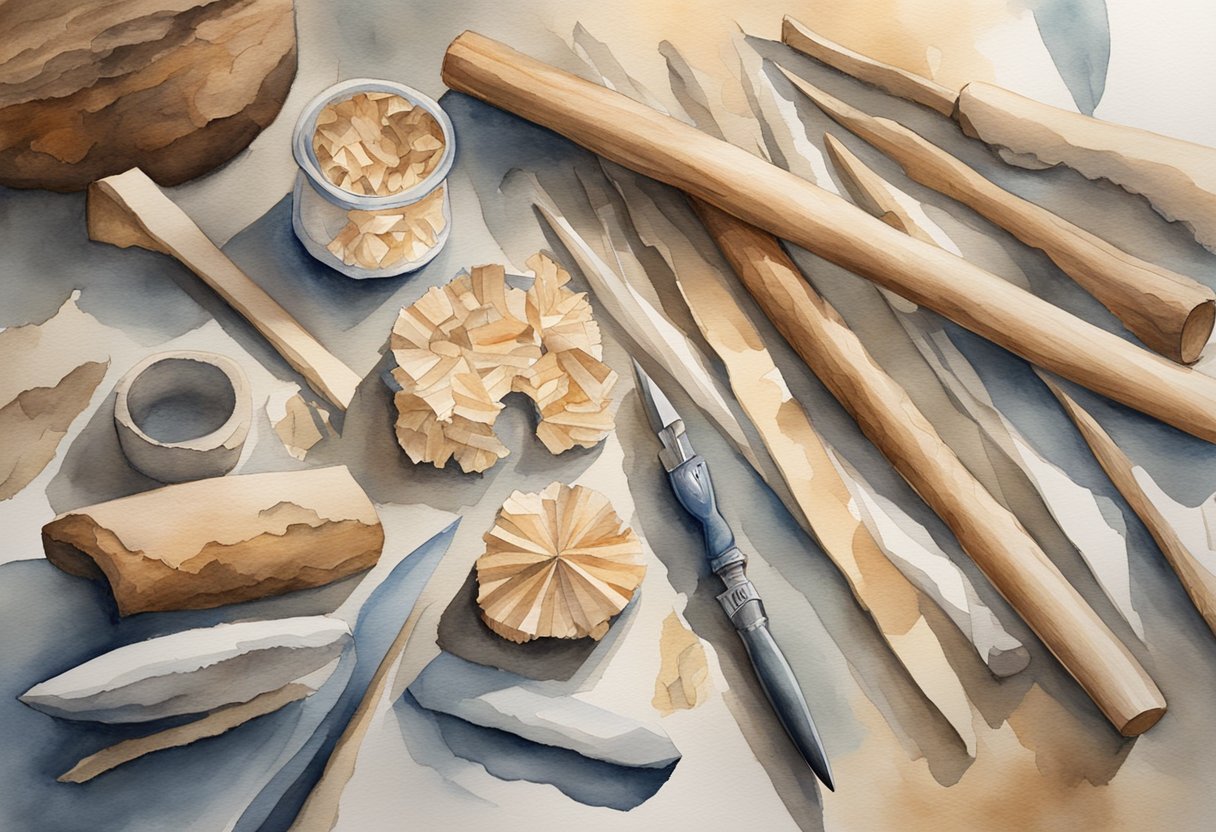
Choosing the Right Wood
When starting your whittling journey, selecting the appropriate wood makes a significant difference.
You’ll find that certain types of wood, especially softwoods, are easier to carve and more forgiving for beginners.
Softwoods for Beginners
Softwoods are typically less dense and easier to carve. They are ideal for beginners who are still developing their carving skills.
Basswood stands out as an excellent choice due to its soft texture and fine grain, which holds detail well while being easy on the knife. It’s widely regarded as the best wood for whittling for beginners.
Pine is another popular choice. It is relatively soft and easy to find, making it convenient for practice. However, it can contain knots and resin that might complicate carving.
Balsa wood, though not as common, provides an exceptionally soft carving experience. Its lightweight nature makes it suitable for small projects, but it may be too fragile for intricate details and larger carvings.
Characteristics of Good Whittling Wood
When selecting wood for your projects, look for pieces with a straight grain and uniform texture. This reduces the risk of splintering and allows for clean, smooth cuts.
Avoid wood with excessive knots or irregular growth patterns, as these can make carving difficult and unpredictable.
A good whittling wood should have a consistent density, helping you maintain control over your carving tool.
Hardwoods can be more challenging due to their density but offer more durability and detail in finished pieces. If you’re ready to experiment beyond softwoods, consider using small, straight-grained pieces.
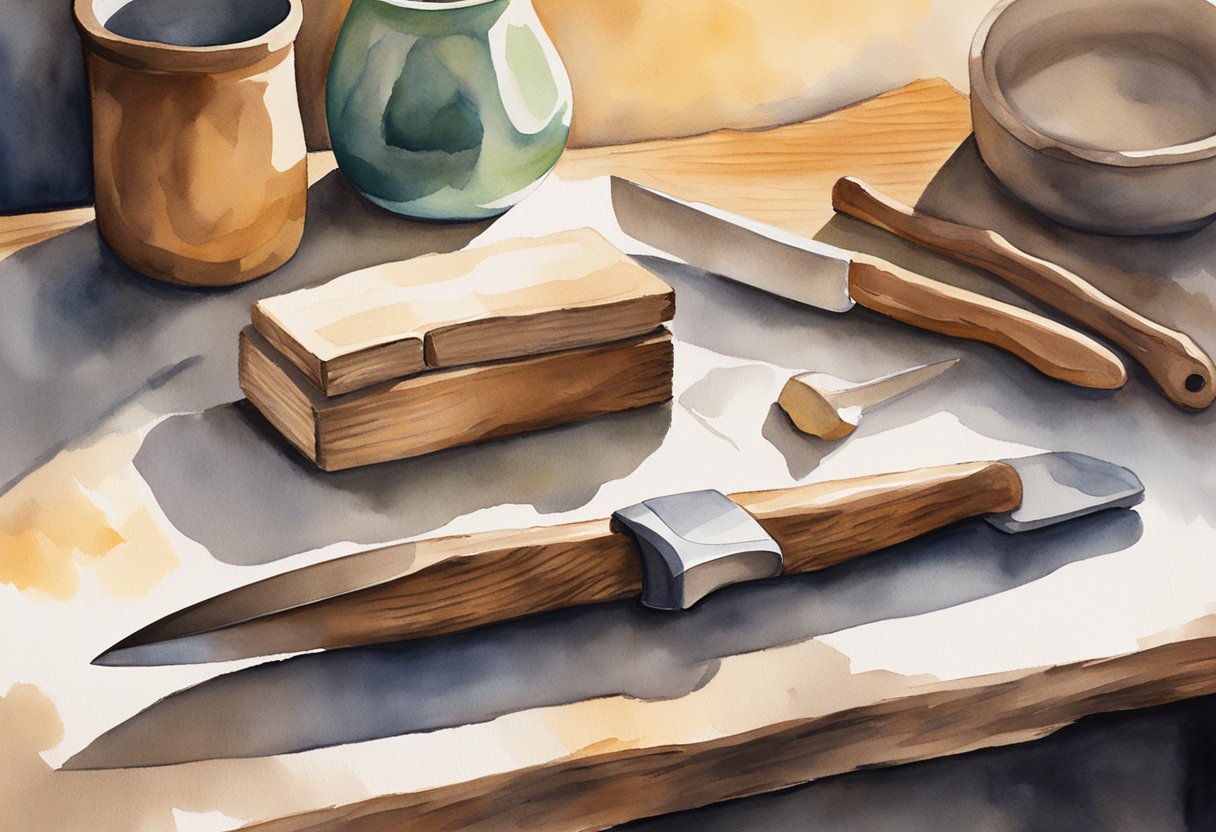
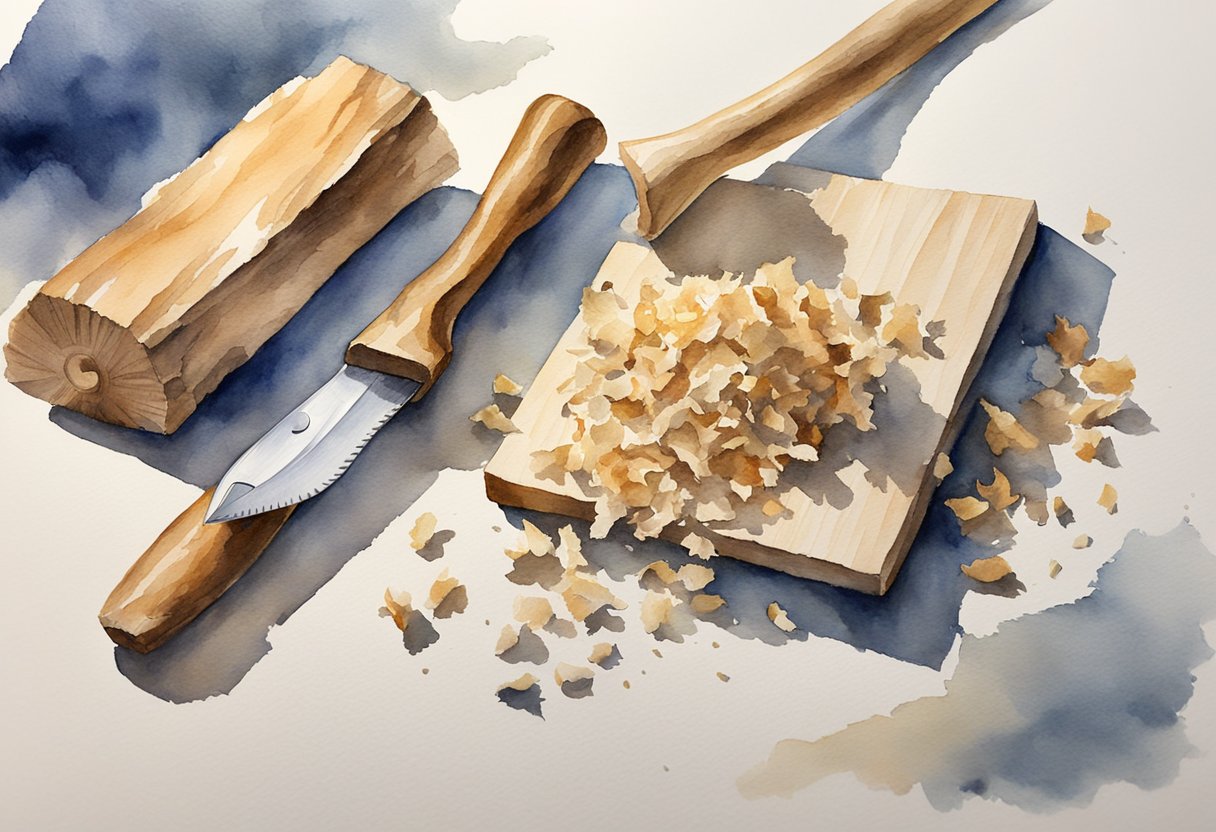
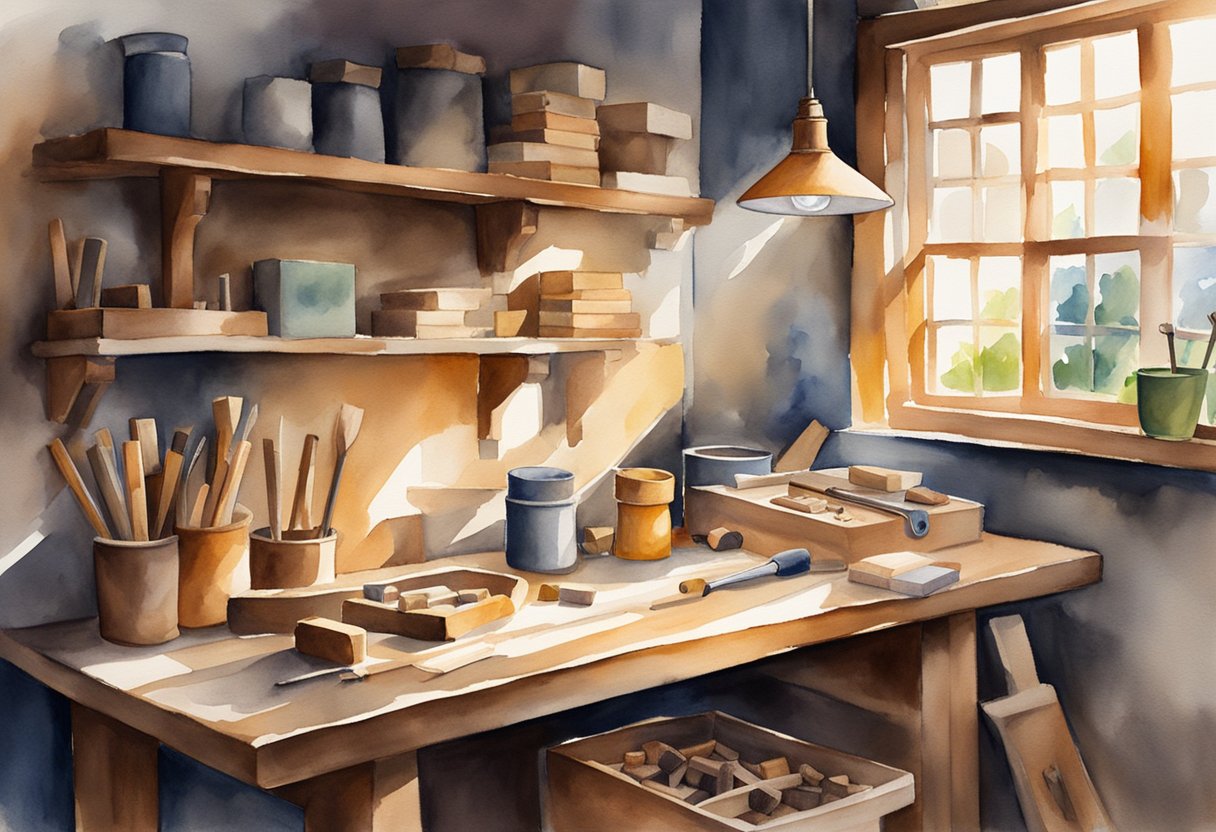
Essential Whittling Tools
To begin your whittling journey, you’ll need a selection of basic tools.
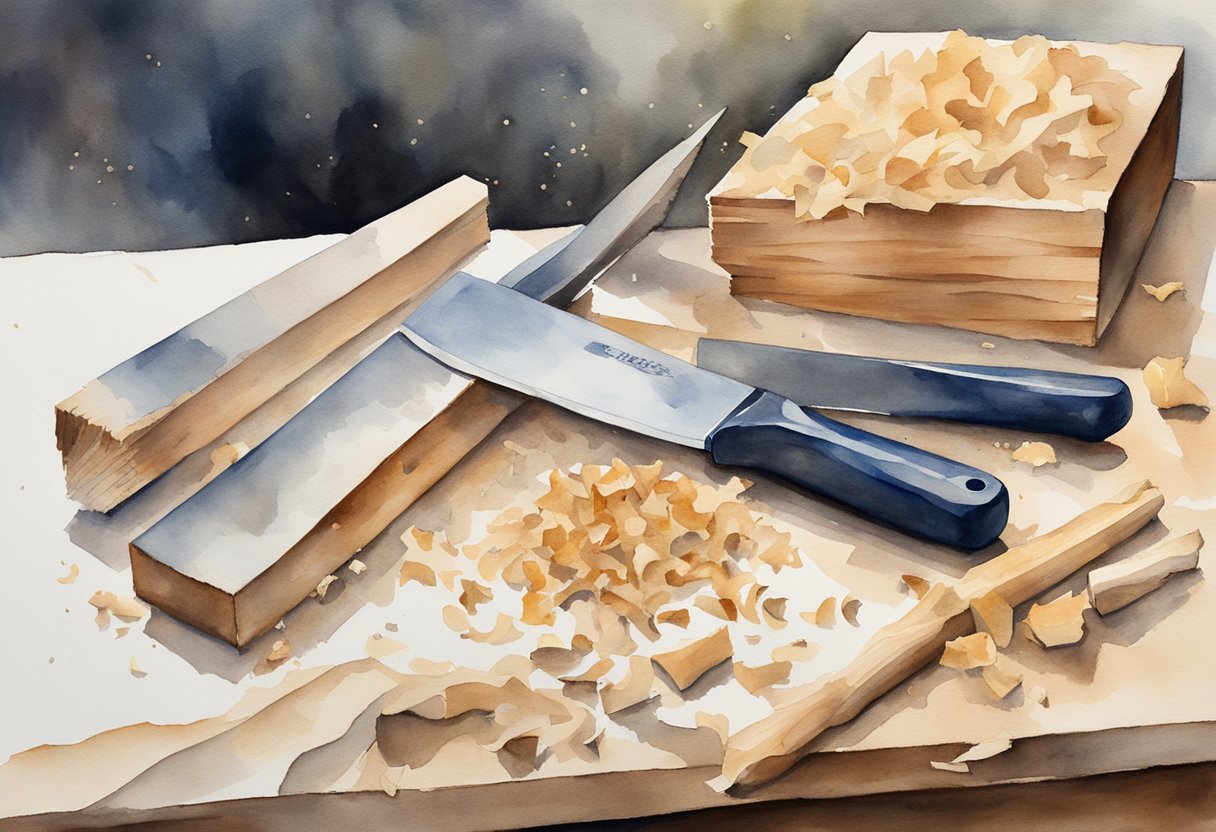
One of the most important is a high-quality whittling knife, which ensures clean and precise cuts.
Proper maintenance of these tools is crucial to keep them effective and safe for use.
Additionally, some accessories can enhance your whittling experience and help produce better results.
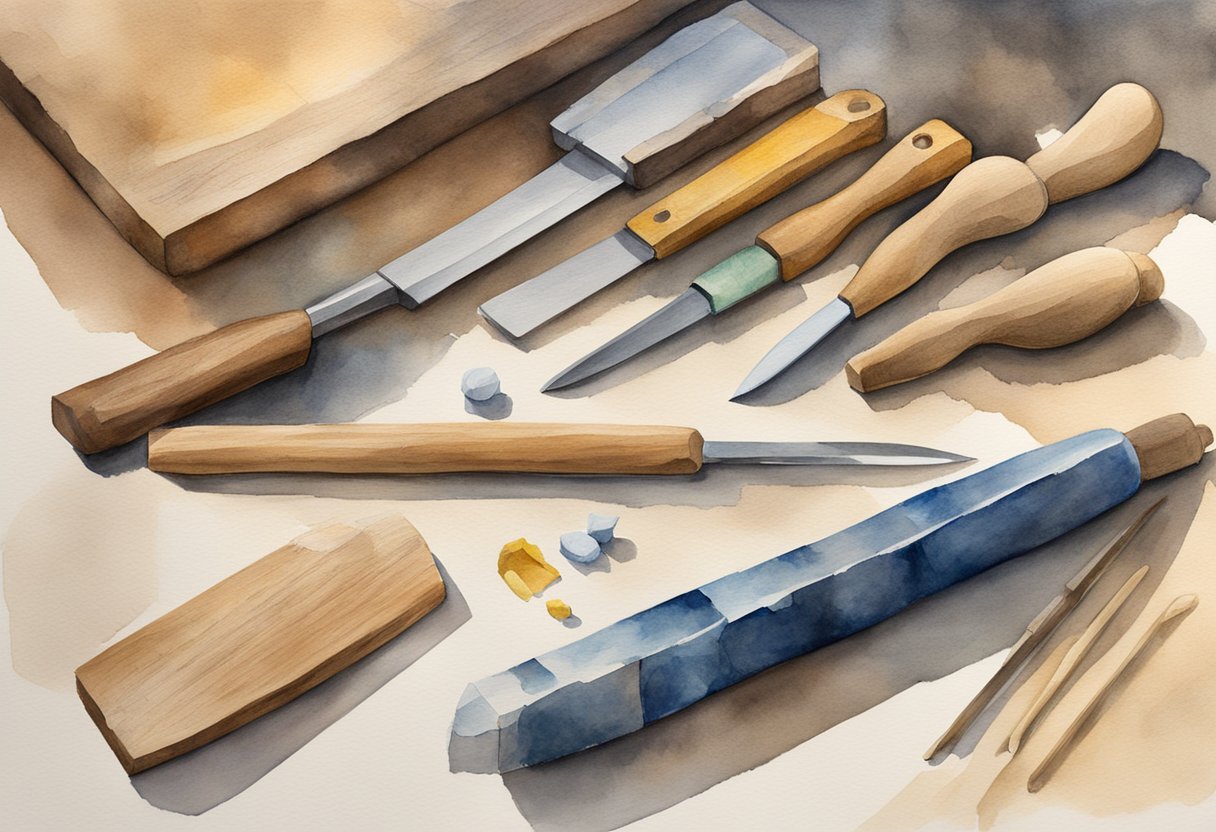
Selecting Whittling Knives
When choosing a whittling knife, consider factors like blade type and cutting angle.
A good starting point is the Mora 120, which offers durability and ease of use.
Look for blades designed for intricate cuts, typically made from quality steel.
Opt for knives with angles between 12 to 30 degrees for the best efficiency.
Pocket knives can also serve as versatile options. They are convenient and often come with multiple blades that cater to different cutting needs.
It’s essential to ensure the knife you select is both sharp and comfortable to hold, reducing the risk of accidents.
Maintaining Your Tools
Maintaining your tools enhances their longevity and performance.
Regular sharpening is vital; using sharpening stones helps keep your knives in optimal condition.
The correct technique involves holding the knife at a consistent angle while applying even pressure across the blade’s surface.
A leather strop is beneficial for refining edges and removing burrs. Strop your knife after sharpening to ensure a razor-sharp finish.
Additionally, oiling the blade can prevent rust and keep it slick for smoother cuts.
Store your tools in a dry place to prevent corrosion and prolong their lifespan.
Additional Whittling Accessories
Having the right accessories can improve your whittling experience significantly.
A protective glove ensures safety by reducing the risk of cuts during carving.
Opt for gloves that are cut-resistant but comfortable, offering both protection and dexterity.
A workbench or cutting board provides a stable surface for safer and more precise carving.
Consider using sandpaper in various grits to smooth out your finished pieces.
A carrying case for your tools keeps them organized and readily accessible, making it easier to transport your hobby on the go.
Whittling Safety
Ensuring safety during whittling is vital. Using a sharp knife correctly and wearing the right protective gear can prevent injuries and make your experience enjoyable.
Handling Knives Carefully
When using a sharp knife, it is essential to maintain control.
Always carve away from your body, keeping your hands clear of the blade’s path.
Holding a knife properly with a firm grip reduces the risk of slipping.
Performing small, controlled cuts helps to maintain precision and minimize accidents.
Practice techniques like the paring cut by holding the wood securely in your off hand and guiding the blade carefully.
A sharp knife is safer than a dull one because it requires less force, decreasing the chance of slipping.
Protective Gear
Wearing protective gear such as cut-resistant gloves can significantly enhance your safety.
Materials like Kevlar or specialized carving gloves provide a reliable barrier against accidental cuts. These gloves maintain dexterity while protecting your hands effectively.
A thumb guard is another useful safety measure. By providing additional protection, it shields your thumb from accidental slips during carving.
Basic Techniques and Cuts

Starting with basic whittling techniques will set a solid foundation for your woodworking journey.
These techniques involve specific cuts and strokes that are essential for creating detailed and quality pieces.
Understanding how to properly execute each type of cut will help you develop precision and control.
Fundamental Whittling Strokes
When you begin, it’s essential to master a few key whittling strokes.
The push cut is a fundamental stroke used to remove thin layers of wood.
Hold the knife securely and push it away from your body. This cut helps in shaping and smoothing larger areas.
Equally important is the pull cut. This involves pulling the knife towards you while keeping your thumb on the handle far from the blade for safety.
It’s useful for making detailed cuts and refining small areas of your work.
Common Beginner Cuts
Among the basic whittling cuts, the stop cut is essential.
It helps prevent the rest of your work from splitting by creating a stopping point in the wood.
Another important technique is the V-cut. It involves making two cuts that meet at an angle, creating a V-shaped groove.
This cut is excellent for adding texture and detail.
Sharpening Your Tools
To ensure effective whittling, keeping your tools sharp is essential.
A well-maintained knife not only produces cleaner cuts but also enhances safety by reducing the effort needed to carve.
Explore how to maintain that razor-sharp edge below.
Importance of a Sharp Knife
A sharp knife significantly enhances your whittling experience.
First, it provides smoother, more precise cuts.
With a keen edge, the reduction in the force required results in less fatigue and potential for accidents.
This is particularly important for beginners who might struggle with control.
Safety is also a crucial aspect. A sharp blade reduces the need for excessive force, lowering the risk of slipping.
Mishaps are more frequent with dull tools.
Additionally, maintaining sharpness allows you to preserve the quality of your workpiece, avoiding unnecessary tearing or splintering.
Using Sharpening Tools
Sharpening stones and a leather strop are essential tools for maintaining your knife’s edge.
Sharpening stones are available in various grits.
Begin with a coarse stone for initial honing and switch to finer grits for a polished finish.
Consistency in angle and pressure ensures an even edge.
After using stones, apply a leather strop to refine the blade further, removing any leftover burrs.
This step enhances the sharpness and extends the time between full sharpening sessions.
For optimal results, hold the knife at a consistent angle to avoid rounding the edge, which can diminish cutting efficiency.
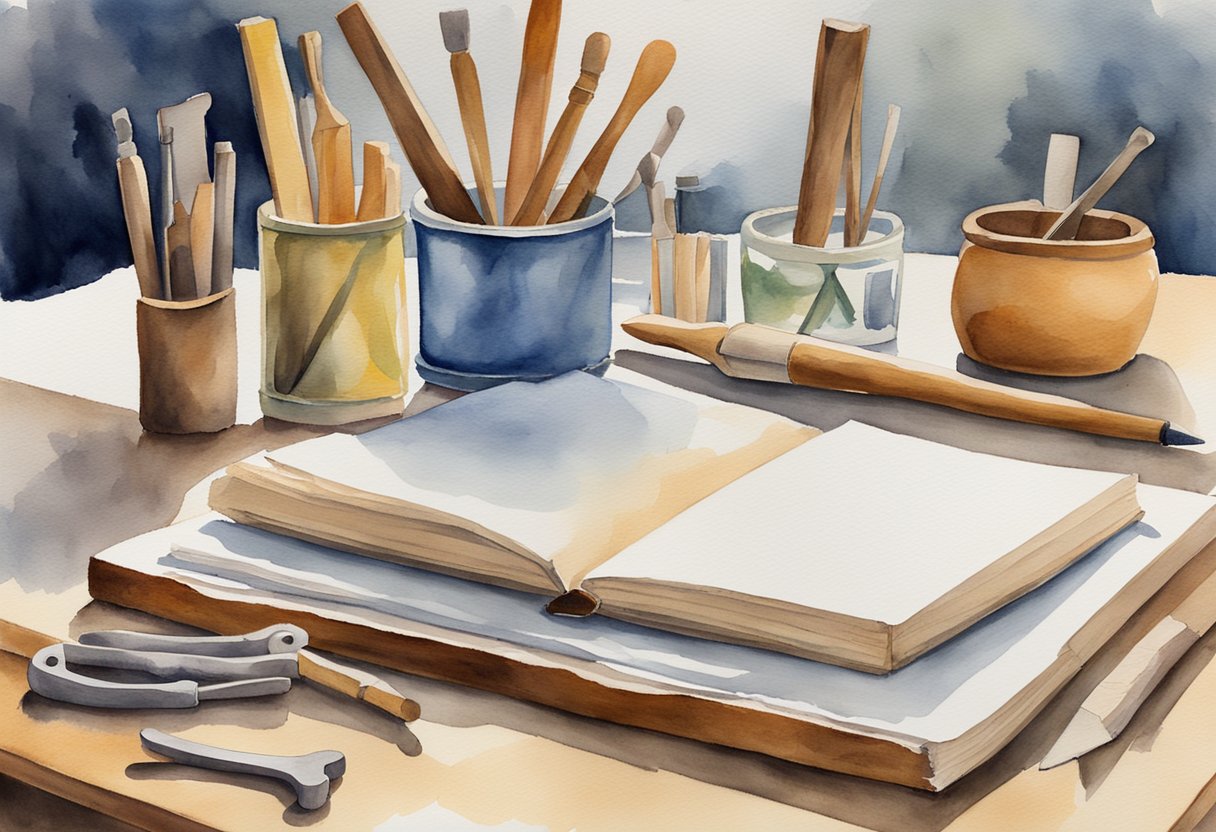
Starting Your First Project
Embarking on your whittling journey begins with selecting simple projects that align with your skill level.
It’s also essential to become familiar with reading patterns and templates to guide your carving techniques accurately.
Simple Projects for Beginners
Choose projects that are straightforward and rewarding.
A popular choice is creating a small bear, which can be carved from a block of basswood.
This type of wood is soft and easy to work with, making it ideal for beginners.
Another introductory project is a wooden spoon, which allows you to practice basic whittling cuts.
The process of crafting these items helps to build confidence and develop essential skills.
Basic Projects List:
- Bear Carving: A simple animal figure.
- Wooden Spoon: Practical and easy to start.
- Small Figures: Basic shapes to enhance dexterity.
By focusing on uncomplicated projects, you can enjoy the creative process without feeling overwhelmed.
Reading Patterns and Templates
Understanding patterns and templates is crucial for successful projects.
Patterns provide a visual guide, helping you visualize the final product.
Start by selecting templates that match your skill level, like those with clear and straightforward designs.
As you become familiar with these guides, you’ll find yourself more adept at following and interpreting designs.
Key Tips:
- Choose Simple Patterns: Begin with clear, uncomplicated designs.
- Practice Pattern Reading: Develop this skill to avoid mistakes.
- Use Templates Properly: Align your cuts with guide marks to improve accuracy.
Becoming proficient at reading and using these resources is essential for honing your craft.
It ensures consistency in your work and boosts your confidence as you advance in this rewarding hobby.
Advanced Whittling Techniques
In advanced whittling, you will explore more challenging cuts and start incorporating intricate designs.
Mastering Difficult Cuts
When attempting more difficult cuts, it’s crucial to maintain control and precision.
You will need to hone your skills with stop cuts and vee cuts, which are essential for creating sharp edges and detailed patterns.
Chip carving is a technique that involves removing small chips from the wood, creating geometric patterns or intricate designs.
To excel, you must practice making precise, shallow cuts at consistent angles.
Using a sharp, well-maintained blade and a stable work surface can greatly enhance your accuracy and confidence.
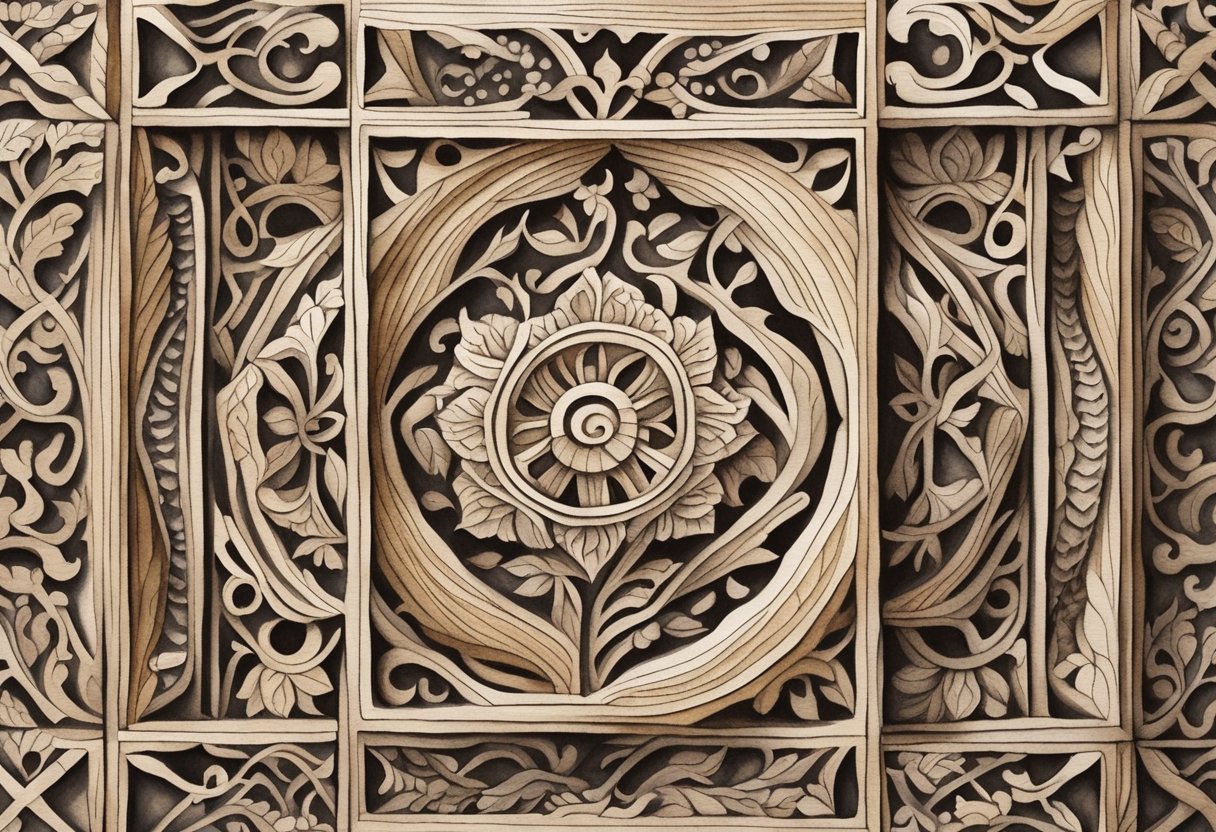
Incorporating Design and Detail
Incorporate design elements into your work by focusing on relief carving, which adds depth to your projects.
This technique involves carving figures or patterns that stand out from the background, giving a three-dimensional effect.
Understanding the grain of the wood is essential, as cutting with the grain allows for smoother finishes and less resistance.
Accent your designs with textures, using simple tools like gouges or chisels to add fine details.
Patience and careful planning are vital, as this process requires both skill and creativity to successfully bring your vision to life.
Finishing Your Whittling Project
Successfully completing a whittling project involves giving it a polished look through careful sanding and applying the right finishes. These steps enhance the longevity and appearance of your creation.
Sanding and Smoothing
To achieve a refined surface, start with coarse sandpaper, around 80 to 120 grit, to eliminate rough spots.
Gradually move to finer grits of 220 or higher to smooth out the wood thoroughly.
This progression ensures that all imperfections are vanished, leaving a smooth texture.
If dealing with intricate designs, consider small sanding blocks or even specialized tools for detailed areas.
Pay attention to the direction of the wood grain; sanding along the grain reduces scratches and gouges.
Soft woods like basswood may require less aggressive sanding compared to harder ones.
Regular inspection during sanding helps ensure evenness and quality.
Applying Finishes and Treatments
Finish your project by applying a wood finish to protect and enhance its appearance.
Natural oils such as linseed or mineral oil are excellent for penetrating the wood and highlighting its grain.
For added protection, consider a coat of shellac or lacquer which provides a durable protective layer.
Choose a finish based on the wood type and the desired outcome.
For instance, softer woods might benefit from oils that penetrate deeply, whereas harder woods like oak might pair well with varnishes.
Prior to application, wipe the piece with a clean, lint-free cloth to remove debris.
Layer finishes if needed, allowing each coat to dry thoroughly before applying the next. This ensures a smooth, lasting finish that enhances the beauty of your whittled piece.
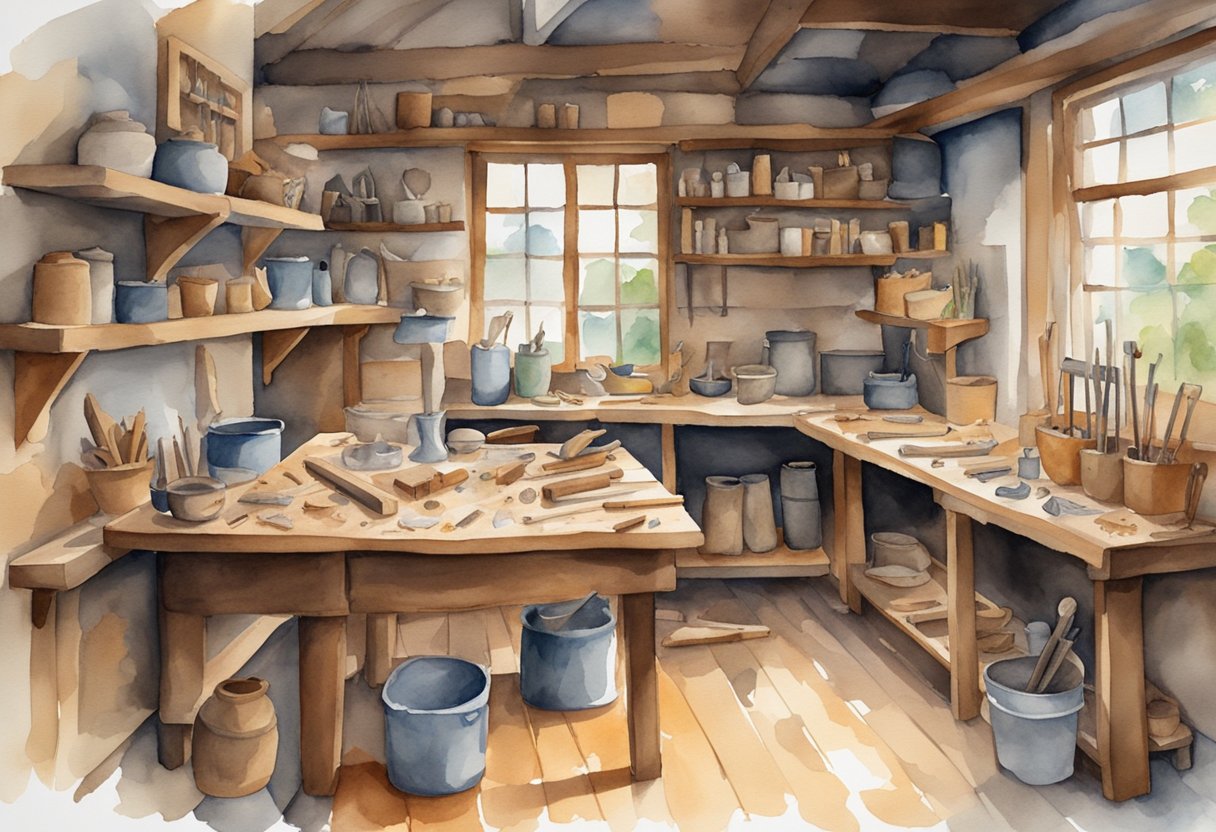
Joining the Whittling Community
Engaging with others who share your interest in whittling can greatly enhance your experience and skill level. Learning from experienced hobbyists and sharing your own progress can provide valuable insights and motivation.
Forums and Local Groups
Finding forums and local groups dedicated to whittling is a great way to connect with fellow enthusiasts.
Online platforms like Reddit’s whittling community provide a space to discuss techniques, share projects, and receive feedback.
Local woodworking clubs and craft stores might also host events or meetings.
Attending these allows you to meet people face-to-face, which can be invaluable for exchanging tips in real time.
Many of these groups offer workshops or classes too, enriching your hobby with structured learning.
Sharing Your Work Online
Social media is a powerful tool for showcasing your whittling projects.
Platforms like Instagram and Facebook have dedicated groups and hashtags where you can post photos of your creations.
This can open up conversations with others who have similar interests.
Creating an online portfolio is another option. A blog or a website can serve as a digital gallery of your work, allowing you to track your progress and connect with fellow woodworkers.
Engaging with online communities can also expose you to diverse styles and methods.
Frequently Asked Questions
As a beginner in whittling, you’re bound to have questions about which tools to start with, the best types of wood, and how to maintain your equipment. This section answers some of the most common queries to help you get started with confidence.
What are the essential tools needed for a beginner to start whittling?
To get started with whittling, you’ll need a sharp whittling knife, a carving glove for protection, and a thumb guard. These basic tools ensure safety and efficiency as you practice your skills.
What type of wood is best for whittling as a beginner?
Softwoods such as basswood, balsa, and cedar are excellent for beginners.
They are easy to carve and allow you to refine your technique.
These woods are widely recommended due to their manageable grain and softness.
How can I safely practice the basic whittling cuts?
Practicing the basic cuts involves using the pull stroke and the push stroke with care.
Always make cuts away from your body and wear a carving glove.
Regular practice improves your technique and safety with these fundamental cuts.
What are some simple whittling projects suitable for beginners?
Start with basic projects like creating small figurines or spoons.
These projects help you develop your carving skills and boost confidence.
As you progress, you can tackle more intricate designs.
How do I maintain and sharpen my whittling knife?
Regularly sharpen your whittling knife using a sharpening stone or strop.
Keeping the blade sharp ensures smooth, effortless cuts and reduces the risk of injury from slipping.
Oil your knife to prevent rust and maintain its longevity.
Where can I find free whittling patterns suitable for beginners?
Explore online resources and forums dedicated to whittling for free patterns.
Whittling communities often share templates and designs, making it easy to find beginner-friendly patterns to try.
Websites like Whittling for Kids and Beginners offer inspiration and guidance.