
Beginner’s Guide to Breadmaking as a Hobby: Mastering the Basics
Embarking on the journey of breadmaking as a hobby can be both rewarding and therapeutic. With the simple combination of flour, water, yeast, and salt, you have the foundation to create an endless variety of breads right in your own kitchen.
Whether you’re drawn to the time-honored craft by the allure of fresh, homemade loaves or the desire to understand the science behind the perfect rise, breadmaking invites you to explore a blend of art and precision.
As with any new undertaking, the key to mastering breadmaking is to start with the basics. Familiarizing yourself with essential bread-making terms and the function of each ingredient will lay the groundwork for your baking adventures. Understanding your oven’s quirks and ensuring accurate temperature settings is crucial for consistent results. As you knead your dough and watch it transform under the warmth of your hands, you’ll begin to appreciate the nuances of this culinary art.
Diving into breadmaking as a hobby doesn’t require specialized equipment—you can often use tools already available in your kitchen. Additionally, experimenting with no-knead bread recipes allows for a more approachable entry point into the world of baking, especially if you’re tight on time. Regardless of the path you choose within the realm of breadmaking, each loaf you bake will bring a sense of accomplishment and perhaps, a delicious new hobby to your repertoire.
Understanding the Basics of Bread
Embarking on the journey of bread making as a hobby begins with a fundamental grasp of what bread is and the key components that constitute it. Your ability to create delicious bread will stem from this core understanding.
Types of Bread
White Bread: Simple and classic, made predominantly with white flour, yeast, water, and salt.
Whole Wheat Bread: Utilizes whole wheat flour, offering a denser texture and richer flavors.
Multigrain Bread: Includes a variety of grains and seeds, providing a complex taste and texture.
Sourdough: A unique bread that uses a natural starter of flour and water, allowing wild yeast to ferment and give its signature tang.
Each type of bread offers a distinctive eating experience, dictated by the ingredients used and the method of preparation.
Bread Ingredients
- Flour: The foundation. Bread flour is high in gluten, essential for structure and chewiness.
- Yeast: A microscopic fungus that causes dough to rise by producing carbon dioxide.
- Water: Hydrates the flour; the quantity influences dough consistency.
- Salt: Enhances flavor and regulates yeast activity.
Sourdough is a leavening agent alternative to commercial yeast, developed from a culture of wild yeast and bacteria.
| Ingredient | Purpose | Common Types |
|---|---|---|
| Flour | Structure and volume | White, Whole Wheat |
| Yeast | Leavening and flavor | Active Dry, Instant |
| Water | Dough formation and texture | Tap, Bottled |
| Salt | Flavor and fermentation | Sea Salt, Kosher Salt |
By mastering these ingredients and their interactions, you unlock the gateway to crafting an array of bread types, each with its own character and appeal.
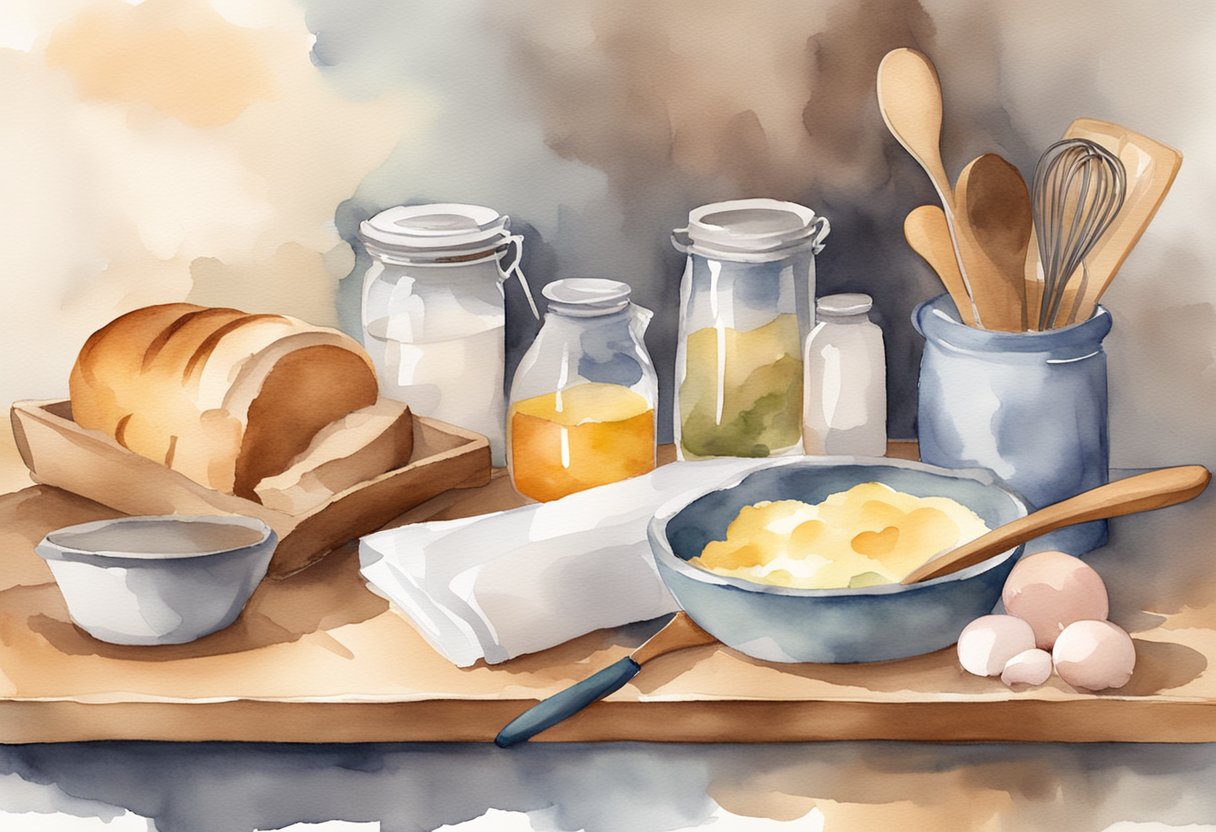
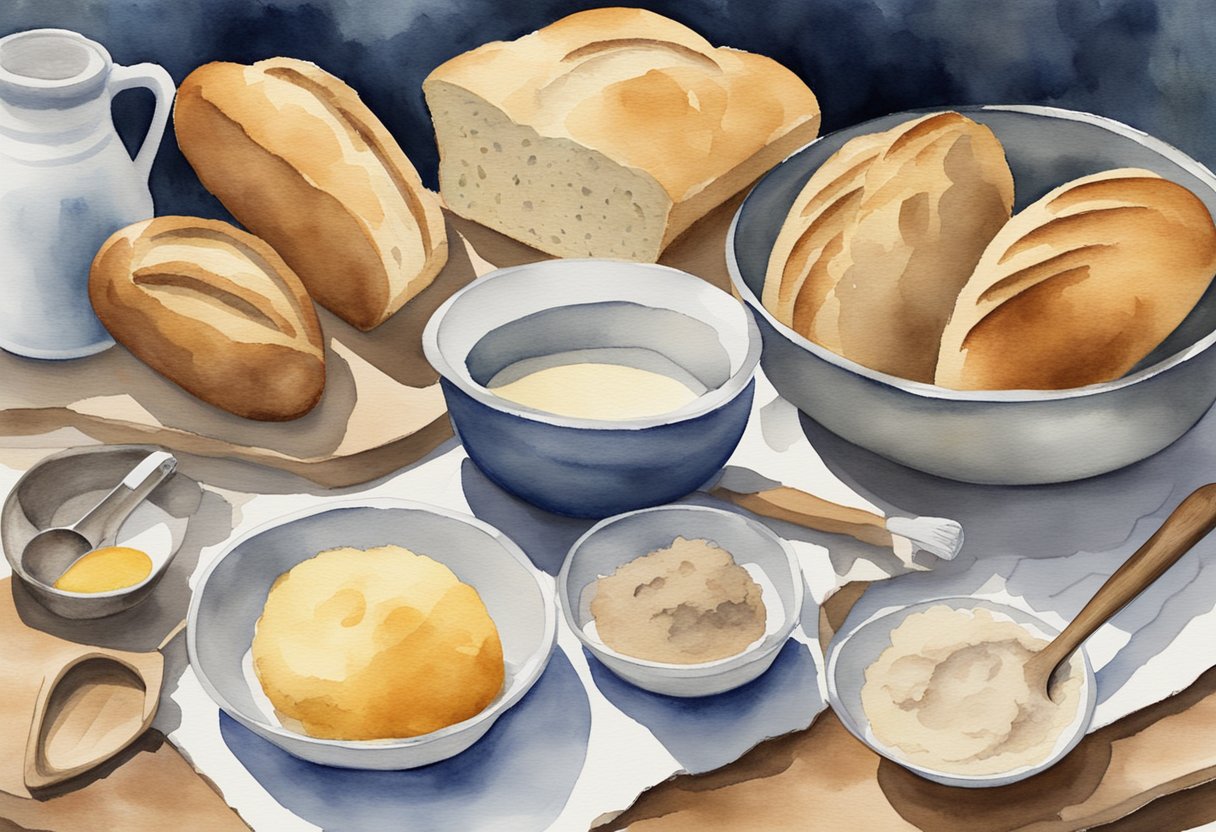
Preparation Essentials
Before you begin crafting your homemade bread, it is vital to ensure that you have all the necessary tools and knowledge on how to measure your ingredients with precision. This foundational step lays the groundwork for your success in breadmaking.
Gathering Your Tools
To embark on your breadmaking journey, procure the essential tools. A reliable scale is indispensable for accuracy; it’s a cornerstone for breadmaking as it ensures the consistency of your bread. Invest in a digital food scale which often measures in grams, providing the precision that measuring cups cannot.
In addition to a scale, you will need a sturdy mixer. If you’re kneading by hand, a robust mixing bowl is key. For those preferring mechanical mixing, a stand mixer with a dough hook attachment can save time and effort. A Dutch oven or combo cooker can be beneficial for baking, as they replicate the environment of a professional bread oven, leading to superior crust and rise.
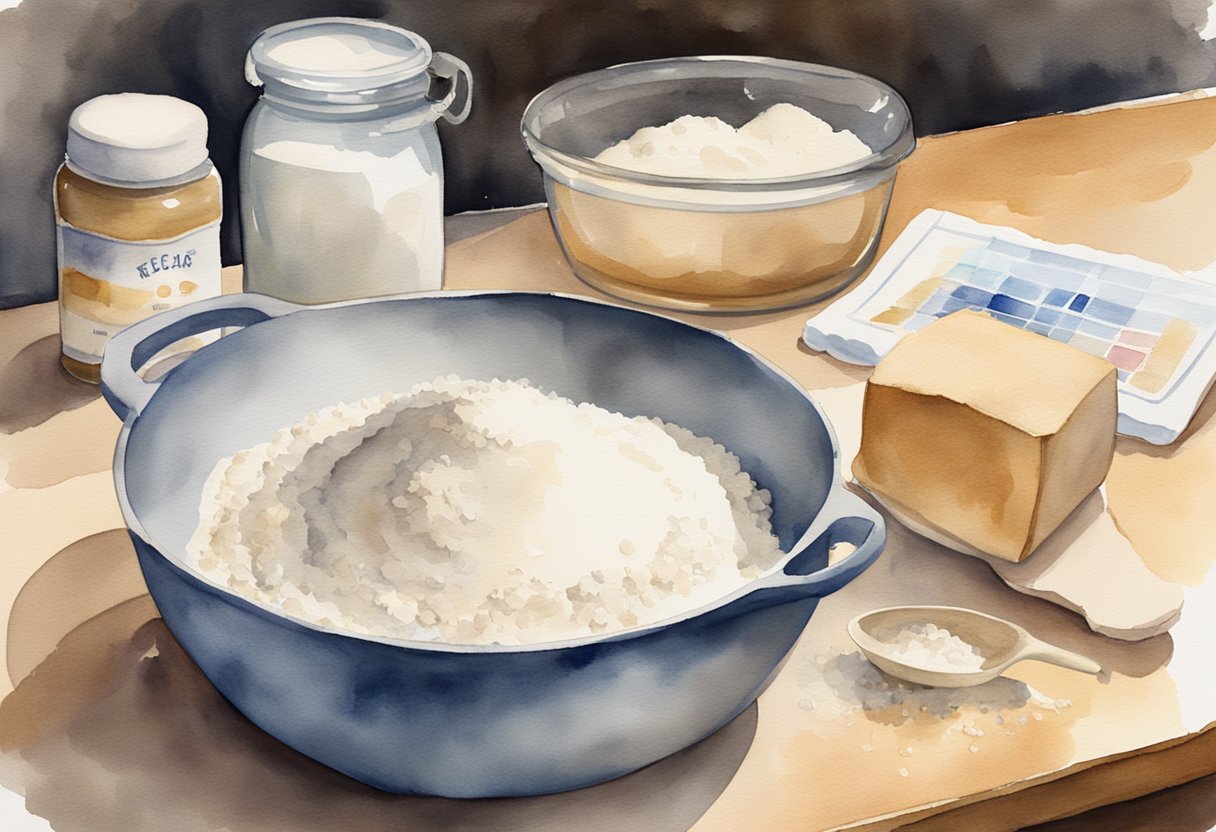
Measuring Ingredients Correctly
When it comes to measurements, accuracy is paramount. Measuring your ingredients incorrectly can lead to a loaf that is too dense, too dry, or fails to rise properly. It’s not just about quantity—temperature matters too. For instance, water used to activate yeast should be between 105°F (40°C) and 115°F (46°C).
Here’s a simple guide for measuring ingredients:
- Flour: Spoon the flour into your measuring cup and level it with a knife or use your digital scale for a more precise measure.
- Water and other liquids: Pour into a transparent measuring cup with measurement marks and check at eye level.
- Yeast and Salt: Use teaspoons and tablespoons for small quantities, ensuring they are not heaped.
Remember, breadmaking is a science as much as it is an art, and precision leads to perfection.
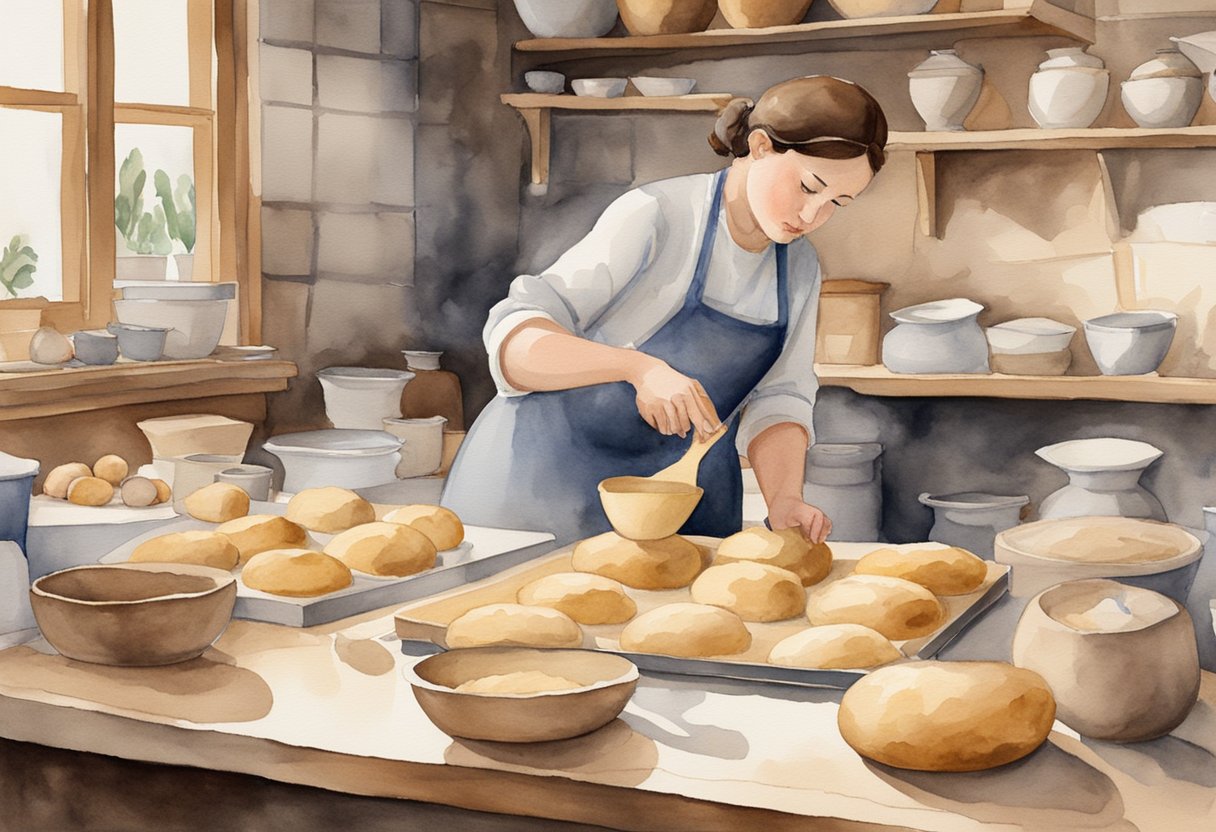
The Breadmaking Process
Embarking on breadmaking as a hobby can be deeply rewarding. Understanding the steps of mixing and kneading the dough, along with the nuances of fermentation during the first rise, is crucial for creating that perfect loaf of bread.
Mixing and Kneading the Dough
Begin by combining your ingredients according to your chosen recipe. Accurate measurement is key, as this will ensure the consistency required for good bread. Once mixed, kneading the dough becomes the central task. This process develops the gluten in your flour, giving your bread its structure and elasticity. For most bread types, a kneading time between 10 to 15 minutes is sufficient. When done correctly, your bread dough will transform from a shaggy mass into a smooth, elastic ball that springs back when poked.
First Rise and Shaping
After kneading, the dough must undergo fermentation. This initial rise, or proofing, is where the magic of breadmaking happens. Place your dough in a covered bowl and let it sit until it doubles in size, which could take anywhere from 1 to 2 hours depending on the temperature and the yeast used. Yeast, a living organism, consumes sugars in the flour, producing carbon dioxide that makes the dough rise.
Once the dough has doubled, punch it down to release excess gases and redistribute the yeast. Now, you’ll shape your dough. This could mean forming a round boule, a long baguette, or any other shape depending on your preference. The shaping process is pivotal as it helps in forming the final structure and appearance of your bread. After shaping, your dough will require a final rise before it’s ready to bake.
Mastering the Art of Sourdough
Embarking on the journey of sourdough bread making is a rewarding hobby that combines art and science. To achieve that distinct sourdough taste and texture, it’s essential to understand the nuances of creating and maintaining your own sourdough starter.
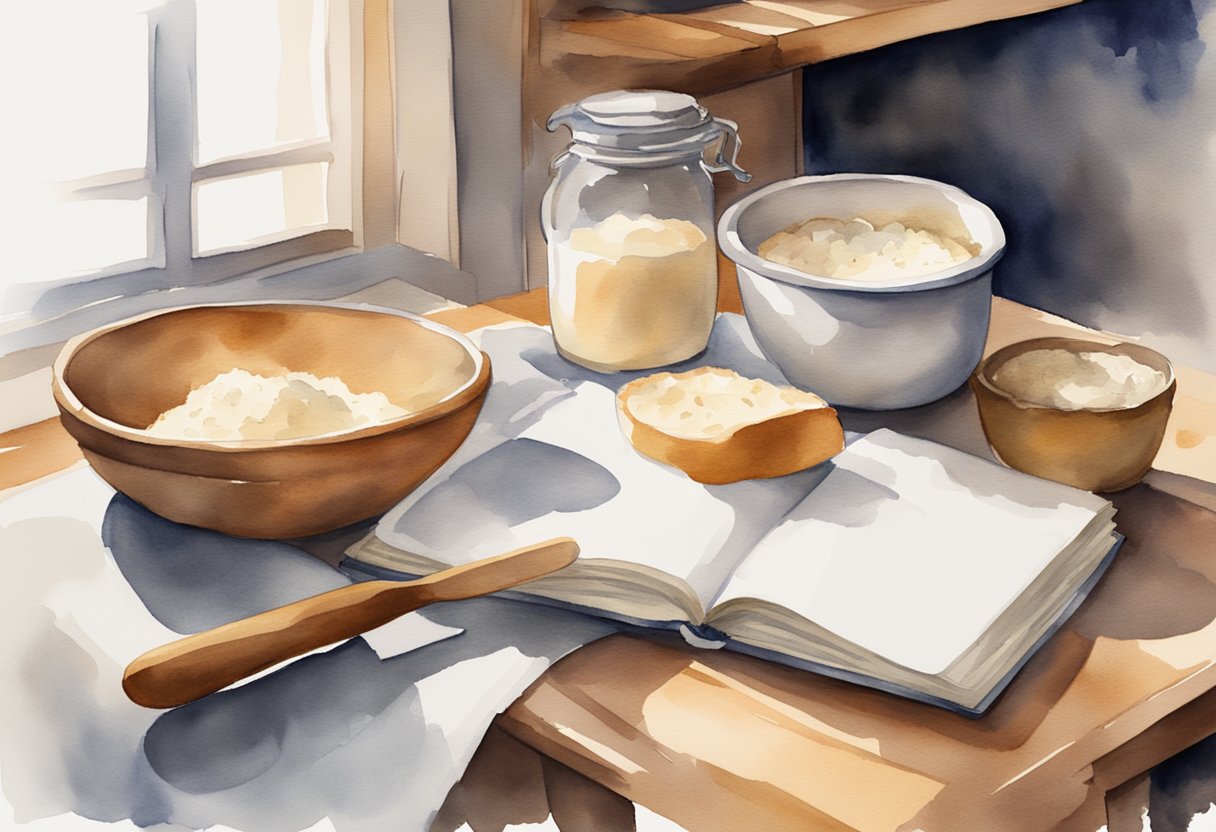
Creating Your Starter
Your sourdough journey begins with the creation of your starter. It’s a simple mix of flour and water left to ferment, capturing wild yeast from the environment. Here’s a straightforward approach to get it right from the start:
- Mix equal parts (by weight) of flour and lukewarm water in a jar. For instance, 100 grams of each.
- Stir the mixture vigorously to incorporate air, which helps with yeast activity.
- Cover the jar with a breathable cloth and secure with a rubber band.
- Let the mixture sit at room temperature, away from direct sunlight.
Daily Feeding:
- Day 2-7: Remove half of the mixture and add a fresh 100 grams of flour and 100 grams of water each day.
Observations:
- Look for tiny bubbles and a slightly tangy smell, indicating activity.
Maintaining Your Sourdough Culture
Now that you’ve brought your sourdough starter to life, proper maintenance is key to keeping it active.
- Feed your starter regularly, ideally once a day if kept at room temperature. For less frequent baking, store your starter in the refrigerator and feed it once a week.
- When feeding, always discard a portion—about half—before adding fresh flour and water. This prevents the culture from becoming too acidic and maintains a consistent yeast population.
- If using refrigeration, allow the starter to come to room temperature before using it in your sourdough bread recipes. Remember to feed it and let it become active again, which may take a few hours.
Tip: Feed with a mix of whole grain and white flour to provide a variety of nutrients for the yeast and bacteria.
By nurturing a healthy starter, you set the foundation for baking sourdough bread with a robust flavor and airy, chewy texture. It’s the levain that imparts that characteristic sourdough tang and makes your bread rise without commercial yeast. With patience and care, you’ll soon master the art of sourdough bread making.
Baking Techniques
Proper baking techniques are crucial for successful bread making. Below, you’ll find specific strategies to optimize your use of a traditional oven and explore other methods beyond this standard tool.
Using an Oven Effectively
When baking bread in an oven, preheating is essential. Your oven should reach the desired temperature before you introduce the dough. This ensures an even bake and proper rise. Use an oven thermometer to verify the internal temperature, as ovens often vary from the set temperature. Additionally, consider the placement of your bread — the middle rack typically offers the most consistent heat distribution.
For an artisan-style crust, a Dutch oven can be used within your conventional oven. By preheating the Dutch oven, you create a mini oven inside, which retains high heat and steam. This steam is key in developing a crispy crust on your loaf. Remember to handle the heated Dutch oven with care.
Exploring Alternative Baking Methods
Away from the conventional oven, other tools can yield excellent results. Baking bread on a stovetop using a Dutch oven allows for a process similar to the oven but with the added benefit of being more energy-efficient and suitable for outdoor settings or camping.
To bake bread using alternative methods such as a Dutch oven over a campfire, control your heat source carefully. It’s challenging to gauge the temperature in an open fire environment, so it’s typically a matter of experience and adjusting for hot spots. The lid on the Dutch oven helps to mimic the conditions in a standard oven, making it possible to bake a well-rounded loaf.
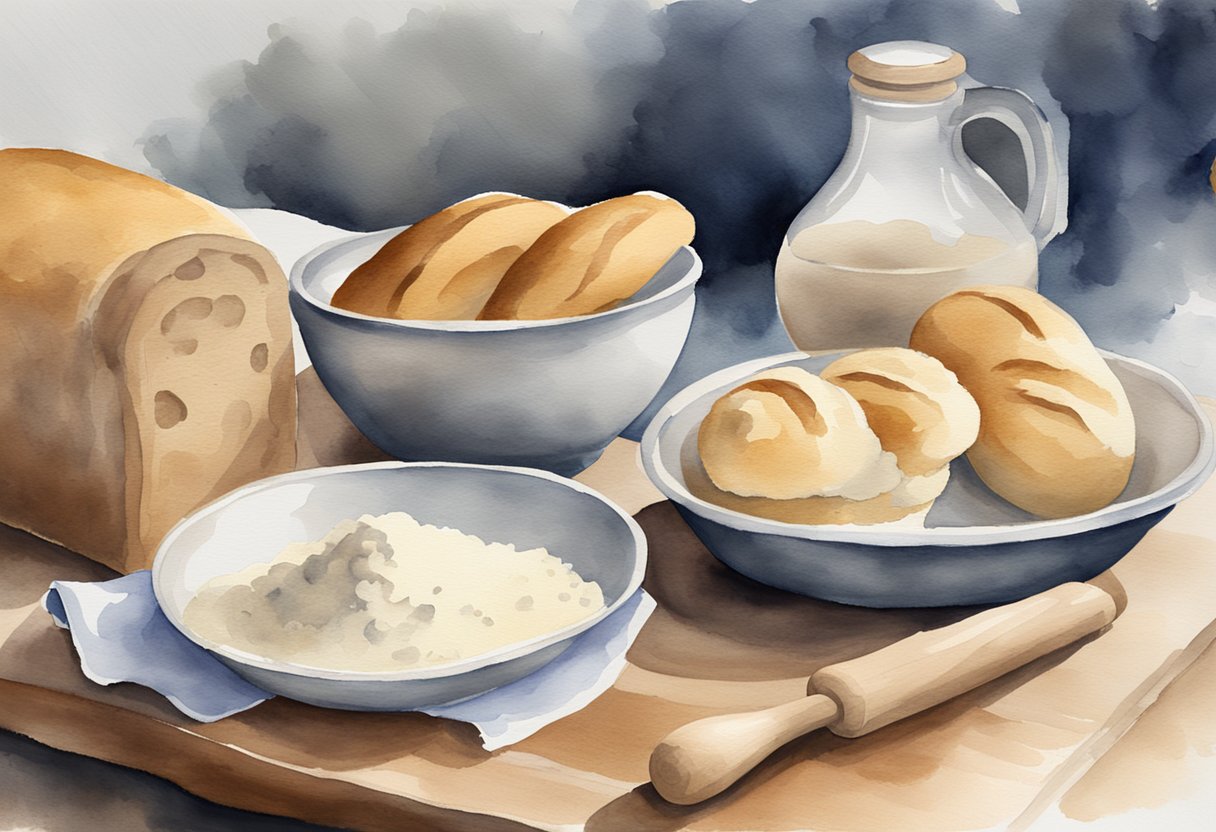
Exploring Flavors and Recipes
When embarking on your breadmaking journey, the variety of flavors and recipes available can be both exciting and daunting. Understanding the components of the perfect loaf and experimenting with different bread recipes will enhance your baking experience.
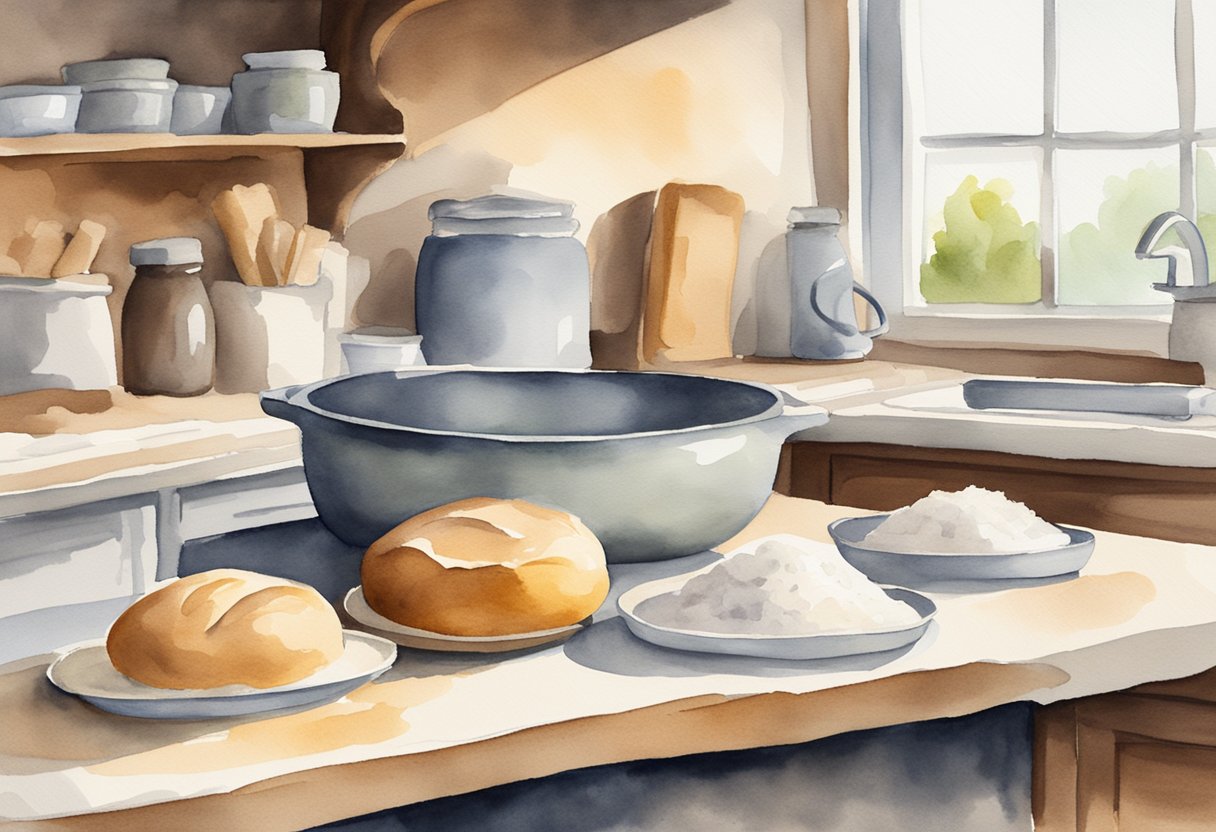
The Perfect Loaf
Achieving the perfect loaf requires a balance of texture, crust, and flavor. Begin with a simple bread recipe that calls for basic ingredients: flour, water, yeast, and salt. As your skills advance, incorporate additional flavors to personalize your loaf. Try adding olives, herbs, cheese, or dried fruits to create a unique taste profile that reflects your preferences.
Varieties of Bread Recipes
Diving into the world of bread recipes, you’ll discover an array of diverse bread types:
- White Bread: Classic and versatile, perfect for beginners.
- Whole Wheat Bread: Nutty and hearty, with added fiber for a healthful twist.
- Sourdough Bread: Complex and tangy flavor from natural fermentation.
- Rye Bread: Dense and flavorful, often paired with bold ingredients like caraway seeds.
- CIabatta: Italian bread with a chewy texture and large air holes, ideal for sandwiches.
- Focaccia: Flat and oily, typically topped with herbs and vegetables.
Experimenting with these recipes will not only increase your confidence in bread making, but also expand your repertoire of fresh bread. Remember to document your mix-ins and their measurements to replicate or tweak recipes in future baking sessions.
Advanced Bread Making Techniques
When diving into advanced bread making techniques, it’s all about controlling the subtleties of your process to influence the final product. Here, we will focus on two specific aspects that can significantly transform your bread: gluten development and hydration levels.
Understanding Gluten Development
Gluten development is pivotal for the structure and texture of your bread. The gluten network is formed from proteins found in wheat flour, and its development is crucial for trapping air bubbles during fermentation and baking, giving the bread its rise and chew. To enhance gluten formation, consider the following:
- Kneading: Proper kneading, whether by hand or mixer, aligns the gluten proteins, strengthening the network.
- Resting: Allowing the dough to rest can facilitate gluten development as it hydrates the proteins and lets them bond.
- Folding: Implement folding techniques during bulk fermentation to reinforce gluten structure without overworking the dough.
Experimenting with Hydration Levels
Hydration, the ratio of water to flour in a dough, can drastically affect your bread’s crumb and crust. Here’s how to manipulate hydration levels:
- Low Hydration: Doughs with less water are generally easier to shape and result in bread with a denser crumb.
- High Hydration: Doughs with more water tend to create bread with an open, airy crumb and a crispy crust. However, they are stickier and more challenging to handle.
To get started:
- Begin with a Baseline: Start with a hydration level that is comfortable for you and gradually increase it to experiment.
- Adjust Precision: Use a digital scale for accuracy since even small variations in water can impact the dough.
With practice and attention to these advanced techniques, you can fine-tune your bread to achieve artisan quality with the texture and flavor you desire.
Customizing Your Breads
When you decide to embark on breadmaking as a hobby, one of the most rewarding aspects is the ability to customize your creations. By incorporating various ingredients like nuts, fruits, and cheeses, you can craft breads that cater to your taste preferences and dietary needs.
Incorporating Nuts and Fruits
To infuse your bread with texture and bursts of flavor, consider adding nuts and dried fruits. Almonds, walnuts, and pecans can add crunchiness and richness to your dough. Dried fruits like apricots, raisins, or cherries offer chewy sweetness that complements the savory nature of bread.
- Suggested Nuts: Almonds, Walnuts, Pecans
- Suggested Dried Fruits: Apricots, Raisins, Cherries
Before mixing them into your dough, it’s a good practice to toast the nuts for a deeper flavor and to chop larger fruits for even distribution.
Creating Sweet and Savory Variations
Your bread’s flavor profile can swing from sweet to savory with just a few adjustments. Incorporate herbs, such as thyme or rosemary, to give a savory bread an aromatic lift. For a sweet twist, consider mixing in ingredients like cinnamon or vanilla.
- Savory Choices:
- Herbs: Thyme, Rosemary, Basil
- Cheese: Cheddar, Feta, Gruyère
- Sweet Additions:
- Cinnamon, Vanilla Extract, Honey
Remember to balance your flavors, ensuring that the additional ingredients don’t overpower your bread’s base. And when experimenting with cheese, choose a variety that melts well and complements the other flavors in your bread.
Troubleshooting Common Issues
As you embark on your breadmaking journey, encountering issues along the way is common. Learning to identify and resolve these issues is an essential part of mastering the art of breadmaking. This section will help you address common problems related to dough density, proofing, oven spring, and crust development.
Dense Loaves and Underproofing
Dense loaves often result from underproofing, which means your dough has not had enough time to rise. It’s crucial to allow sufficient time for proofing—the period when the yeast ferments the sugars in the dough to produce gas. This process contributes to the crumb, the internal texture of your bread.
- To Resolve Density Issues:
- Check your yeast: Ensure it’s fresh and active.
- Allow more time: Extending the proofing period can help, especially in cooler environments.
- Temperature matters: A warmer spot can facilitate faster yeast activity, but don’t let it get too warm.
Oven Spring and Crust Problems
Oven spring is the rapid rise of dough during the initial phase of baking due to expanding gases. If you’re not seeing a good oven spring, your bread might not have the characteristic crusty bread texture with a light and airy crumb.
- Boosting Oven Spring:
- Proper scoring: Make slashes on the dough surface to control expansion.
- Preheated oven: A hot oven (usually 220-250°C or 425-475°F) is vital for immediate oven spring.
- Steam: Introduce steam in the first minutes of baking to keep the crust from hardening too quickly, which can stifle oven spring.
By addressing these common breadmaking issues confidently and knowledgeably, you can improve the quality of your homemade bread and enjoy the results of your efforts.
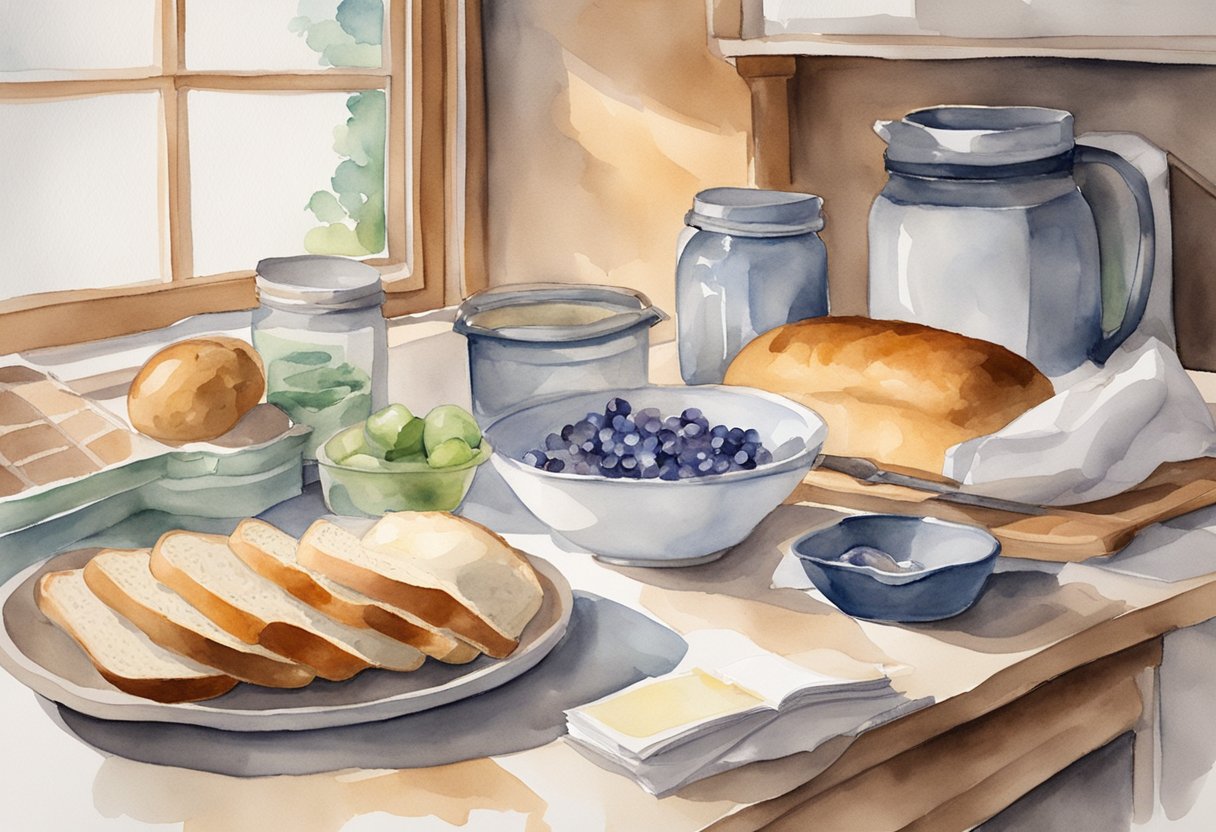
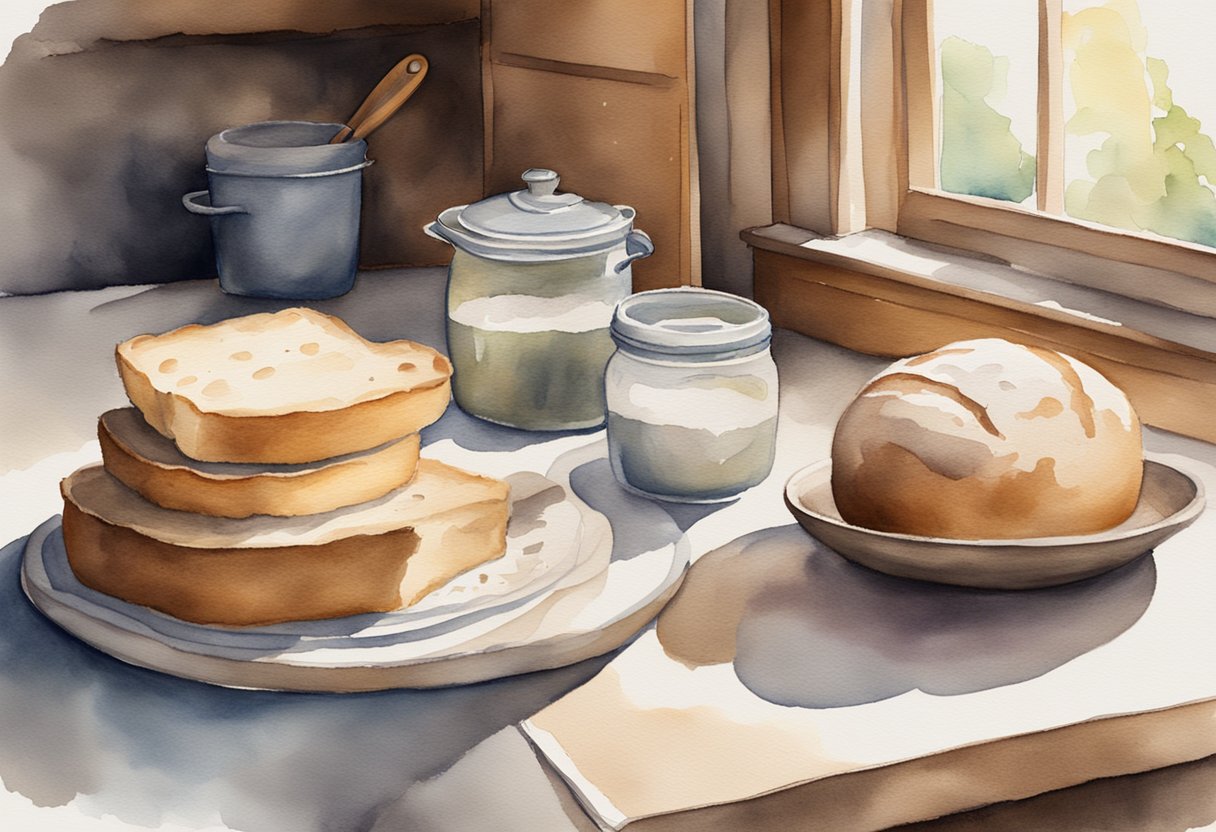
Finishing Touches and Presentation
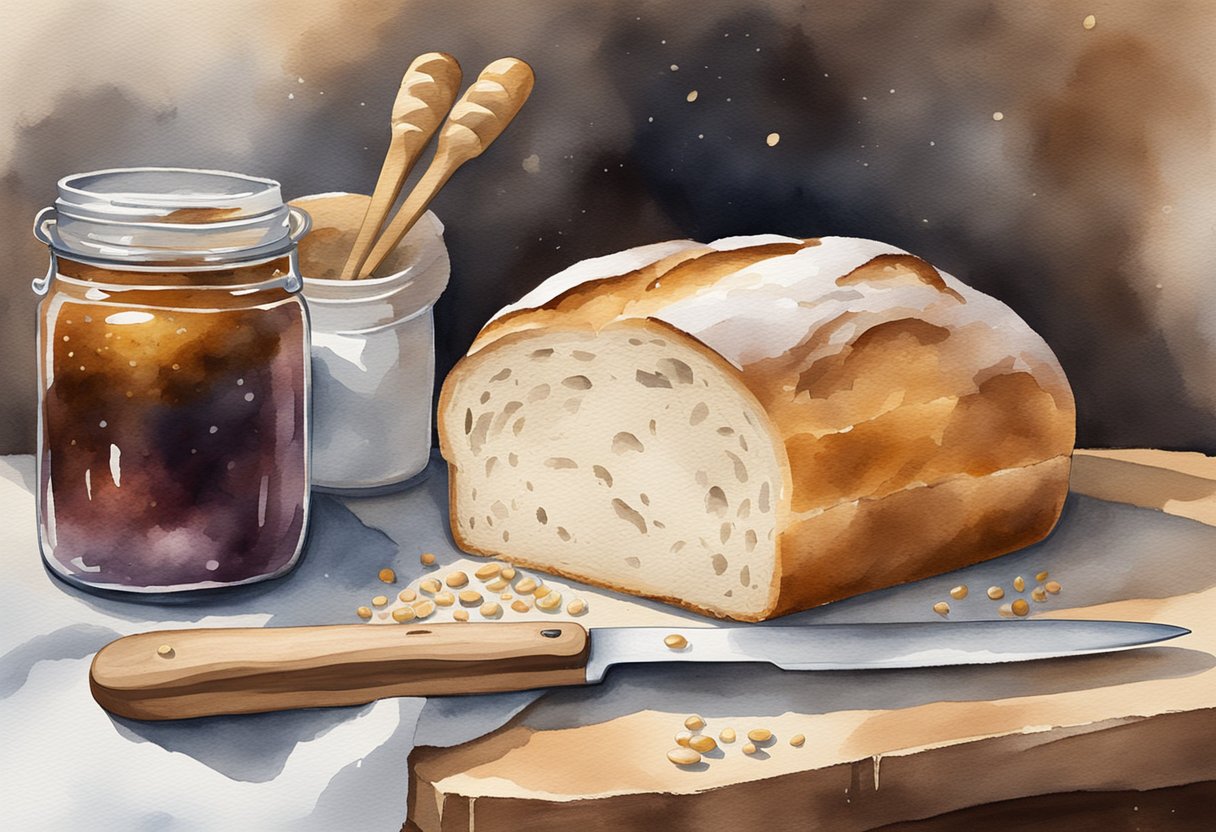
After your bread has cooled and you’re ready to show it off, how you slice and store your creation can be just as important as how it tastes. Whether you’re serving it at a dinner party or enjoying it at home, the right presentation elevates the experience.
Slicing and Storing Bread
Slicing: Always use a sharp, serrated knife to get clean cuts without squishing the bread. Slice your bread only when it’s completely cool to prevent it from becoming gummy. For even slices, consider using a bread slicing guide.
- Thickness: For sandwiches, aim for slices about 1/2-inch thick. For toast, slightly thinner slices work best.
Storing: To keep your bread fresh, store it in a breadbox or wrap it in a paper bag then place it inside an airtight container. Avoid refrigerating bread as it can dry out and become stale more quickly.
- Duration: Properly stored bread can remain fresh for 2–4 days at room temperature. For longer storage, slice and freeze the bread, then thaw slices as needed.
Serving Bread for Occasions
Casual Settings: Slice your bread and serve in a basket lined with a clean cloth napkin to keep it warm. Offer alongside dips or spreads for an inviting touch.
- Butter and Oils: Provide fresh butter or a dish of olive oil with seasonings to complement the bread’s flavor.
Formal Events: Present the bread as part of a carefully arranged bread plate, with slices artfully overlapped. If the crust is the highlight, tear the bread instead of slicing to showcase its rustic appeal.
- Accompaniments: Pair the bread with fine cheeses or a curated selection of meats when aiming to impress.
Frequently Asked Questions
Embarking on bread-making as a hobby is both gratifying and fun. Below are the answers to some of the most common questions asked by beginners interested in the art of bread-making, which will help you get started on the right foot.
What basic equipment is needed for a beginner to start making bread?
To start making bread, you need a few basic tools: a large mixing bowl, a sturdy spoon or dough whisk for mixing, a kitchen scale for precise ingredient measuring, measuring cups and spoons, a dough scraper, a loaf pan or baking sheet, and a kitchen timer. For more refined results, a proofing basket and a lame (a razor-blade tool for scoring dough) are beneficial.
What are the essential steps involved in making bread from scratch?
The essential steps in making bread from scratch include mixing ingredients to form a dough, kneading the dough to develop gluten, letting the dough rise (proof) until doubled in size, shaping the dough, proofing again, and finally baking it in a preheated oven. Each step is crucial to achieving a good-quality loaf of bread.
Can you provide a simple bread recipe suitable for beginners?
Certainly, a simple bread recipe for beginners would involve mixing approximately 500 grams of bread flour, 10 grams of salt, 25 grams of sugar, 7 grams of instant yeast (one packet), and about 300 milliliters of lukewarm water. Combine until a shaggy dough forms, knead until smooth, let it rise, shape, and bake until golden brown.
How do I knead dough properly and why is it important?
To knead dough properly, work it with the heels of your hands, pushing it away from you, then folding it back over itself and giving it a quarter turn. Repeat for about 10 minutes. Kneading develops the gluten which gives bread its structure and chewy texture. Proper kneading is critical for bread with good volume and aeration.
Could you explain the fermentation process and how it affects bread quality?
Fermentation in bread-making is when yeast converts sugars into carbon dioxide gas and alcohol. This not only causes the dough to rise and increase in volume but also develops flavor and improves the bread’s texture. A longer fermentation allows for more complex flavors and a better crumb structure.
What are some tips for successfully baking bread in a Dutch oven?
Baking bread in a Dutch oven helps to create a steamy environment, which gives bread a crispy crust. Heat the Dutch oven in the oven as it preheats. Once hot, carefully place the dough inside, cover with the lid, and bake. This traps steam from the dough, emulating a professional steam oven and giving your bread a fantastic crust.