
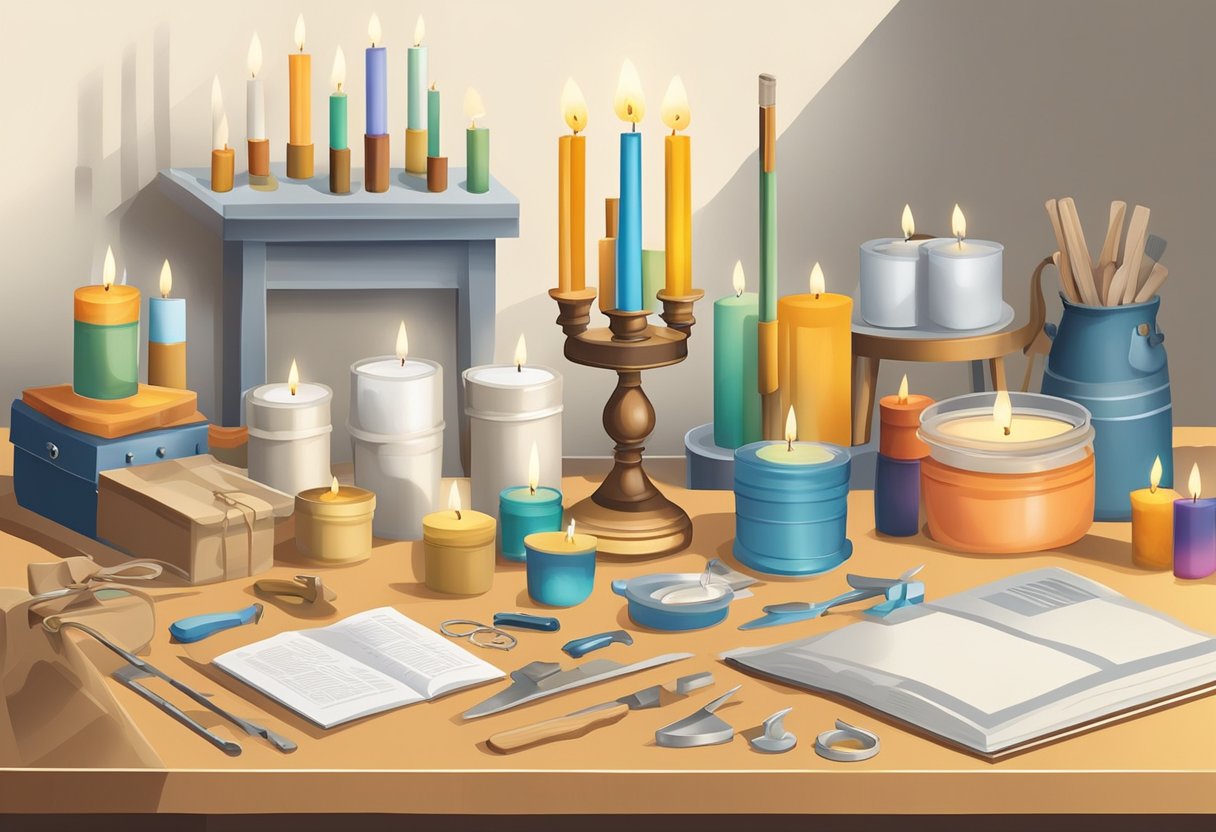
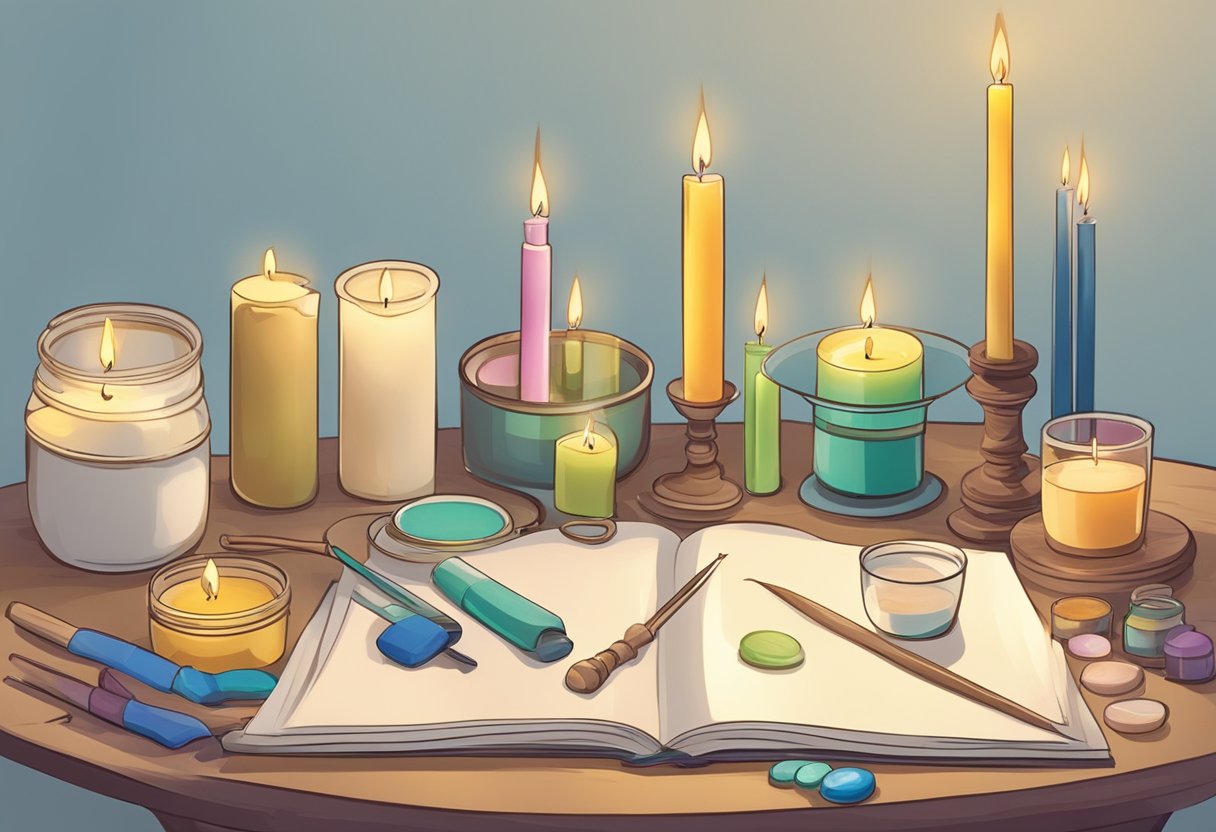
Beginner’s Guide to Candle Making as a Hobby: Essential Tips for Starters
Candle making is an engaging and creative hobby that lets you design and create your own source of light and aroma. Stepping into the world of candle crafting opens up a spectrum of possibilities, allowing you to mix and match colors, scents, and shapes to suit your taste.
Whether you’re looking to add a personal touch to your home décor or seeking to make thoughtful, handcrafted gifts, the art of candle making is both rewarding and accessible.
Starting out as a novice candle maker might seem daunting at first, but with the right guidance, you can quickly learn the basics and begin creating your own beautiful candles.
You’ll discover that working with waxes, wicks, fragrances, and molds can become a meditative process, as well as an outlet for self-expression. From choosing the right materials to mastering the melting point of various waxes, the journey to becoming proficient in candle making requires patience, practice, and a bit of creativity.
Understanding the basic steps is essential—selecting the appropriate wax, securing the wick, melting and pouring wax, and setting your candle. As you get ready to embark on this crafting adventure, remember that each candle you make can be as unique as you are, reflecting your personal style and flair. Through careful practice and experimentation, you’ll be able to transform simple supplies into elegant and aromatic candles that enhance any space.
Understanding Candle Wax Types
When venturing into candle making, selecting the right type of wax is crucial as it determines the candle’s burn time, scent throw, and overall quality. Here, you will acquaint yourself with the main types of wax used in candle-making.
Soy Wax: A choice for eco-conscious crafters, this 100% natural wax comes from soybeans. Its key attributes are a clean and soot-free burn, with a lower melting point that makes it ideal for container candles. Easy to work with, soy wax typically appears in flake form.
Paraffin Wax: The most prevalent in the candle industry, paraffin wax is a petroleum by-product. Known for its excellent scent throw and versatility, it’s compatible with a wide variety of dyes and fragrances.
Beeswax: Prized for its natural, clean-burning properties, beeswax candles emit a subtle, honey-like fragrance as they burn. Available in yellow or white, beeswax is hard but can be used in containers or molds.
Gel Wax: Unlike traditional waxes, gel wax is not truly a wax but a combination of mineral oil and polymer resin. This translucent material allows for unique decorative elements like embedding objects within the candle.
Palm Wax: Sourced from palm oil, this wax brings a unique texture to candles and is known for its environmentally friendly qualities, similar to soy wax.
Here’s a quick reference chart to summarize the key properties of each wax type:
| Wax Type | Key Benefit | Best Used For |
|---|---|---|
| Soy Wax | Eco-friendly, lower melt point | Container Candles |
| Paraffin Wax | Strong scent throw, versatile | Variety of candles |
| Beeswax | Clean burn, natural scent | Containers/Molds |
| Gel Wax | Decorative, transparent look | Embedding objects |
| Palm Wax | Environmental choice, textured look | Textured Candles |
When starting with candle making, consider these differences to choose wax that best fits your project needs.
Choosing the Right Wick
Selecting the correct wick for your candle is crucial because it affects how your candle burns, its safety, and its efficiency. The wick is the core of the candle, and with the right choice, you can ensure a clean, even burn that enhances the candle’s scent and longevity.
Wick Material and Size
Wick Material:
- Wooden Wicks: They are known for their crackling sound and wide burn pool, suitable for a cozy ambiance.
- Cotton Wicks: These are the most common types of wicks and are known for their consistent burn.
Wick Size: To determine the correct wick size for your candle, consider the following:
- Diameter of your candle: As a general rule, the larger the diameter, the larger the wick size needed.
- Choosing the Right Wick Size – Candle Making Guide suggests that a properly sized wick will result in a melt pool that extends almost all the way to the edge of the container after a few hours of burning.
- LX Wick: This flat-braided cotton wick is designed to curl when burning, which helps to reduce carbon buildup and ensures a more consistent flame.
Securing the Wick
When securing your wick:
- Place a wick holder or a centering device at the bottom of your container to keep the wick in place while the wax solidifies.
- Ensure that the wick is centered and straight for an even burn. You can do this by tying the top of the wick to a pencil or stick that rests on top of the container.
Properly securing your wick prevents it from shifting, which could affect how your candle burns and may lead to safety issues.
Selecting Fragrances and Colors
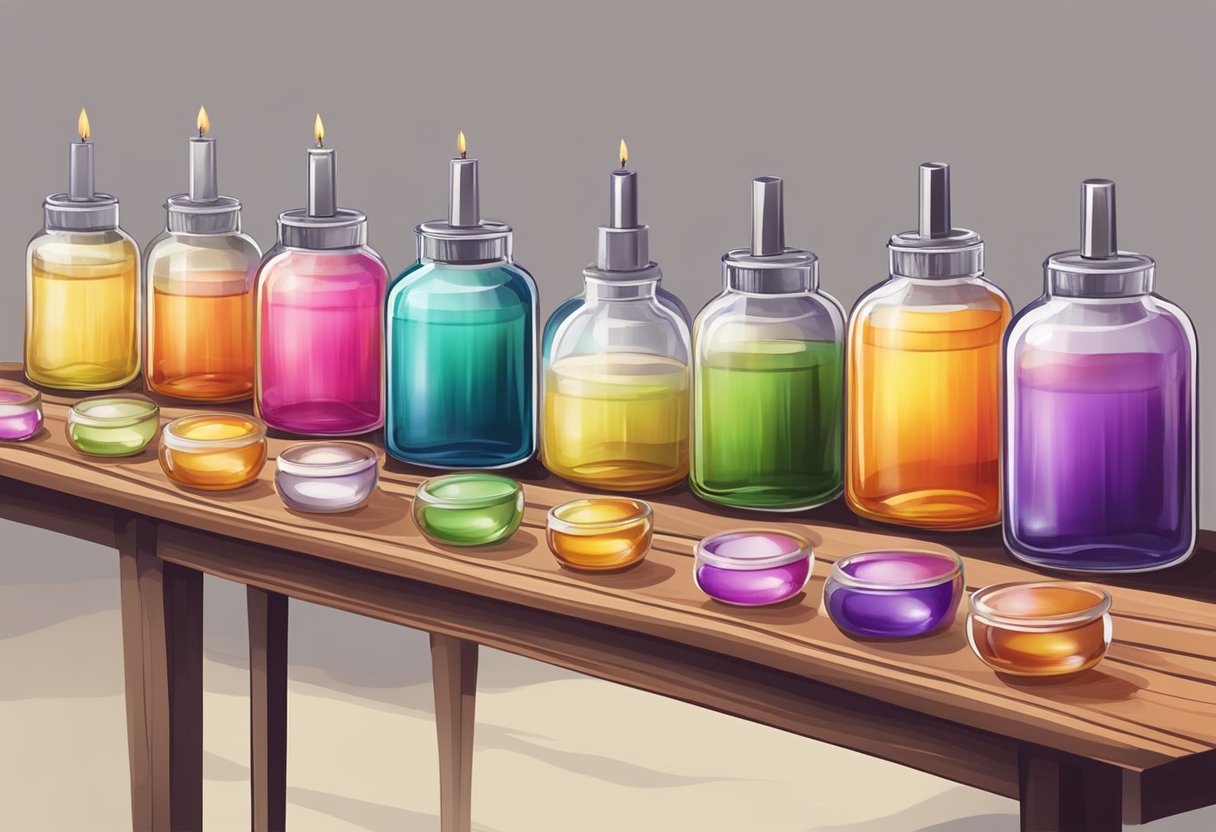
When starting your candle-making hobby, the selection of fragrances and colors is crucial, as they determine the appeal and character of your final product. The right scent can evoke emotions or memories, and the perfect color can visually enhance the ambiance of a room.
Types of Fragrances
You can choose from two main types of fragrances for candle making: essential oils and fragrance oils. Essential oils are derived from plants and are considered natural, often sought after for their aromatherapy benefits. However, they tend to be more subtle and may not throw scent as strongly when burned in a candle.
On the other hand, fragrance oils are synthetically made to mimic natural scents or create unique aromas. These oils are specially formulated for a strong scent throw, which means your candle will fill a room with its fragrance more effectively. Explore a variety of scents, from floral and earthy to spicy and sweet, to find one that resonates with your personal preference or theme.
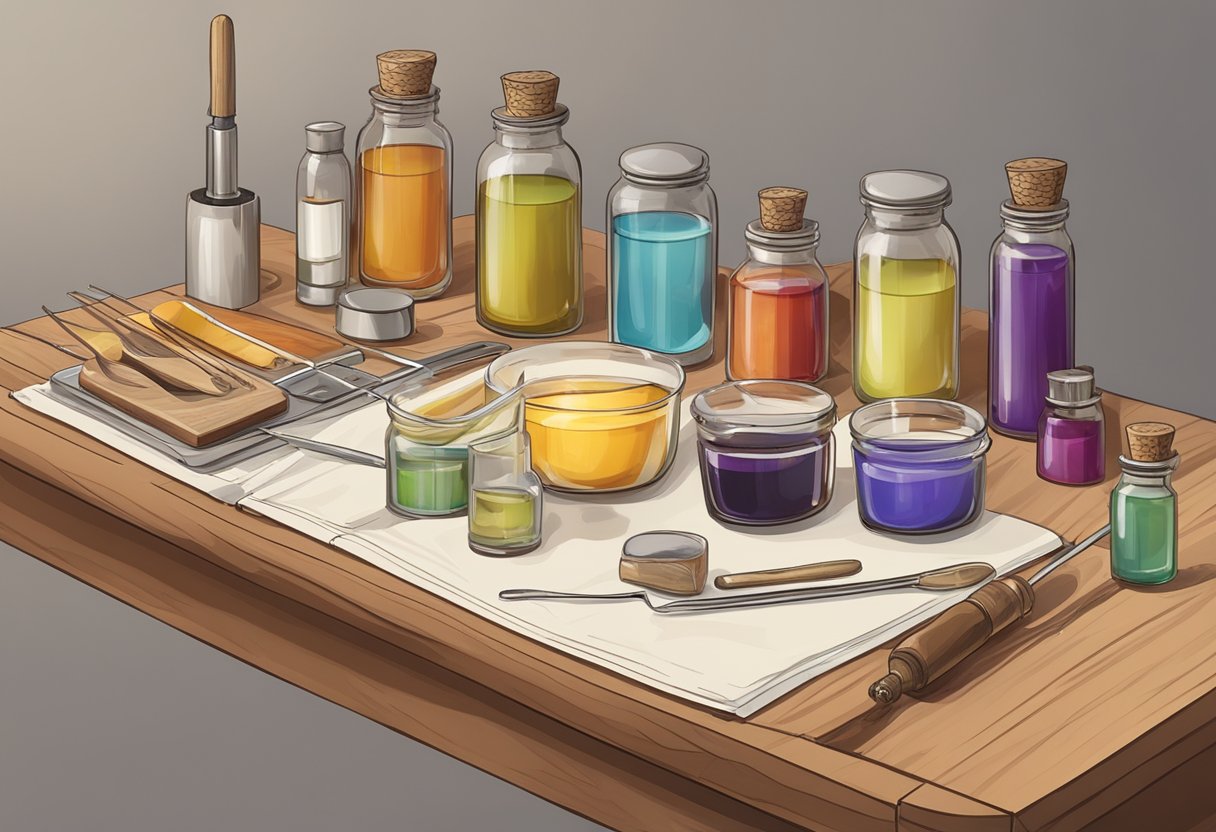
Dyeing Your Candles
Adding color to your candles can transform them into decorative pieces that accentuate any room. Candle dyes come in various forms, including liquid dyes, dye blocks, and dye chips. Each type has its specific uses:
- Liquid dyes are concentrated and offer consistency and ease of mixing, allowing for precise color creation.
- Dye blocks are solid blocks that you shave or chip off to melt with your wax, providing rich and vibrant hues.
- Dye chips are small, pre-measured pieces of dye that are convenient for consistent results with each batch.
Keep in mind that the type of wax you use can influence the final color of your candle. Soy wax, for instance, may produce a more pastel shade due to its opacity, whereas paraffin wax can render sharper colors. Always start with a small amount of dye and increase gradually to reach the desired shade. Remember, it’s better to add than to try and subtract color from melted wax.
Preparing Your Candle Container
Before you begin crafting your very own candles, it’s vital to carefully select and prepare your containers to ensure a safe and beautiful result.
Selecting Containers
The container you choose for your candle crafting not only houses the wax but also contributes to the aesthetic of your finished candle. Glass jars, such as Mason jars, are popular due to their heat resistance and wide availability. However, you’re not limited to just glass; any heat-resistant container that can safely withstand the heat of melted wax could serve as a candle container. Always inspect your chosen containers for cracks or defects before use to prevent potential hazards.
- Heat Resistance: Choose containers that can handle heat well without breaking.
- Size: Select a size appropriate for the candle’s intended use.
- Shape: Containers should have an opening wide enough to pour wax into and to light the candle comfortably.
- Material: Common materials include glass, ceramic, and metal.
Prepping for Pouring
Preparing your container for wax pouring is a straightforward but crucial step. Begin by cleaning the container thoroughly with soapy water and dry it completely to avoid water interfering with the wax.
Use a wick sticker or a dab of hot glue to secure the wick to the bottom center of the container. Stabilize the wick by tying it to a stick or laying a clothespin across the container’s opening. To protect your work surface, lay down newspaper or parchment paper to catch any potential spills.
- Cleaning: Ensure the container is free of dust and debris.
- Wash with soapy water.
- Dry thoroughly.
- Wick Placement: Center and secure the wick.
- Attach with wick sticker or hot glue.
- Stabilize with a stick or clothespin.
- Surface Protection:
- Cover your surface with newspaper to catch drips.
This preparation sets the stage for a smooth candle-making process, leading to clean-burning, aesthetically pleasing candles that safely light up your space.
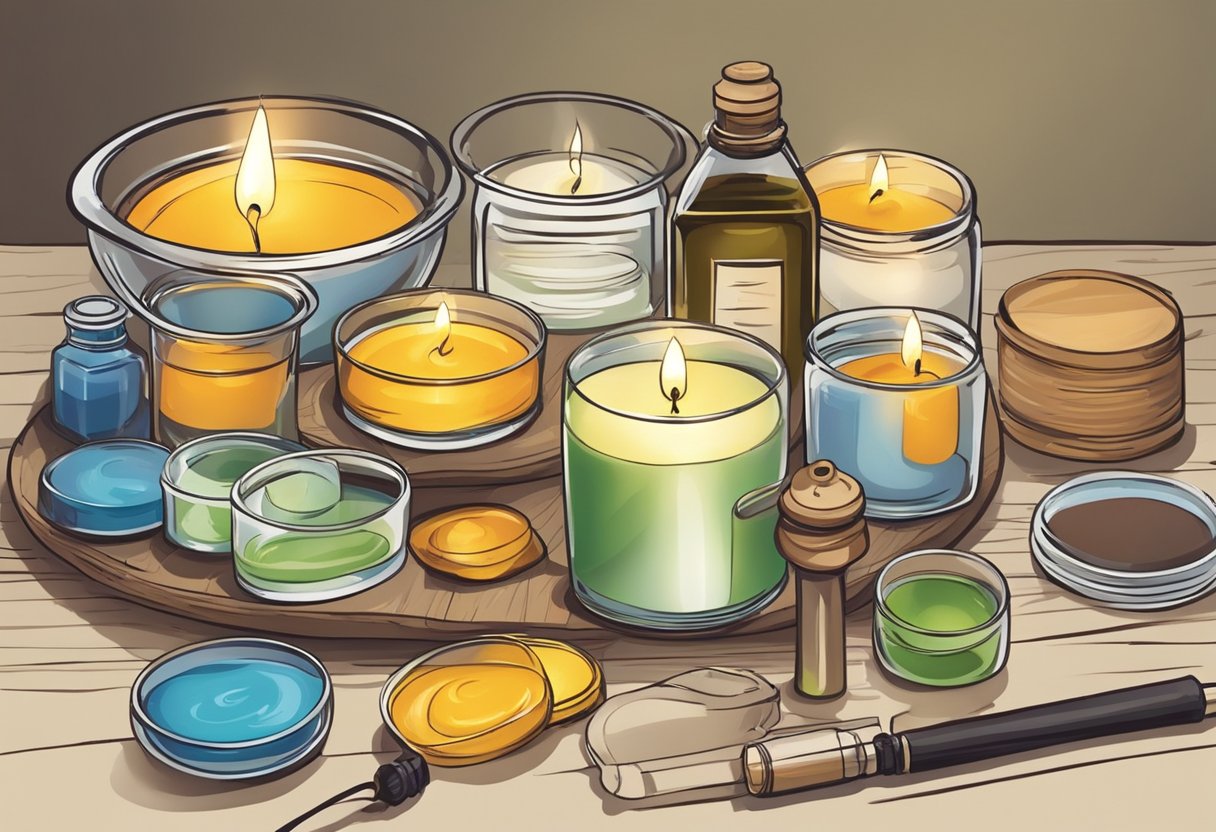
The Candle Making Process

The process of making candles involves precise heating, mixing, and cooling stages. By adhering to these steps, you’ll ensure a quality homemade candle.
Melting the Wax
To start, you’ll need to melt the wax using a double boiler setup to apply gentle, indirect heat. Fill the bottom pan with water and place the wax in the top pan. Heat the water to a simmer, allowing the wax to reach its melting point without overheating. Use a thermometer to monitor and maintain the appropriate temperature—wax typically melts around 185°F (85°C), but this can vary depending on the type of wax you are using.
Adding Ingredients
After the wax has melted completely, it’s time to add color and fragrance. Remove the wax from heat and let it cool to just above the pouring temperature, approximately 135°F (57°C), to mix in dye and scents effectively. Stir gently but thoroughly to ensure an even distribution of ingredients.
Pouring and Cooling
Once the wax is blended with color and fragrance, pour it into your chosen mold or container at the designated pouring temperature. Securing the wick before the pour is essential; it should be centered and held straight. After pouring, let your candle cool at room temperature to avoid any unsightly cracks or separation. The cooling process is critical for achieving a smooth, finished surface. It may take several hours for your candle to fully harden.
Remember, patience is key—rush no step, and you’ll be on your way to crafting beautiful, aromatic candles right at home.
Designing and Crafting Pillar Candles
When embarking on the journey of making your own pillar candles, the selection of molds is a crucial step. Pillar candles, known for their sturdy, standalone structure, require robust molds that can withstand the candle-making process.
Choosing Your Mold:
- Silicone molds are highly recommended due to their flexibility and non-stick surface, allowing for easy release after the wax has set.
- Alternatively, you can opt for metal or plastic molds, depending on your preference and budget.
Steps for Crafting a Pillar Candle:
- Prepare Your Mold:
- Secure the wick at the bottom using a wick holder or an adhesive.
- Spray the inside with mold release spray if it’s not silicone.
- Melting the Wax:
- Heat your choice of candle wax in a double boiler until completely melted.
- Pouring the Wax:
- Gradually pour the melted wax into the mold, ensuring it’s centered and taut.
- Setting the Wax:
- Allow the wax to cool at room temperature, avoiding drafts for a consistent set.
- Releasing the Candle:
- Once set, gently release the candle from the mold.
Wax Types and Wicks:
- Palm, soy, or paraffin waxes work well for pillar candles.
- Choose a wick size that corresponds to the diameter of your candle.
Remember, patience is key when waiting for your candle to set, as rushing this process can lead to imperfections. Experimenting with different molds and wax types can lead to unique and custom pillar candles that reflect your personal touch.
Troubleshooting Common Candle Issues
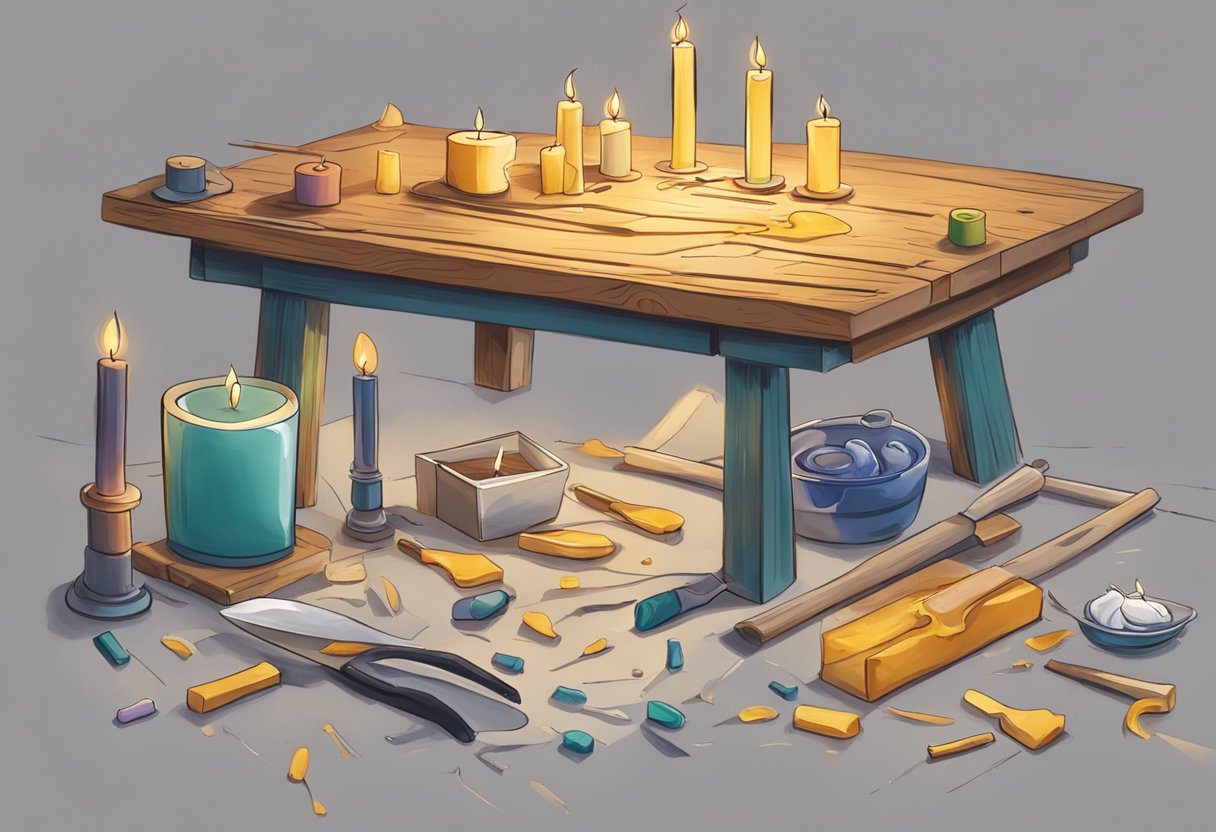
In candle making, you’ll face issues that can affect the quality and appearance of your candles, such as air bubbles and inconsistencies in burning. Knowing how to tackle these problems confidently and efficiently is key.
Preventing Air Bubbles
To prevent air bubbles, ensure a smooth pouring process. Use the following techniques:
- Preheat your containers: Warm glassware reduces the chance of temperature shock which can cause air bubbles.
- Pour slowly: Don’t rush pouring your wax; a steady, controlled pour minimizes air incorporation.
- Tap the sides: Gently tap the container after pouring to encourage any trapped air to rise to the surface.
For more detailed advice, consider guidelines on choosing the right wick size and other techniques.
Avoiding Tunneling and Soot
Tunneling occurs when only the center of the candle burns down, leaving wax on the edges. Soot can result from incomplete combustion. Prevent these issues with these tips:
- Trim the wick: Keep your wick trimmed to about 1/4 inch to ensure even burning and minimize soot production.
- Burn evenly: The first burn is crucial. Let your candle burn long enough to melt the entire top layer to prevent tunneling.
- Correct wick size: If tunneling persists, your wick may be too small. Proper wick selection plays a vital role in how the candle burns. Check out a printable candle wick chart for guidance.
Avoid issues related to soot by also ensuring your candle is not in a drafty area which can cause erratic burning and increased soot.
Advanced Candle Making Techniques

After mastering the basic skills in candle making, you can elevate your creations with some advanced techniques. In this section, you’ll explore how to add intricate layers to your candles and create scented varieties that enhance scent throw, making your DIY candles not only a perfect addition to your home but also thoughtful gifts.
Experimenting with Layers
Creating layered candles involves a precise pouring process where you allow layers of wax with different colors or fragrances to harden one at a time. Here are the steps:
- Pour the first layer and wait for it to completely solidify.
- Once the first layer is firm, gently pour the next layer to avoid mixing.
- Repeat the process for as many layers as you desire.
Tip: Keep the wax temperature consistent when pouring layers to ensure a smooth finish.
Creating Scented Varieties
To develop candles with a robust scent throw, focus on the oils you’re using:
- Choose high-quality fragrance oils that are formulated for candles.
- Use a scale to measure your fragrance oil; the standard is about 1 oz of fragrance per 1 lb of wax.
Incorporate the oils into the melted wax at the right temperature, typically around 185°F for a strong scent throw. Stir thoroughly to make sure the scent is evenly distributed through the wax.
Remember to label your scented candles accordingly, especially if you plan to give them as gifts. This ensures that the recipients can enjoy the specific scents you have crafted for them.
Candle Safety and Maintenance
Ensuring the safe use and longevity of your candles involves adopting proper burning practices and appropriate storage techniques. It is crucial to monitor the flame and adhere strictly to recommended burn times to prevent hazards and prolong the life of your candle.
Proper Burning Practices
Flame Management: Always trim the wick to 1/4 inch before lighting to maintain a clean flame and prevent a crackling sound which can indicate excess wick length or debris in the wick core. A correctly trimmed wick promotes an even burn and prevents soot buildup on the container’s sides.
Burn Time: Adhere to the rule that your candle should not burn for more than 4 hours at a time. Prolonged periods of candle burning can cause the wick to move or slant, potentially leading to an uneven burn or a dangerously hot container.
Ventilation: Ensure the room is well-ventilated but avoid direct drafts on the candle to prevent rapid, uneven burning, and potential flare-ups. Always keep your burning candle within sight and on a heat-resistant surface away from flammable materials.
Candle Storage
Storing Your Candle:
- Keep candles in a cool, dry place away from direct sunlight to prevent warping and discoloration.
- Store them in an upright position to maintain their shape and keep the wick straight.
Maintenance: Regularly check for debris or dust on the candle surface which can catch fire and create a large flame. Gently wipe the surface with a dry cloth if necessary. Remember, proper storage and maintenance are key to safety and longevity.
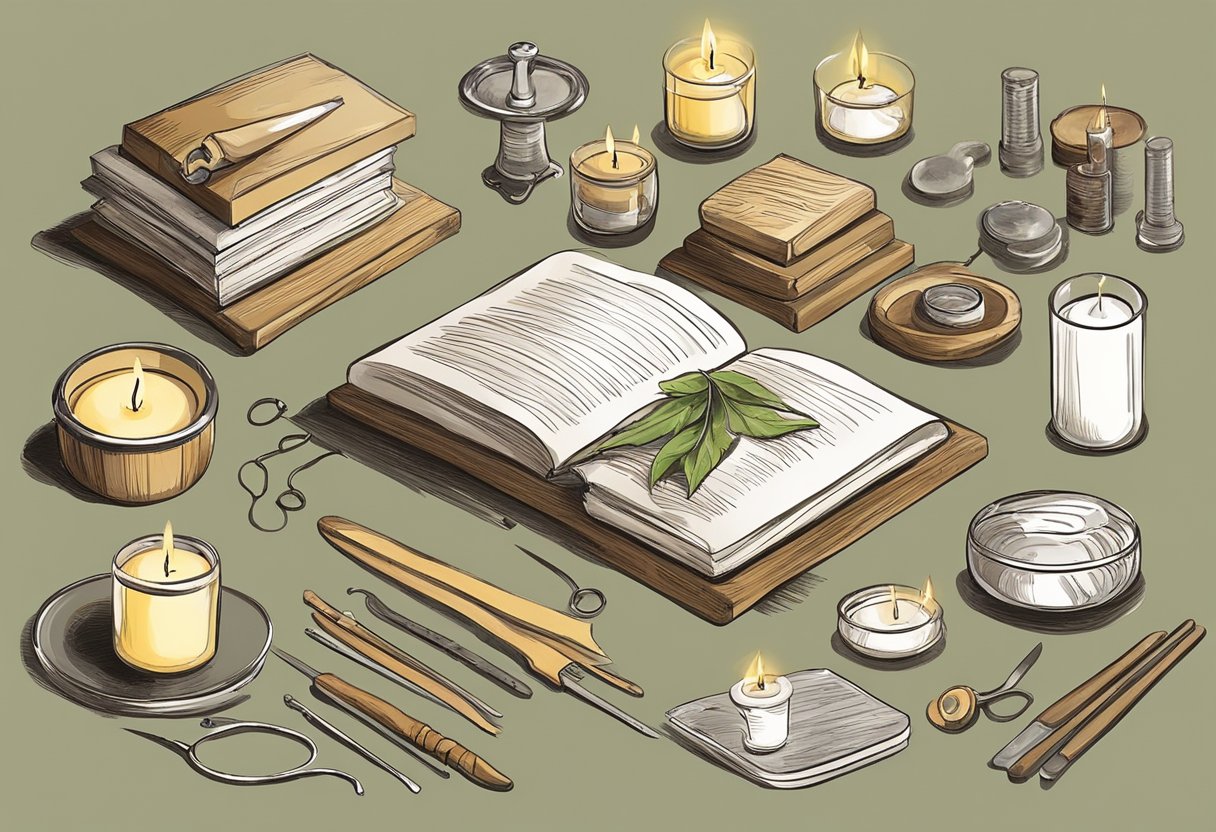
Frequently Asked Questions
When starting out with candle making, it’s natural to have questions about supplies, techniques, and safety. This FAQ section is crafted to address your initial queries, ensuring a smooth beginning in your candle crafting journey.
What basic supplies do I need to start making candles at home?
To start making candles at home, you’ll need a pouring pitcher, wax (soy wax is a great option for beginners), wicks, a fragrance oil for scent, and a container for the finished candle. A scale and thermometer are also crucial for accurate measurements and temperature control.
What are the steps involved in making your first soy wax candle?
Your first soy wax candle involves melting the wax to the correct temperature, usually around 185°F, adding fragrance oil and dye if desired, attaching the wick to the container, pouring the wax, and allowing it to cool. Then, trim the wick and your candle is ready to cure.
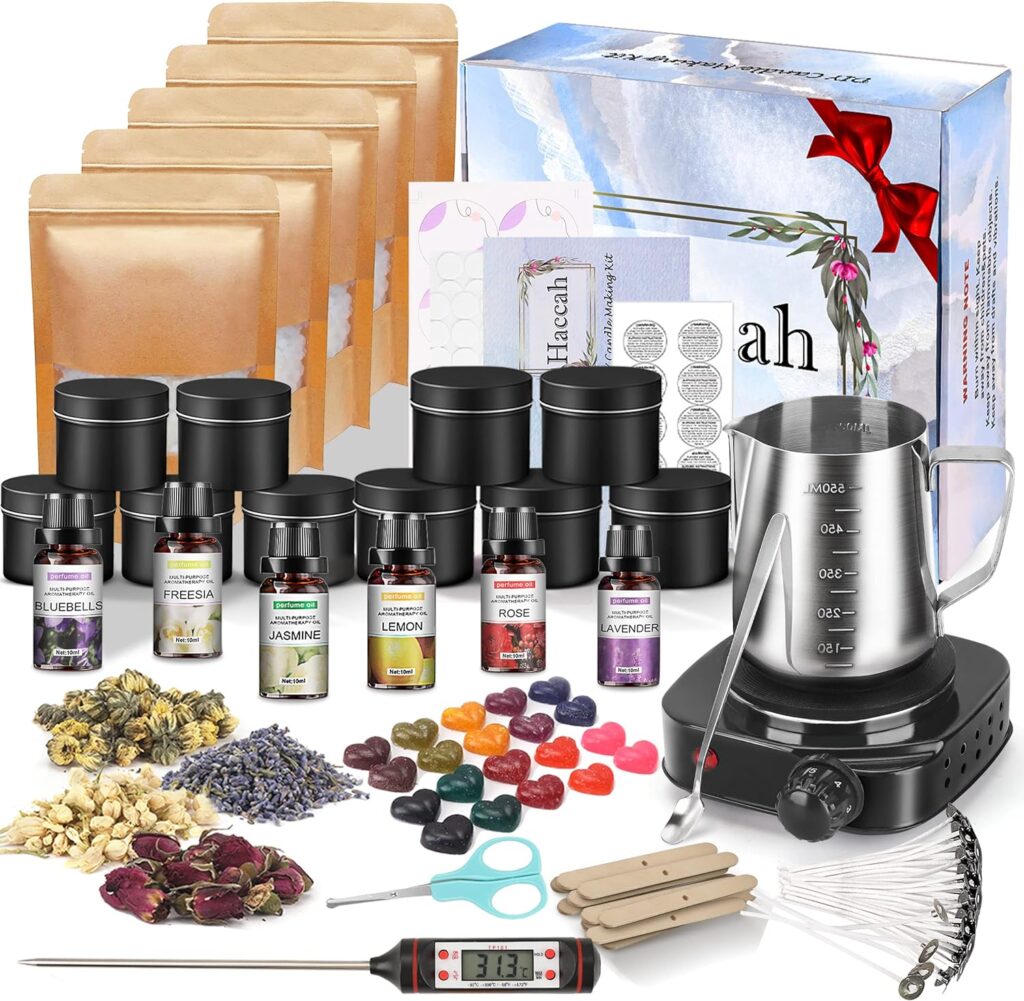
Can you recommend a quality beginner’s kit for candle making?
Beginner’s kits typically include pre-measured ingredients and supplies, simplifying your first candle making project. For a quality start, the Candle-Making 101: The Complete Beginner’s Guide to Making Candles covers the essentials you’ll need.
What safety precautions should I take when making candles?
When making candles, always work in a well-ventilated area, use heat-resistant gloves, never leave your melting wax unattended, and keep a fire extinguisher nearby as a precaution. Be sure to follow instructions for the specific wax and fragrance oils you are using.
How can I turn my candle making hobby into a business?
To turn your hobby into a business, first perfect your craft and produce a unique product. Understand the market and regulatory requirements. Then, create a brand, and consider selling your candles online or at local markets. Effective marketing strategy is key.
Where can I find beginner-friendly candle making classes or tutorials?
Beginner-friendly classes and tutorials are available online. Websites such as The Art of Candle Making: A Step-by-Step Guide offer detailed guidance on the process, giving you a solid foundation to build upon.