
Beginner’s Guide to Lapidary as a Hobby: Mastering the Art of Stone Cutting and Polishing
Lapidary, the art of cutting, shaping, and polishing stones and gemstones, offers a unique combination of craftsmanship and science. It can turn rough natural treasures into stunning pieces of jewelry or ornamental objects.
As a beginner in this rewarding hobby, you will discover the joy of transforming a piece of rock into a work of art with your own hands. The process, which has been refined over centuries, taps into both your creative instincts and technical skills.
Starting your journey into lapidary requires you to become familiar with the basics, such as the essential equipment and materials needed.
A rock tumbler, various grits for different stages of polishing, water, and, of course, rough gemstones are some of the fundamental supplies.
As you progress, you’ll learn to use these tools to reveal the hidden beauty within each stone.
Embracing lapidary as a hobby is not just about the end product, but also the satisfaction of the process.
There’s a profound sense of accomplishment in watching a nondescript rock gradually assume the shape and polish of a gemstone.
And while it demands patience and precision, the joy of seeing your handiwork come to fruition is unparalleled, making lapidary a deeply fulfilling pastime.
Getting Started with Lapidary
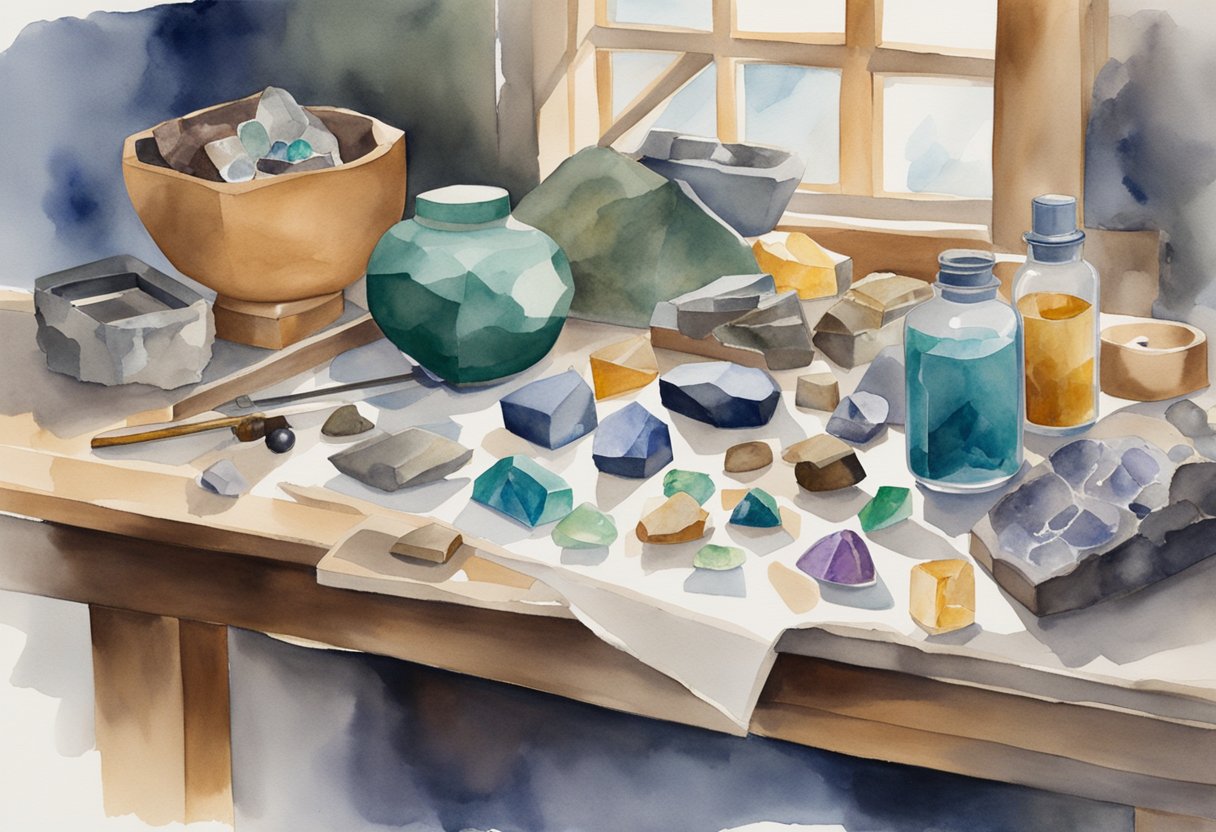
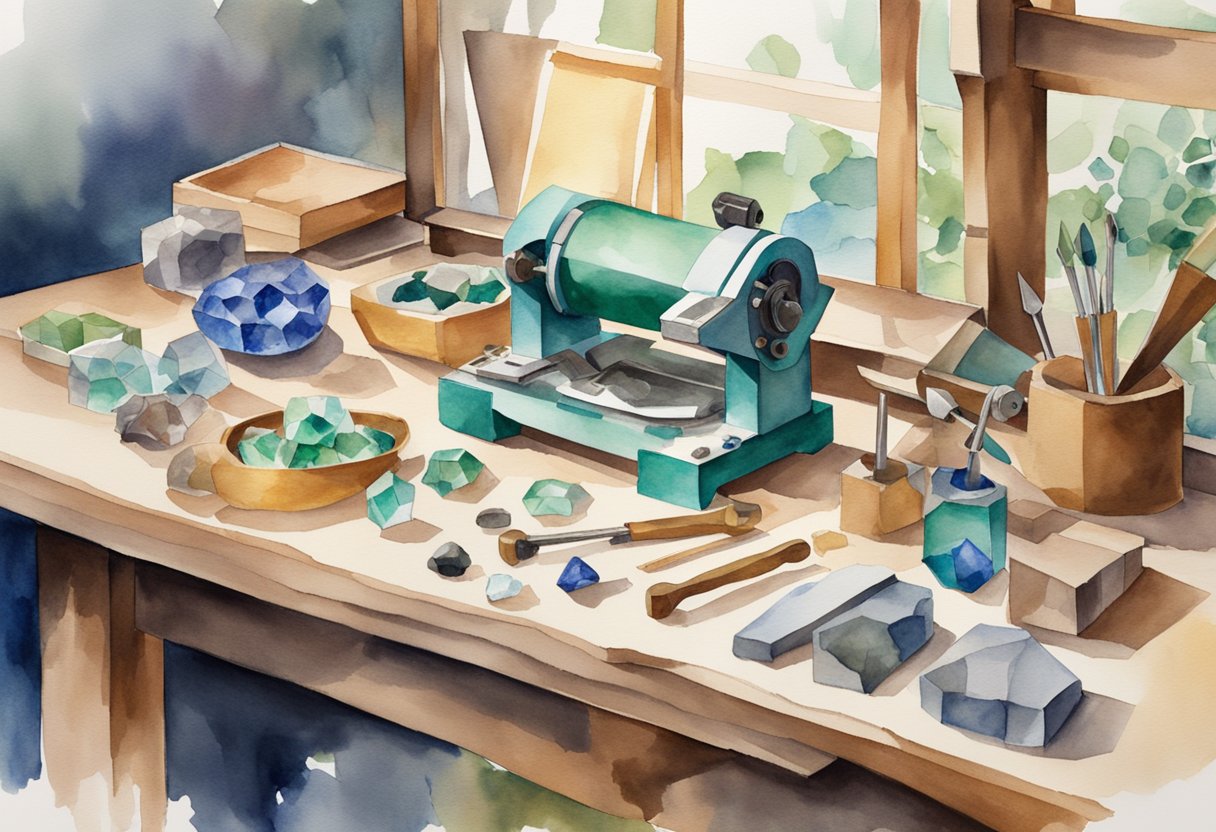
Embarking on your lapidary journey involves selecting the right raw materials and ensuring you have a functional workspace set up. Success in lapidary for beginners hinges on these foundational steps.
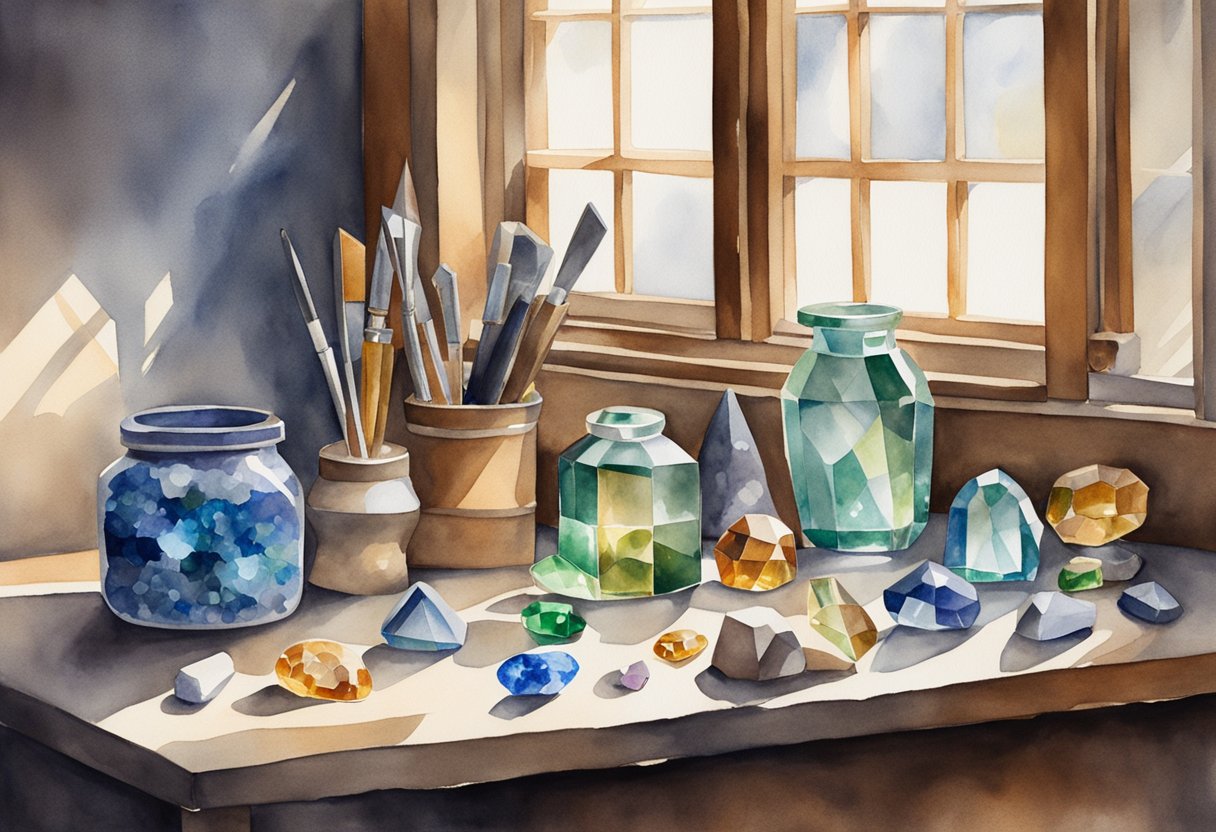
Choosing Your First Gemstones
When you’re new to lapidary, consider starting with stones that are easier to cut and polish.
Quartz, agate, and jasper are ideal due to their hardness and availability.
Your selection should focus on stones that do not have visible cracks or fractures, as these can complicate the cutting and polishing process.
- Quartz – Offers a variety of colors and is hard enough to withstand the cutting process.
- Agate – Known for its beautiful patterns, agate is both accessible to beginners and rewarding to work with.
- Jasper – Distinguished by its opacity and patterns, jasper is also a solid choice for novices.
For these initial purchases, you might consider visiting local gem shows or rock shops. Lapidary Equipment for Beginners: Getting Started can provide further guidance on the types of gemstones well-suited for beginners.
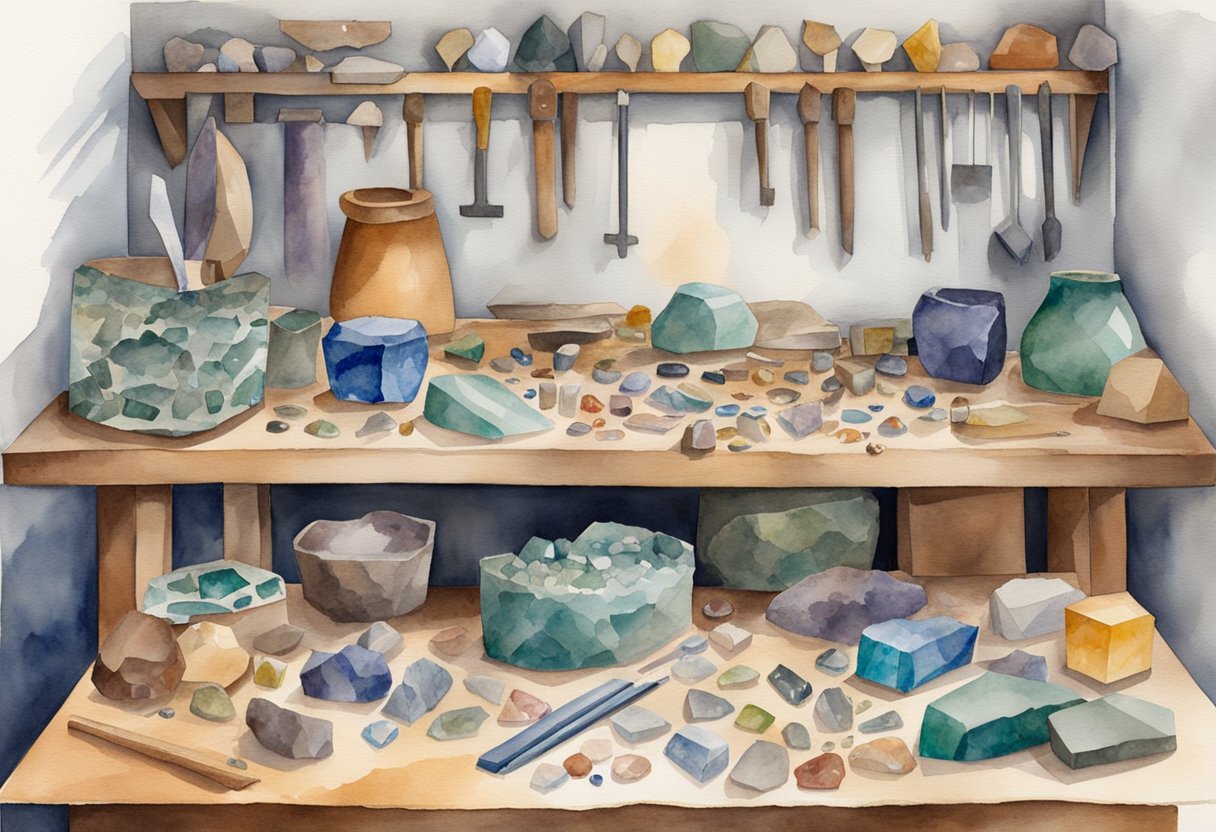
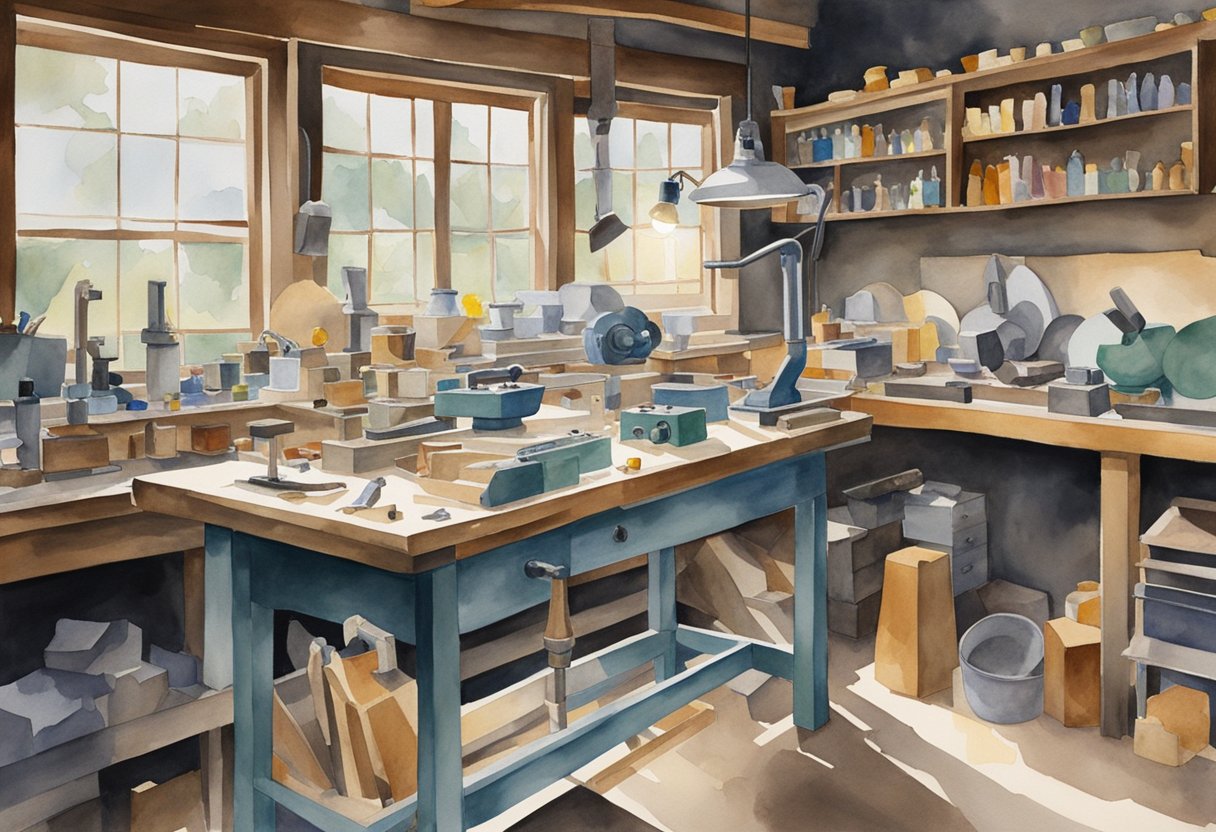
Setting Up a Workspace
A safe and organized workspace is crucial to practicing lapidary.
Start by finding a sturdy table that can support heavy equipment without wobbling. Safety gear, such as protective eyewear and gloves, should be readily accessible.
Essentials for Your Workspace:
- Workbench: A sturdy surface, preferably with a water-resistant top.
- Storage: Drawers or containers for organizing grits, polishing compounds, and small tools.
- Safety Equipment:
- Goggles: To protect your eyes from flying debris.
- Gloves: To keep your hands safe from sharp edges.
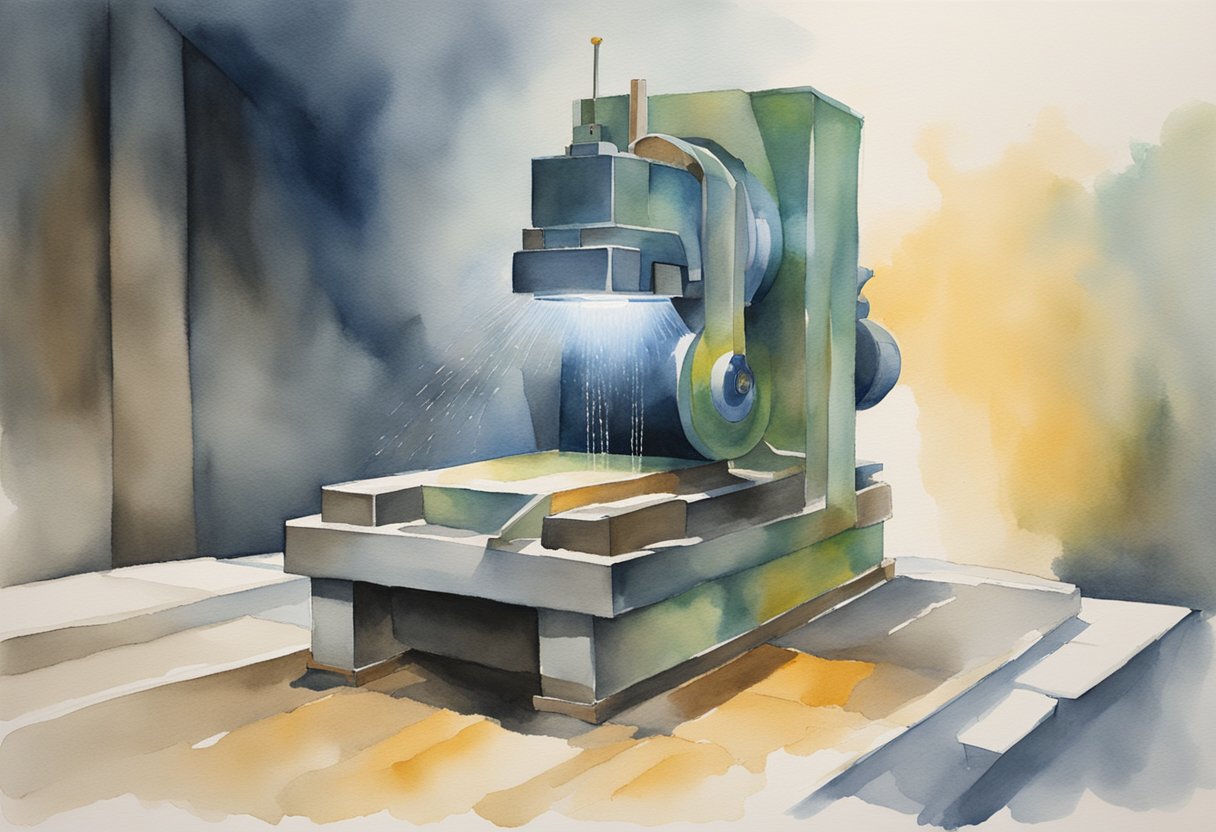
Electric tools like a Trim Saw are essential for cutting rough rocks into manageable pieces.
It’s important to set up your equipment in an area with good ventilation and to keep a first aid kit close at hand for any minor injuries that might occur.
Fundamentals of Lapidary Tools
In lapidary, precision and safety are paramount. Equip yourself with the fundamental tools and safety gear to transform rough stones into artistic creations.
An Overview of Lapidary Tools
Tools:
- Trim Saw: Your journey in stone cutting begins with a trim saw, which is used to cut smaller pieces from large rocks. Precision is essential, and the trim saw blades typically range from 6 to 12 inches in width.
- Grinding Wheels: Once your piece is cut, shaping comes next. Grinding wheels remove excess material to form the desired shape. They come in various grits for different stages, from heavy removal to fine shaping.
- Cabbing Machine: The process of making cabochons, or “cabs,” for jewelry entails the use of a cabbing machine. This multi-functional equipment allows you to grind, sand, and polish the stone.
- Faceting Machine: For gemstones requiring precise angles, a faceting machine is your best bet. This helps in cutting facets on a gemstone with exactness and consistency.
Understanding the Importance of Safety Gear
Safety Gear:
- Safety Goggles: Your eyes need protection from flying debris and dust. Always wear safety goggles during cutting, grinding, or polishing to prevent any potential injury.
- Protective Clothing: Durable clothing is advised to shield your skin from sharp fragments and rough edges.
Remember, your safety gear is just as important as your lapidary tools. Never compromise on safety while indulging in your lapidary hobby. Both your skills and wellbeing are integral to creating beautiful gemstone artistry.
The Process of Cabbing
Cabbing, the process of transforming rough gemstones into polished cabochons, involves meticulous shaping and polishing using specialized equipment and techniques. It is both an art and a science, requiring patience and practice to master.
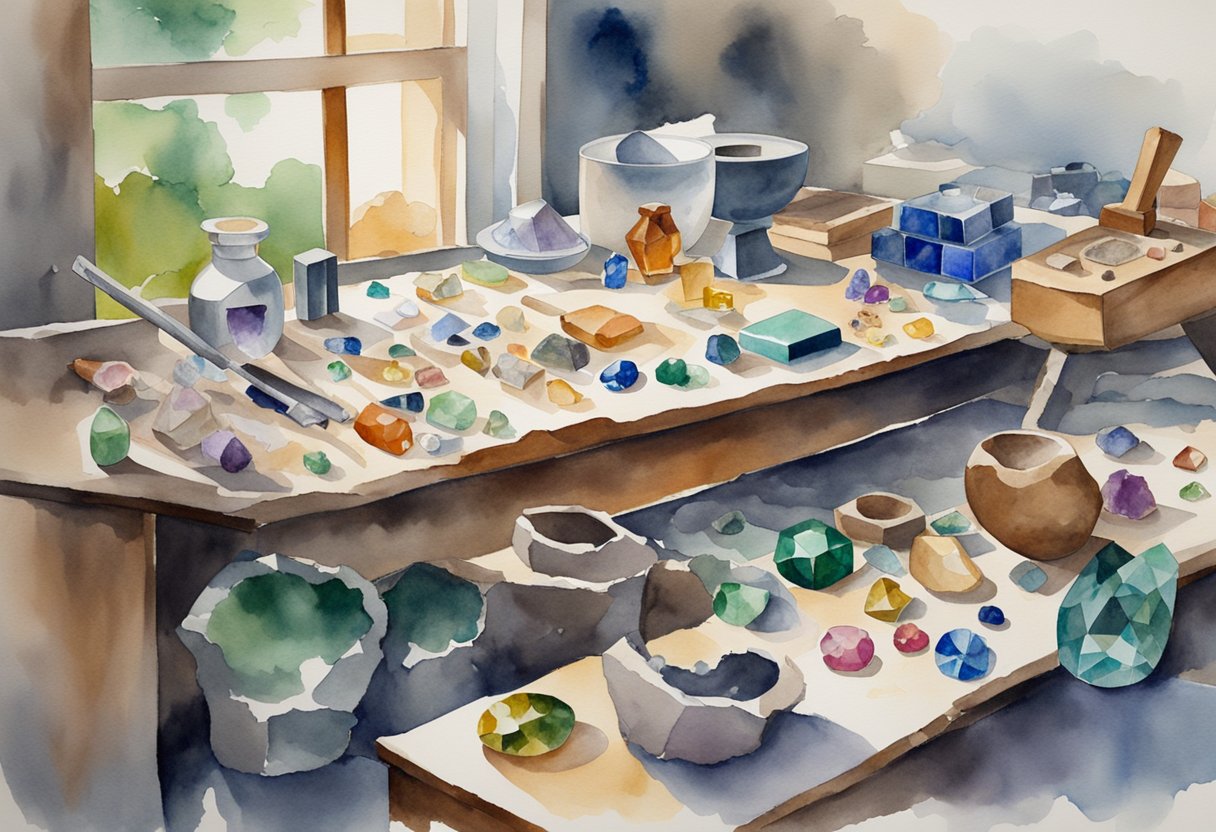
Selecting Rough Gemstones for Cabbing
Your journey into cabbing begins with selecting rough gemstones. Look for stones with few cracks or inclusions and choose a size appropriate for cabochons.
Generally, the best rough has vibrant colors, interesting patterns, or other attributes that will enhance the final appearance. Remember, the quality of rough directly impacts the results you obtain after cabbing.
Shaping and Polishing Cabochons
The shaping process involves grinding down the rough stone using a series of wheels or disks coated with abrasive grit.
Start with a coarse grit to remove excess material and gradually switch to finer grits for smoothing.
Once the desired shape is achieved, you’ll move on to polishing.
Apply polishing compounds to give your cabochon a glossy finish, ensuring it shines and reveals its full color and texture.
Mastering the Cabbing Machine
Mastering the cabbing machine is essential for successful cabbing.
Familiarize yourself with different parts of the machine—grinding wheels, lap disks, water systems, and more.
Maintain a steady hand to apply even pressure and keep the stone moving to avoid uneven wear or scratches.
As you gain confidence with the equipment, you’ll learn to create cabochons that are both beautiful and uniquely yours.
Introduction to Faceting
Faceting transforms rough gemstones into sparkling jewels through precision cutting and polishing. Your success in this craft hinges on choosing the right equipment and mastering essential techniques.
Choosing a Faceting Machine
To begin faceting, your foremost task is to select a faceting machine that meets your needs.
Key aspects of this decision include the machine’s stability, accuracy, and ability to maintain the required angles with precision.
Some machines offer features like digital angle displays, which can greatly assist beginners in achieving accurate cuts.
Thoroughly research and invest in a machine that is known for its reliability and ease of use.
Faceting Techniques for Beginners
Your journey in faceting starts with understanding basic techniques.
Begin with simple cuts as you familiarize yourself with your machine’s operation and the effects of varying angles and depths.
Remember, the faceting process is an art that requires patience and practice.
Skill development is incremental; start with less expensive materials before progressing to precious gems like diamonds.
- Preforming: Shape your rough gem into a close approximation of the final shape.
- Cutting: Create and refine the main facets of the gem.
- Polishing: Use finer abrasives to bring out the gem’s brilliance.
The Art of Cutting Precious Gems
When you’ve gained confidence with basic skills, you may advance to cutting more precious gems.
Each faceted gem represents a unique challenge, demanding artistic vision and meticulous precision.
Precision is crucial—every angle and index must be carefully controlled to reveal the gem’s inner beauty.
- Transfer: Moving the gem from one dop stick to another without altering the alignment.
- Symmetry: Ensuring that the facets align perfectly for maximum light reflection.
- Final Inspection: Carefully examining the gem for any missed spots or imperfections.
Crafting and Polishing Gemstones
In the world of lapidary, crafting and polishing gemstones are pivotal steps that transform rough rocks into stunning pieces. Precision and patience are your best tools as you progress through these techniques.
Tumbling Techniques
Tumbling is a widely adopted method for polishing multiple gemstones simultaneously. Your tumbler serves as the primary tool, revolving the gemstones with a mix of water and abrasive grit to gradually smooth and shape them.
Begin with a coarse grit, and move through finer stages, culminating in a polish that reveals the gem’s brilliance.
Keep the following steps in check:
- Coarse Grind: This prepares the rough surface for finer work.
- Medium Grind: Transition to shaping the stone more precisely.
- Fine Grind: Smoothens the stone before final polishing.
- Polish Stage: Use a finer compound like cerium oxide for a high shine.
Polishing Gems to Reveal Their Brilliance
After tumbling, polishing elevates the gemstone’s fire and brilliance. This process involves buffing the stone with a series of finer abrasives.
Begin with silicon carbide and move to a softer material like cerium oxide for that final lustrous sheen.
- Initial Buff: Use a harder abrasive to remove any remaining scratches.
- Final Shine: Apply cerium oxide or tin oxide for a mirror-like finish.
Using Diamond Wheels and Polishing Compounds
For more precision shaping and fine-tuning of gemstones, diamond wheels are essential.
These wheels come in various grits, similar to sandpaper, and allow you to work on specific areas with control.
After the gemstone meets your shape and contour expectations, polishing compounds like aluminum oxide or cerium oxide refine the surface.
Remember:
- Diamond Wheel Process: Utilize the wheels sequentially from coarse to fine.
- Polishing Compounds: Choose your compound based on the type of gemstone.
Advanced Techniques in Lapidary
Embarking on advanced lapidary techniques takes your skills from basic shaping to intricate detailing. This segment of your journey requires consistent practice and patience to master the art of carving, engraving, grinding, and sanding—each demanding precision to transform a simple stone into a masterpiece.
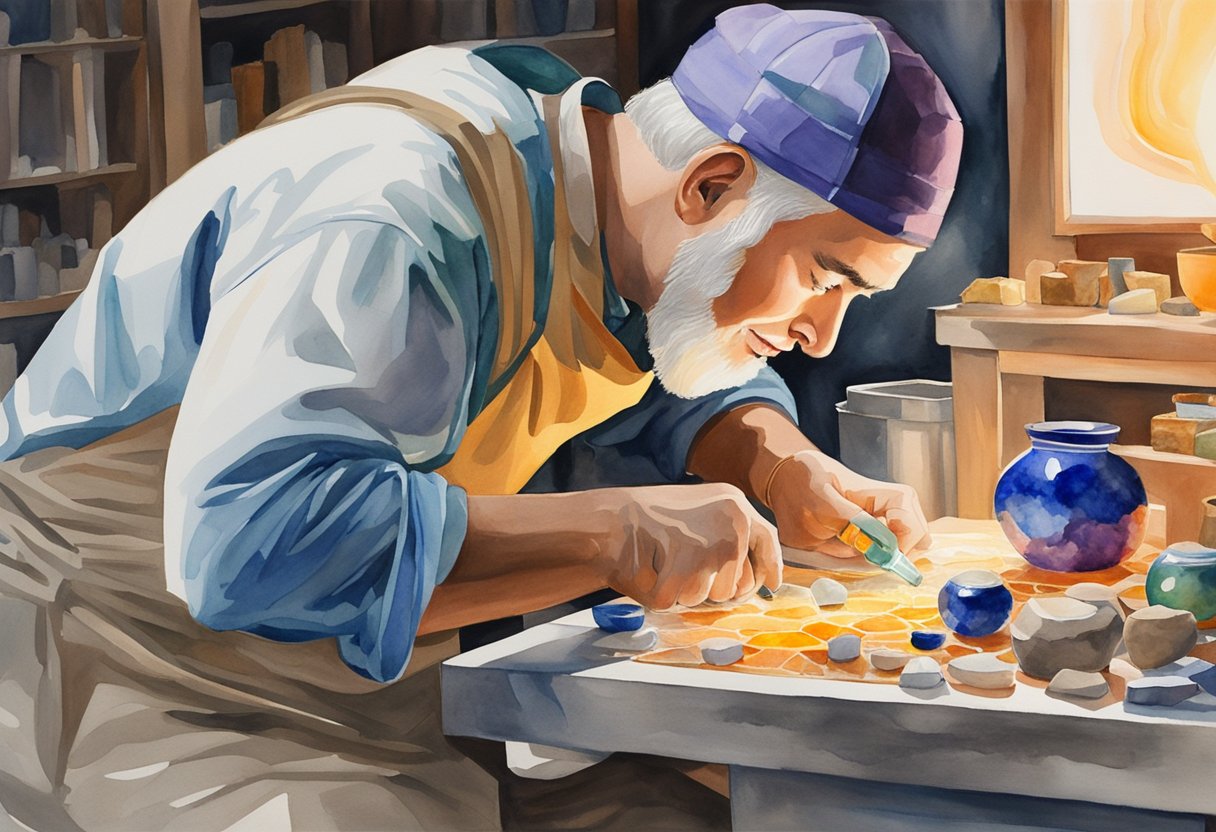
Exploring Gem Carving and Engraving
In advancing your lapidary hobby, gem carving is about sculpting the stone into three-dimensional shapes.
While tackling this, remember to select the appropriate tools for the material you are working with.
Understanding the hardness and potential fractures within the gemstone is crucial to achieving the desired result without damaging the stone.
Engraving, on the other hand, involves etching designs onto the surface of the gem.
This meticulous skill is akin to drawing, where you’ll slowly create patterns, letters, or images.
The level of detail possible in gem engraving can transform an ordinary stone into a unique and personal work of art.
Developing Competent Grinding and Sanding Skills
As you level up to more advanced techniques, grinding and sanding become more than just preliminary steps; they are integral to refining your final piece.
Proficiency in grinding will shape your gemstone to its near-final form. It’s essential to:
- Select the right grit size for each stage
- Use a gentle touch to avoid chipping
- Inspect your work regularly to maintain symmetry
The path to smoothness and polish is through sanding.
This step removes the scratches left by grinding and requires a series of progressively finer abrasives.
Achieve a glass-like finish by meticulously working through the necessary grit sizes, often finishing with a very fine 14,000 grit or higher.
Maintaining Your Lapidary Equipment
Proper maintenance of your lapidary equipment is crucial for ensuring longevity and consistent performance. Regular cleaning and addressing common issues will keep your tools in top shape.
Regular Cleaning and Care
To ensure your lapidary tools remain functional and efficient, establish a routine cleaning schedule.
After each use, remove any rock debris and sediment from the saws and grinding wheels.
For a trim saw or cabbing machine, it’s essential to clean the blades and wheels with soapy water or a specialized cleaner designed for lapidary equipment to prevent rust and maintain the sharpness of the blade.
- Daily Tasks:
- Wipe down equipment surfaces
- Check for loose parts or fittings
- Clear dust and sediment from moving parts
- Weekly Tasks:
- Inspect and clean or replace filters
- Lubricate moving parts according to the manufacturer’s instructions
Proper care involves not only cleaning but also storing your equipment in a dry, dust-free environment to prevent corrosion and wear.
Troubleshooting Common Issues
When your lapidary equipment encounters problems, acting swiftly can save you time and money.
For instance, a grinding wheel that wobbles or vibrates needs immediate attention. Check for:
- Misalignment: Realign according to the manual’s instructions.
- Wear and Tear: Replace it if the wheel is excessively worn out.
If your rock tumbler is not operating smoothly or making unusual noises:
- Inspect the belts and pulleys for wear and proper tension.
- Check the barrel for balance and ensure it is properly sealed.
For electrical issues, such as a machine not starting, always check the power source first and look for any visible damage to the wires or connections.
Refer to the equipment’s manual for specific troubleshooting steps and never hesitate to contact the manufacturer or a professional if you’re unsure about the problem or solution.
Connecting with the Lapidary Community
Entering the world of lapidary arts can be as enriching as it is engaging, particularly when you connect with a community of like-minded individuals. Your journey becomes more rewarding when you have access to resources, share experiences, and learn from the knowledge of others.
Joining Local and Online Lapidary Groups
As you begin exploring lapidary as a hobby, finding a community of individuals who share your passion is invaluable.
Look for local lapidary clubs where you can attend meetings, participate in workshops, and benefit from hands-on experience.
Many online forums and social media groups offer a platform to connect with others, no matter where you are. Here’s a quick checklist to get started:
- Research:
- Look for national or international lapidary organizations.
- Find local lapidary clubs or meetups in your area.
- Engage:
- Join online forums and social media groups focused on lapidary.
- Attend local club meetings and workshops if possible.
Sharing Experiences and Learning from Others
Sharing your lapidary experiences and creations with fellow hobbyists isn’t just about getting feedback; it’s a process of mutual learning and support.
By discussing techniques, you enhance your own expertise and contribute to the growth of beginners in the community.
It’s also important to learn from the experience of seasoned lapidarists.
Whether it’s through step-by-step guides to basic lapidary techniques or video tutorials like those found on platforms such as YouTube, there is a wealth of knowledge to be discovered.
By sharing insights and outcomes of your projects, you become an integral part of the cycle of knowledge within the lapidary community.
Frequently Asked Questions
As a beginner in lapidary, understanding the basics can guide you in starting your new hobby successfully. These frequently asked questions will provide you with the essential knowledge to begin your lapidary journey.
What are the essential tools and equipment required for a beginner in lapidary?
To begin your work in lapidary, you’ll need a selection of tools and equipment.
A rock tumbler, various grits for different stages of polishing, a trim saw for cutting rough stones, and safety equipment like goggles and gloves are essential for starting out.
How can a beginner learn the fundamentals of lapidary work?
You can learn lapidary fundamentals through online tutorials, instructional books, and beginner’s guides to lapidary that offer step-by-step processes.
Practical experience by starting simple projects also contributes greatly to your learning.
Where can novices find lapidary classes or workshops?
Novices can look for classes at local community centers, gem and mineral societies, or trade schools.
Additionally, some lapidary equipment suppliers offer workshops or can advise you on where to find local instruction.
What are some affordable options for starting lapidary as a hobby?
Begin with modest investments such as acquiring a used tumbler or starting with inexpensive or locally sourced rough stones.
You can also save by making your own tools or buying just the basics while you learn the craft.
What should beginners know before attempting their first lapidary project?
Before starting your first project, understand that different stones have varying hardness and will respond differently to cutting and polishing.
Research the types of stones you’re interested in working with and the basic lapidary techniques required for those materials.
What safety considerations should beginners be aware of when practicing lapidary?
When engaging in lapidary, wearing protective eyewear, a dust mask, and ear protection is vital to prevent injury from flying debris and loud noise.
Ensure your workspace is well-ventilated to reduce the risk of inhaling dust.