
Beginner’s Guide to Embroidery: Mastering the Art as a Hobby
Embroidery, a craft that weaves a rich tapestry of history and creativity, offers a fulfilling avenue for artistic expression. As you embark on this journey, you’ll find that mastering embroidery is both rewarding and enjoyable.
The first steps into the world of needle and thread can transform a simple piece of fabric into a canvas for personal stories and intricate designs.
This article contains affiliate links. If you make a purchase through a link on our site you are supporting our continued efforts to educate people like you in finding new and rewarding hobbies. Thank you!
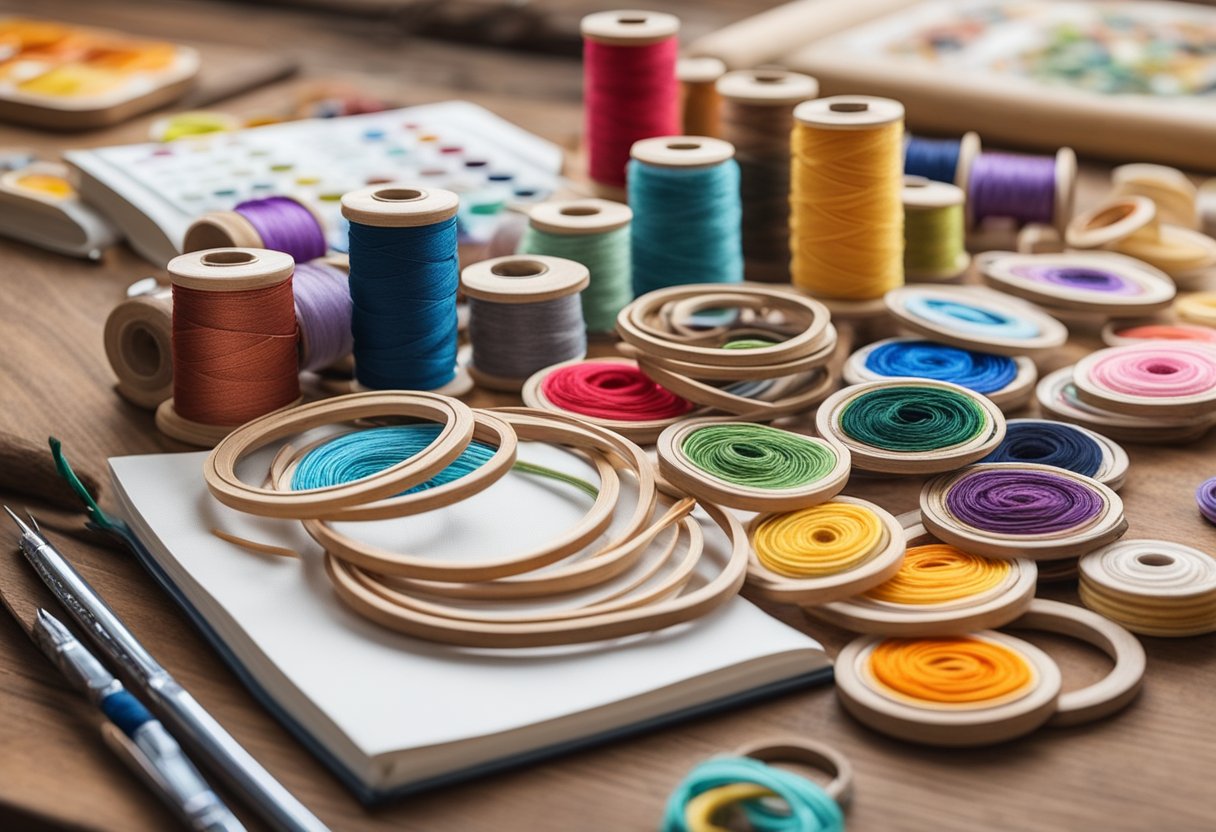
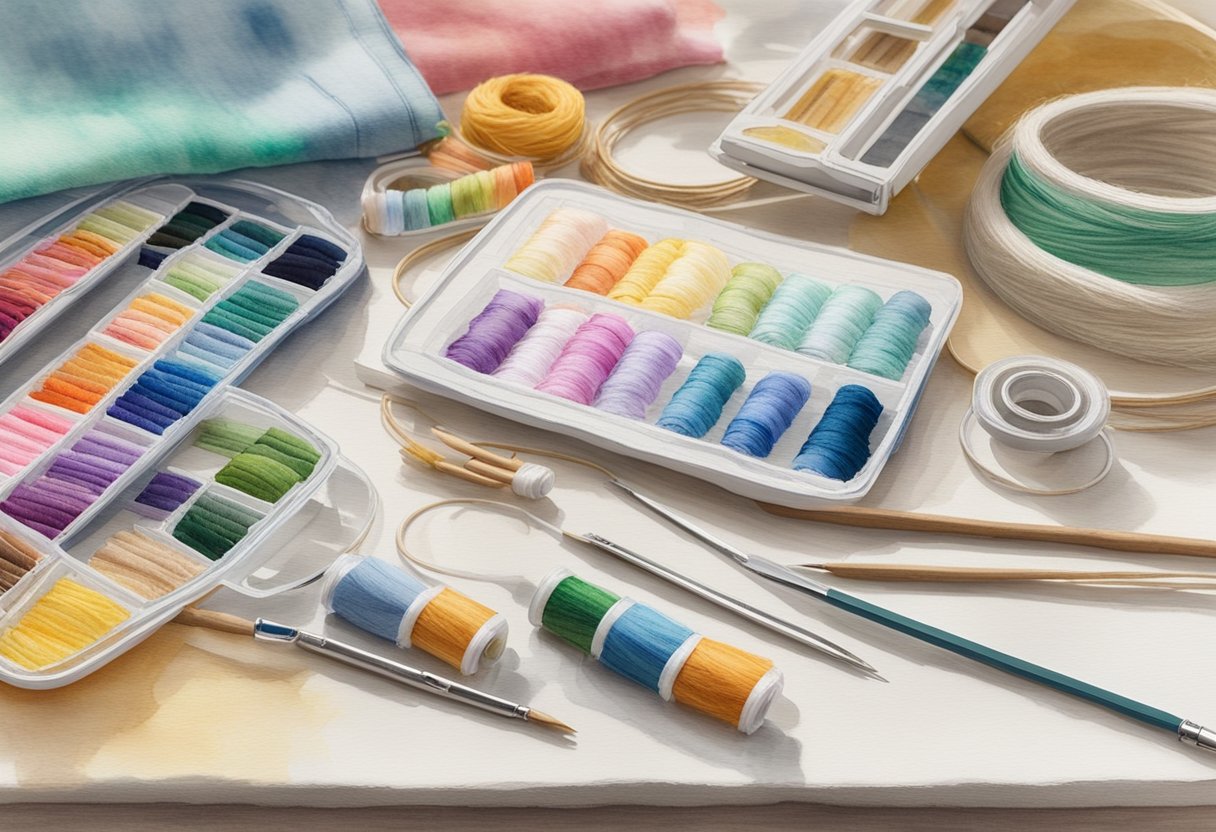
Navigating the essentials of embroidery is straightforward, and you can begin with a few basic materials. A hoop, a selection of colorful threads, and the right needle are the primary tools you’ll need.
With these in hand, explore the variety of stitches that form the foundation of all embroidery projects. Techniques such as cross-stitch, backstitch, and satin stitch are not only functional but also facilitate the creation of stunning visuals on fabric.
Understanding the basics will help you start your first project with confidence. Your initial attempts will teach you the nuances of tension and texture, guiding you through the learning curve that all embroiderers experience.
Embroidery Essentials
Embarking on your embroidery journey requires understanding the foundation of the craft: the materials. Recognizing the importance of choosing the right fabric, selecting suitable threads, and understanding needles will set you up for success.
Choosing the Right Fabric
Your choice of fabric is pivotal as it is the canvas for your artwork. Prefer fabrics with a tighter weave like linen and quilting cotton, as they provide an ideal surface that is easier for the needle to penetrate and support the stitching without distortion. For beginners, it’s advantageous to steer clear of Aida cloth, typically utilized for cross-stitch, due to its more rigid structure and square weave.
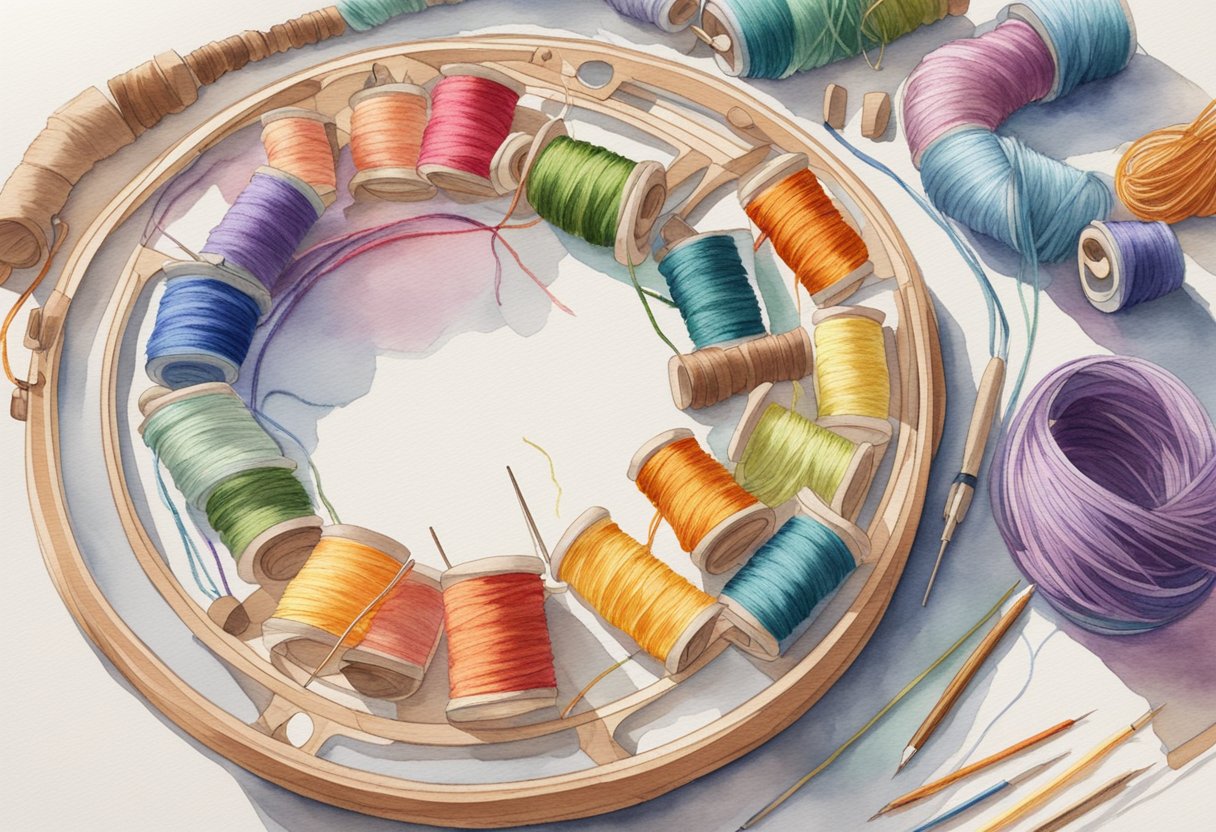
Selecting Embroidery Threads
The type of thread you use can significantly affect the appearance and durability of your work. Embroidery thread comes in various fibers like cotton, silk, and rayon. For starters, cotton threads are recommended due to their wide availability, range of colors, and ease of use. Make sure you consider the thread weight, as heavier threads will create a more pronounced texture, and finer threads are ideal for delicate designs.
Understanding Embroidery Needles
Choosing the right needle can make a substantial difference in your embroidery experience. Embroidery needles, known for their longer eyes, allow for easier threading of thicker embroidery threads. It’s essential to match the size of the needle to the thickness of your thread and the weave of your fabric to avoid damaging the material or making it difficult to pull the needle through. A good starting point is a size 7 or 8 embroidery needle for general work.
Getting started with an Embroidery Kit from Amazon is a great way to get all the essentials in one purchase and get started quick!

Setting Up Your Embroidery Tools
Before you dive into the fascinating world of embroidery, setting up your tools correctly will ensure a smooth stitching experience. Proper preparation of your embroidery hoop and organized supplies are fundamental to achieving the desired results.
Preparing the Embroidery Hoop
The embroidery hoop is crucial for maintaining fabric tension while you work. To start, separate the two rings of the hoop by loosening the screw at the top.
Lay your chosen fabric over the smaller ring, then press the larger ring down over the fabric and the smaller ring. Your fabric should be taut, like the surface of a drum, without any wrinkles.
Tighten the screw while gently pulling the fabric edges outward, ensuring uniform tension across the entire surface.
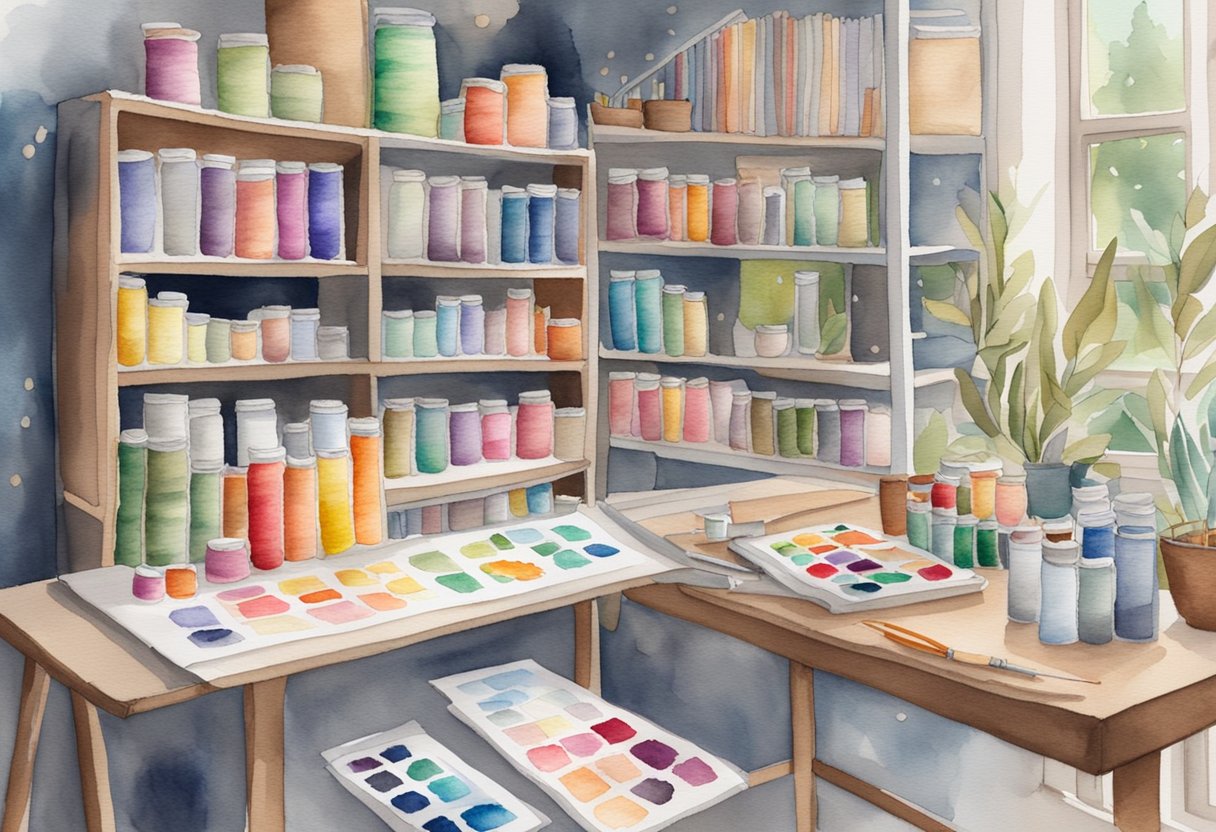
Organizing Embroidery Supplies
Organizing your embroidery supplies not only helps in keeping your workspace tidy but also in making your stitching process more efficient. Here’s a simple way to organize:
- Scissors: Keep a sharp pair of embroidery scissors easily accessible for snipping threads.
- Bobbins: Wind your threads onto bobbins to prevent tangling and label them with the thread color number.
- Stabilizer: Depending on your fabric and design, choose the appropriate stabilizer—cut-away, tear-away, wash-away, or heat-away.
- Iron: Pre-ironing your fabric before placing it in the hoop can remove creases, providing a smooth base for your embroidery.
Taking a little time to set up your embroidery tools properly will pay off with a more enjoyable stitching experience and higher-quality finished projects.
Basic Embroidery Techniques
Embroidery can transform fabric into a canvas for your creativity, but mastering the basic techniques is essential. Starting with a handful of fundamental stitches will allow you to tackle almost any embroidery project with confidence and versatility.
Mastering Fundamental Stitches
Embroidery consists of a variety of stitches that, once learned, provide the foundation for most embroidery work.
Running Stitch: This is one of the simplest embroidery stitches, ideal for outlining and adding detail. It involves passing the needle in and out of the fabric at regular intervals to create a dashed line.
Backstitch: A sturdy line stitch that’s excellent for defining outlines, the backstitch involves bringing the needle up through the fabric and then back down behind the previous stitch.
Straight Stitch: Simply a single stitch that can be used to fill areas, create simple designs, or add detail, the length and direction can be varied for effect.
Stem Stitch: For creating plant stems or flowing lines, the stem stitch adds texture with a twisted rope appearance.
French Knot: Used for creating small dots or to fill areas, the French knot involves wrapping the thread around the needle before inserting it back into the fabric.
Chain Stitch: Forming a series of interlocking loops, the chain stitch is decorative and can be used for outlining or filling.
Satin Stitch: This is a smoothing filling stitch that involves tight, flat stitches laid in parallel to completely cover a designated area.
Split Stitch: Adding texture and depth, the split stitch is like a mini chain stitch, with each subsequent stitch splitting the previous one.
Seed Stitch: This scattered stitch is perfect for filling backgrounds and adding texture by making small, randomly spaced straight stitches.
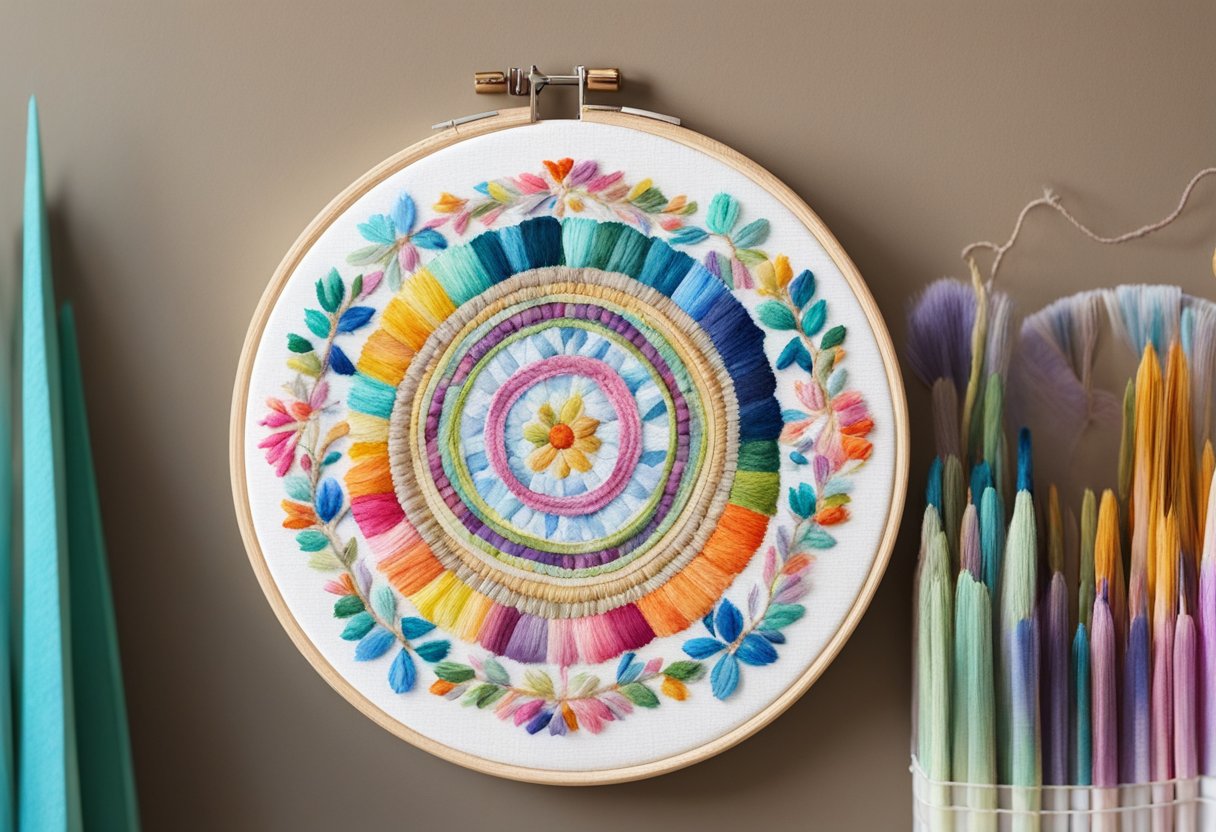
Woven Wheel Stitch: Often used to create roses or flowers, this stitch involves weaving the thread over a base of straight stitches to form a wheel shape.
Transferring Designs to Fabric
Before you begin stitching, you need to transfer your chosen design onto the fabric.
Methods:
- Tracing: You can use a transfer pencil or a water-soluble pen to trace the design onto tracing paper, which is then pinned to the fabric. Stitch over this or use an iron-on method (if the pen supports it) to transfer the design.
- Stabilizers: Temporary stabilizers can be drawn on and then placed over the fabric. As you stitch through both layers, the stabilizer’s design guides your work.
- Carbon Paper Method: Place carbon paper between the fabric and your design. Going over the design with a stylus transfers the image.
Whichever method you choose, ensure your design is clear and centered on your fabric to set the foundation for beautiful embroidery work.
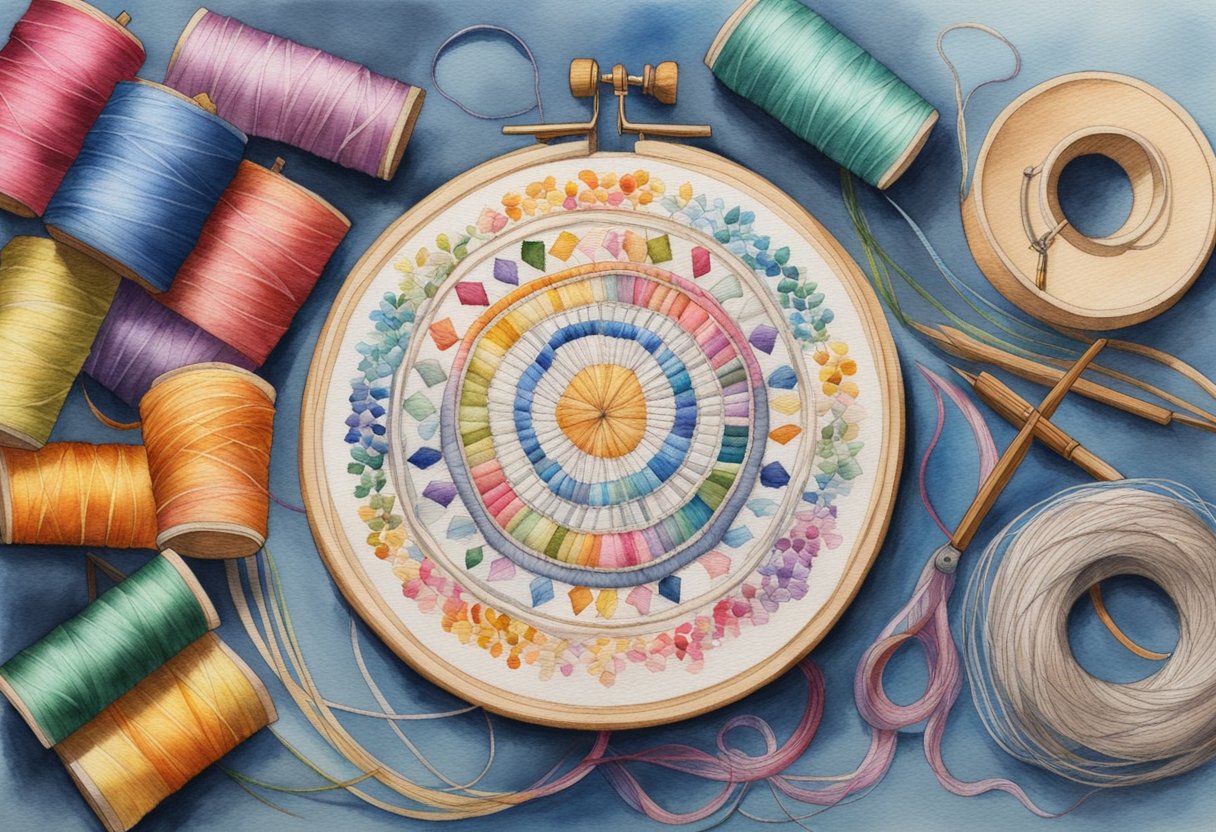
Starting Your Embroidery Project
When you’re ready to embark on your embroidery journey, it’s essential to start with a solid foundation. You will cultivate your design ideas and select beginner-friendly patterns that will guide your path to gaining confidence in this craft.
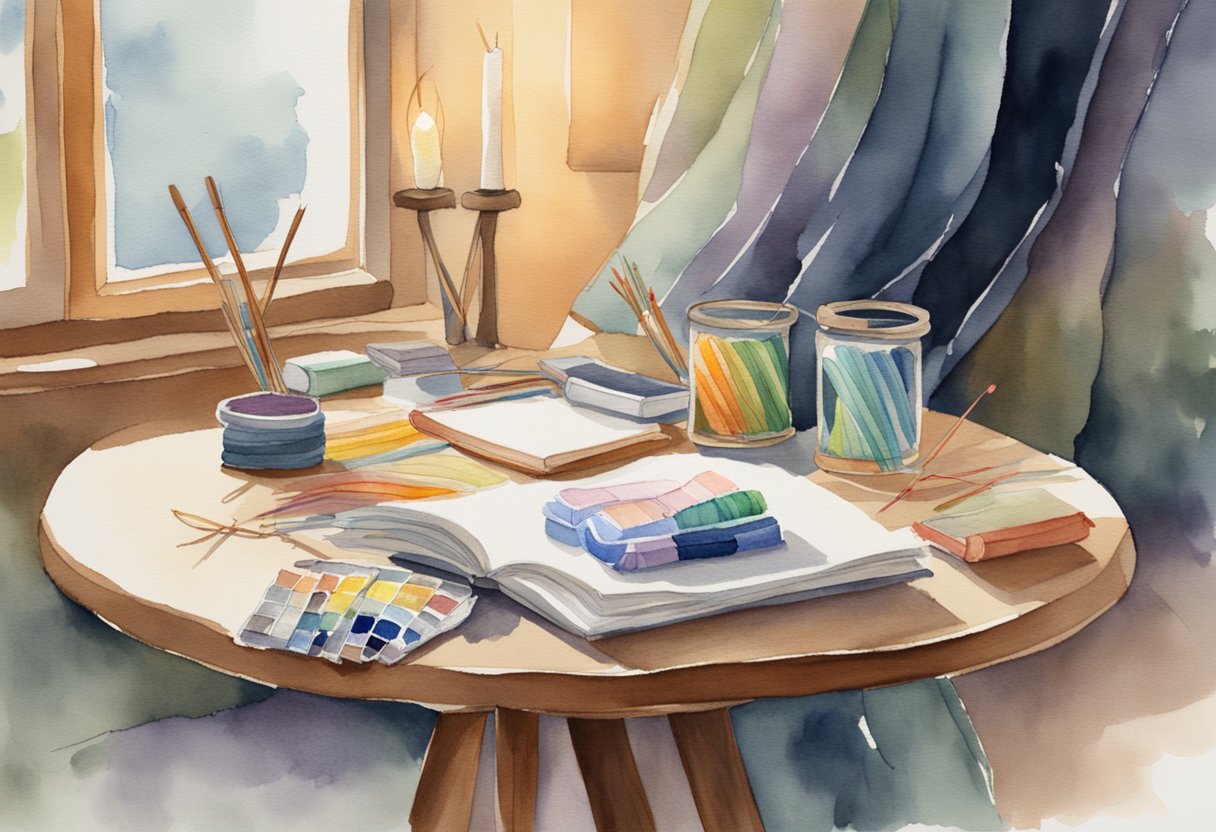
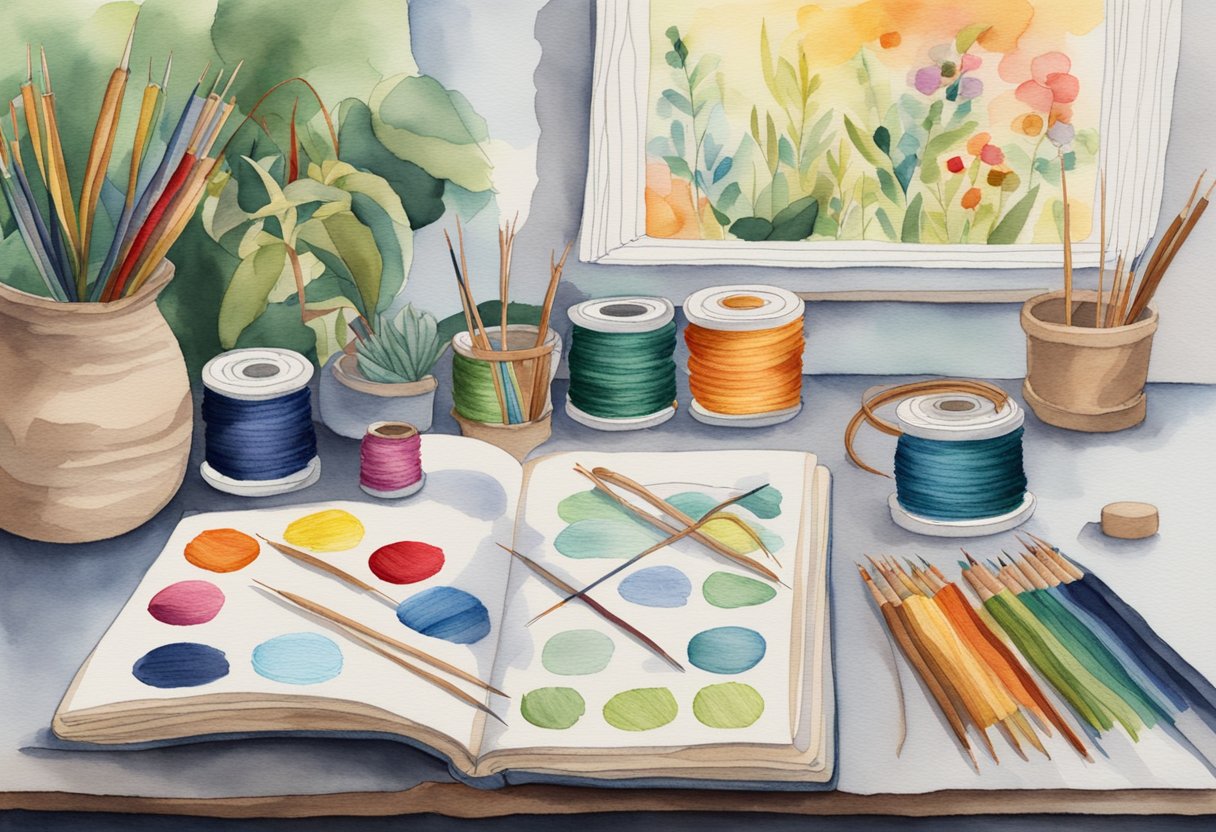
Developing Design Ideas
To foster your creativity, begin by considering themes that you are passionate about. These can range from nature motifs to abstract shapes. It’s important to keep your designs simple at first to ensure you can confidently complete them. Inspiration can be found everywhere—take a look around your environment or search online for ideas that resonate with you. Websites like The Spruce Crafts offer excellent resources for sparking your creativity.
- Think about what excites you: animals, flowers, quotes, or geometric patterns.
- Sketch your designs or use software if you prefer a digital approach.
Selecting Beginner Patterns
As a beginner, it’s advisable to start with beginner embroidery patterns that are not overly complex. Simpler patterns help you build your skills gradually and avoid frustration. Look for patterns that use basic stitches and do not require many color changes.
- Choose patterns that feature large, easy-to-follow shapes.
- Patterns like those found on Gathered can provide you with a structure to help develop your skills.
Remember, every stitch you make adds to your experience, and every project you complete builds your confidence. Start simple, and let your design and creativity flourish as you continue to practice.
Hand Embroidery vs. Machine Embroidery
Embroidery is an art form where you use needles and thread to create designs on fabric. The two primary methods are hand and machine embroidery, and each has distinct techniques, uses, and outcomes.
Exploring Hand Embroidery
When you embark on hand embroidery, you’re engaging in a craft that’s as traditional as it is personal. Your tools are simple: a needle, thread, and fabric. This method allows for a high degree of customization; you control every stitch, making room for infinite creativity in your embroidery design. Popular formats like DST and PES are inconsequential here since your designs spring entirely from your skills and vision.
- Flexibility in design creation: Each stitch is a deliberate act of creation.
- Materials: Just a needle, thread, and your chosen fabric.
Understanding Machine Embroidery Basics
In machine embroidery, you rely on a specialized embroidery machine to automate the stitching process. This method is consistent, quick, and capable of producing intricate designs that might be challenging to replicate by hand. You will work with design files—typically in formats like PES or DST—that instruct the machine on the pattern stitching.
- Consistency and speed: Machines deliver uniform stitches and are ideal for large batches.
- Design files required: Embroidery machines use digital files to stitch designs.
Whether you’re drawn to the control and tradition of hand embroidery or the efficiency of using an embroidery machine, each path offers its own rewards.
Advanced Embroidery Materials
Diving into advanced embroidery, you’ll encounter a variety of materials that can elevate your craft. It’s essential to be familiar with different thread types and specialty fabrics, which play a significant role in the intricacy and texture of your finished piece.
Experimenting with Different Thread Types
Embroidery floss is a staple for any embroidery project. DMC and Anchor are popular brands known for their quality and range of colors. As you advance, you may explore floss types like:
- Variegated floss: Each length contains multiple colors, creating a gradient effect.
- Metallic floss: Adds a shiny, reflective element to your work.
- Silk threads: Known for their luster and strength, providing a luxurious finish.
To effectively use these threads, ensure your tension is consistent to prevent fraying, especially with more delicate materials like silk.
Exploring Specialty Fabrics
Moving beyond standard cotton, you have a plethora of fabric options that can add depth and character to your projects. Here’s a rundown of some you might consider:
- Linen: A classic choice that’s perfect for traditional embroidery with a natural, elegant texture.
- Felt: Offers a thick, soft substrate that’s great for appliqué and doesn’t fray.
- Muslin: Lightweight and fine, muslin is ideal for projects that require a softer drape.
- Aida cloth: With its easy-to-count square pattern, it’s excellent for cross-stitch.
- Calico: A durable, unbleached cotton fabric that’s often used for free-style embroidery and practice.
- Denim: Great for projects that need a sturdy background, such as decorative patches.
- Silk: A high-end option that adds sophistication but can be challenging to work with due to its slipperiness.
Selecting the right fabric often depends on the embroidery technique you’re employing and the look you’re after. It’s worth investing time to experiment with each material to understand its properties and how it can enhance your embroidery projects.
Finishing and Displaying Your Work
Completing your embroidery project is an achievement worthy of display. It’s crucial to secure and protect your stitches for longevity before considering how best to showcase your needlecraft.
Securing and Protecting Stitches
Before you display your embroidered piece, ensure that all your stitches are secure. This often involves neatly tying off and trimming any excess thread on the backside of the embroidery.
A key method is to weave the ends of threads through a few stitches on the reverse of the fabric, which prevents unraveling and maintains the integrity of your work. Be especially careful with delicate materials; avoid pulling the thread too tight to prevent puckering.
Consider the embroidery’s exposure to dust and sunlight. Direct sunlight can fade colors, and dust might cling to your stitches over time. Opt for using a fixative spray that’s suitable for textiles if you’re planning to display the piece without glass protection.
Mounting and Framing
Your finished needlecraft deserves a fitting frame whether you opt for a traditional wooden hoop or a more formal-looking frame.
Bamboo Hoop: This lightweight option adds a natural, rustic feel to your embroidery and is simple to use. Place your finished design in the hoop, secure it tightly, and trim the excess fabric, leaving enough to tuck behind for a clean edge. Sew the fabric edges together at the back for a neat finish.
Wooden Hoops: A more sturdy alternative that can serve as a permanent frame for your pieces. Ensure the embroidery is taut and smooth before securing it in the hoop.
When framing professionally, choose a frame that complements the piece and consider the use of acid-free mats to prevent fabric degradation over time. Mounting your embroidery onto acid-free foam board or fabric stretcher bars will maintain its shape and offer added protection.
Remember, the way you choose to display your embroidery should enhance the beauty of your work without overshadowing the detailed stitching and vibrant colors of your needlecraft.
Embroidery Communities and Resources
Embroidery can be a fulfilling solo activity, but joining a community can greatly enhance your experience. Whether you’re seeking patterns, guidance, or camaraderie, there’s a wealth of resources at your fingertips.
Joining Online Platforms
You’ll find a vibrant presence of embroidery enthusiasts on platforms like Instagram and Facebook.
Instagram is particularly useful for visual inspiration and to follow talented embroiderers whose works might spark your own creativity.
On Facebook, search for embroidery groups; some are geared towards beginners, while others might be centered around specific styles or techniques.
Check out r/embroidery for a community of likeminded creatives sharing embroidery ideas, tips and resources.
When it comes to tutorials and step-by-step guides, YouTube is an excellent source. Channels offer basic embroidery techniques to help you get started and advance your skills. Regularly engaging with these communities not only helps you learn but also keeps you informed about the latest trends and techniques in embroidery.
Finding Patterns and Kits
If you’re looking for patterns to start your embroidery journey, websites like Gathered provide comprehensive guides that are beginner-friendly. They usually offer a variety of patterns ranging from simple to complex, allowing you to progress at your own pace.
For those who prefer having all the necessary materials in one package, consider purchasing an embroidery kit. These kits typically come with a pattern, instructions, fabric, thread, and a hoop. Etsy is an excellent place to find unique and hand-crafted kits created by independent artists and crafters. With an embroidery kit, the guesswork of selecting the right materials is eliminated, letting you focus on developing your skills.
Frequently Asked Questions
Embarking on the journey of embroidery can be both exciting and a little overwhelming. Here you’ll find answers to common questions that can help ease you into this creative hobby.
What are the basic supplies needed for a beginner to start embroidering?
To begin your embroidery adventure, you will need a few essential supplies including embroidery fabric, such as linen or quilting cotton, an assortment of embroidery floss, embroidery needles, an embroidery hoop, and scissors. These materials form the foundation for your embroidery work. For more detailed insights, refer to the Ultimate Embroidery Guide for Beginners.
How does one learn the fundamental stitches in hand embroidery?
Learning the fundamental stitches is crucial for creating beautiful embroidery. You can start with basic stitches such as the running stitch, back stitch, and satin stitch. These foundational stitches enable you to create various patterns and designs. Instructional books, online tutorials, and workshops are excellent ways to learn. The Ten Questions Every Beginner Embroiderer Should Ask provides helpful tips on stitching techniques.
What are some simple patterns suitable for someone new to embroidery?
Simple patterns that are ideal for beginners include floral designs, geometric shapes, and basic outlines that allow for practice of the fundamental stitches. Pre-printed kits or free patterns available online are good starting points. You can find some beginner-friendly pattern ideas in the How to Embroider – Beginner Basics guide.
Can embroidery be self-taught, and if so, what resources are recommended?
Yes, embroidery can be self-taught. There are myriad resources available, including instructional books, online video tutorials, forums, and blogs dedicated to embroidery. These resources often provide step-by-step instructions and visual guides that are very accessible for beginners. For a comprehensive guide, visit Embroidery 101: The Essential Beginner’s Guide.
What is the difference between using an embroidery machine and hand embroidery for a novice?
The difference between using an embroidery machine and hand embroidery lies in precision, speed, and the learning curve. Machine embroidery is faster and can produce precise, repeated patterns but can be costly and requires learning to operate the machine.
Hand embroidery offers a more traditional experience and allows for personalized touches but can be more time-consuming. Beginners may find more flexibility in hand embroidery, as noted in Common beginner machine embroidery questions and answers.
What techniques are used to embroider letters and text effectively?
When embroidering letters and text, techniques like back stitch and split stitch are commonly used for their clean lines and ease of forming letters. Practice on a sampler to get the feel for letter spacing and font style can be very beneficial. Detailed instructions and techniques for lettering can be found in the Complete Beginners Guide to Embroidery.