
Beginner’s Guide to Amigurumi: Crafting Cute Crochet Characters
Amigurumi, the Japanese art of crocheting or knitting small, stuffed yarn creatures, has captivated the hearts of crafters around the world. As a hobby, it offers a delightful blend of creativity and skill-building, allowing you to craft a range of characters from the whimsical to the realistic.
If you’ve ever admired these intricate creations and wondered if you could make them yourself, the answer is a resounding yes. With patience and practice, you’ll discover that amigurumi is a rewarding and enjoyable pastime.
The basics of amigurumi are straightforward and accessible even if you’re new to crocheting. You’ll start by mastering simple techniques such as the magic ring, single crochet, and increasing or decreasing stitches—all fundamental in shaping your adorable amigurumi figures.
Each project offers an opportunity to refine your skills and perhaps learn new ones as you bring your unique creations to life. Whether you’re looking to unwind with a relaxing activity or eager to challenge your dexterity, amigurumi as a hobby can provide both serenity and satisfaction.
Embarking on your amigurumi journey might seem daunting at first, but rest assured that ample resources are available to guide you through the process. From step-by-step tutorials to vibrant online communities bustling with fellow enthusiasts keen to share tips and inspiration, you’ll find support at every turn.
Remember, the beauty of amigurumi lies as much in the process of creation as in the charming end result. So, pick up your crochet hook and a skein of yarn, and prepare to embrace the joy of crafting your very own amigurumi friends.
Understanding Amigurumi
Amigurumi is a delightful hobby that combines the Japanese art of crocheting or knitting with toy creation. It gives you the ability to bring a wide array of adorable characters and creatures to life.
History and Origin
Amigurumi has its roots in Japanese culture, where the traditional craft of crocheting small, stuffed yarn creatures has evolved. The term itself blends the Japanese words for crocheted or knitted (“ami”) and stuffed doll (“nuigurumi”).
This craft became popular in the early 2000s outside of Japan, embracing the kawaii or cute aesthetic deeply ingrained in Japanese culture.
Amigurumi vs. Knitting
While amigurumi can be either crocheted or knitted, crocheting is the more common technique due to its ability to create tight and secure stitches that are ideal for stuffing.
The key difference lies in the texture and structure—crocheted amigurumi typically have a more defined shape, while knitted figures can be a bit softer and less rigid.
Types of Amigurumi
The diversity of amigurumi is vast—you can craft animals, mythical creatures, or even inanimate objects infused with personality. Each creation is distinguished by its unique pattern and yarn choice, with the most popular types being small and palm-sized, perfect for collecting or gifting.
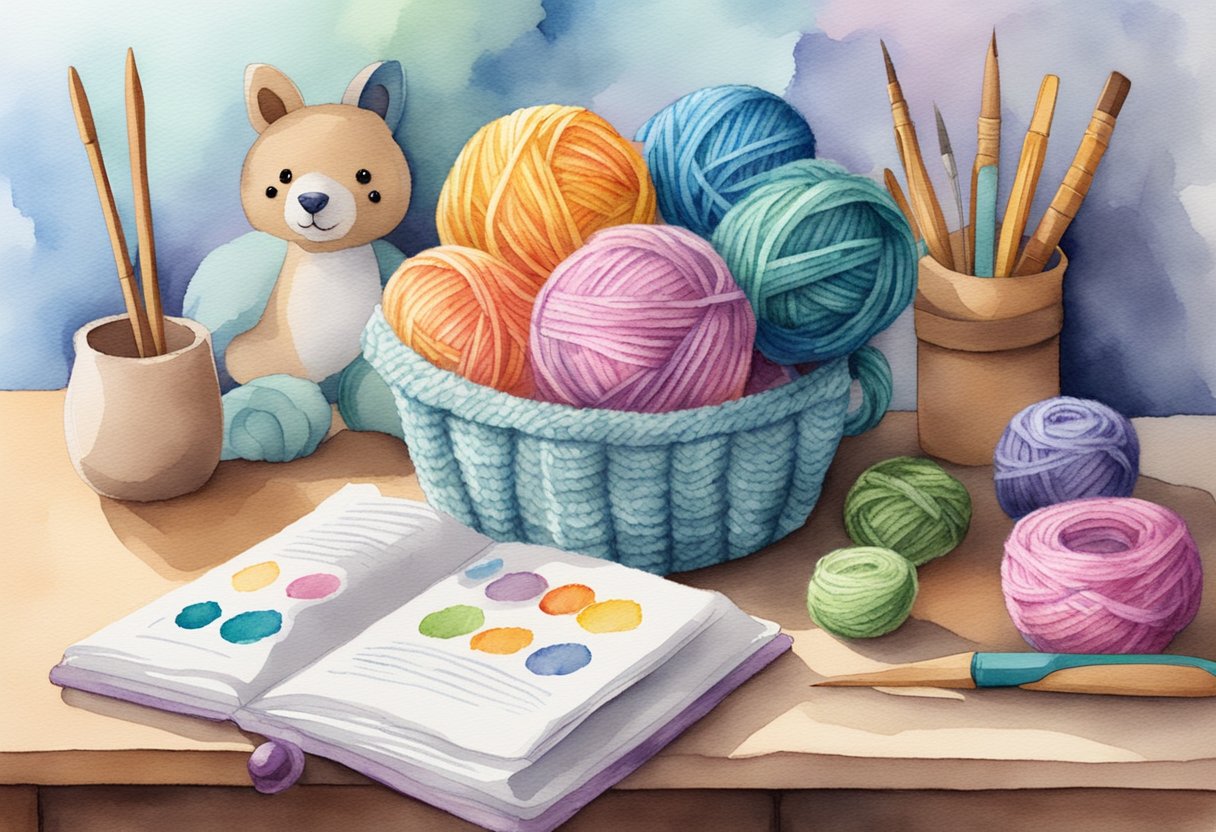
Essential Tools and Materials
To embark on your amigurumi journey, you’ll need to gather specific tools and materials. Ensuring you have the right equipment will help you create intricate and endearing crochet toys with precision and ease.
Choosing the Right Yarn
Yarn is your primary building block for amigurumi. It’s essential to opt for a yarn that will hold stitches well, typically in DK or light-worsted weight, which strikes a balance between fineness and ease of handling. Consider acrylics or cotton for durability and the ability to wash your finished creations without felting.
- Acrylic Yarn: Pros – Durable, easy to work with; Cons – Less breathable
- Cotton Yarn: Pros – Soft, sturdy, natural; Cons – Can be pricier, less stretch
Selecting Crochet Hooks
Your crochet hooks will be the extension of your hands. The correct hook should comfortably fit your grip and match the yarn weight, ensuring your stitches are tight enough that the stuffing doesn’t peek through.
- Recommended hook sizes:
- For DK Yarn: 3.5mm – 4.0mm
- For Light Worsted: 4.5mm – 5.5mm
Additional Supplies
Along with yarn and hooks, several other supplies make the process of creating amigurumi smoother:
- Stitch Markers: Place these to mark the beginnings of rounds or important sections.
- Tapestry Needle: Utilize this to weave in yarn ends and to stitch parts together.
- Stuffing: Polyester fiberfill is popular for its soft and washable properties.
- Safety Eyes: Add these before stuffing to bring your amigurumi to life.
- Scissors: A sharp, small pair is ideal for snipping yarn.
- Markers: Useful for noting down pattern specifics or counting stitches.
Ensure your toolkit includes these items to navigate the intricate art of amigurumi crafting successfully.
Fundamentals of Crochet
Before you begin creating amigurumi, it’s essential to master basic crochet stitches and techniques. Understanding how to read crochet patterns is also crucial, as well as learning the magic ring technique for a seamless start.
Basic Crochet Stitches
Single crochet (sc) is the most fundamental of all crochet stitches and is key to amigurumi. To make a single crochet stitch, insert the hook into the work (second chain from hook on the starting chain), yarn over (yo) and pull up a loop (two loops on hook), yarn over again and draw it through both loops on the hook.
Here is a list of basic crochet stitches you should also learn:
- Chain (ch): Yarn over and pull through the loop on the hook.
- Slip stitch (sl st): Insert the hook, yarn over, and pull through both the work and the loop on the hook.
- Double crochet (dc): Yarn over, insert the hook, yarn over, pull up a loop, (yarn over, draw through 2 loops) twice.
Reading Crochet Patterns
To effectively follow a pattern, begin by understanding the various abbreviations and symbols used to represent different stitches. Patterns also include important information on gauge, stitch count, and finishing techniques. Remember, the right interpretation of a pattern is crucial for the final appearance of your amigurumi.
Magic Ring Technique
The magic ring, also known as a magic circle, is a technique used to create a tightly closed beginning when crafting amigurumi. To form a magic ring:
- Loop the yarn over your fingers to create a circle.
- Insert the hook into the circle, yarn over, and pull up a loop.
- Chain one (or as required by the pattern) to secure the loop.
- Work the necessary number of basic stitches into the ring.
- Pull the loose end of the yarn to tighten the circle.
This method ensures that your amigurumi pieces have a neat and professional start without any gaping hole in the center.
The Art of Amigurumi Crochet
Amigurumi crochet transforms yarn into delightful, stuffed creatures using specific patterns and techniques. Mastering the fundamentals of shaping, joining, and decorating will enhance your ability to bring these charming characters to life.
Creating Shapes and Forms
You begin by following an amigurumi pattern that guides you to crochet in the round, creating a series of increases and decreases. To make a sphere, which is a common shape in amigurumi, you:
- Create a magic ring.
- Work a series of single crochets into the ring.
- Increase in a consistent pattern each round to expand the circle.
- Continue working even (without increases or decreases) to elongate the shape.
- Decrease in the subsequent rounds to close the shape.
Always use a stitch marker to mark the beginning of each round since amigurumi is typically worked in a continuous spiral without joining.
Joining Parts Together
Once you have all the parts of your amigurumi created, you’ll need to join them together. This requires a yarn needle and a methodical approach:
- Align the parts as per the pattern instructions, ensuring that they are symmetrical.
- Secure the parts with pins if necessary to keep them in place.
- Seamlessly stitch the parts together, weaving in and out of the corresponding stitches on each piece.
- Hide the yarn ends inside the stuffed parts to maintain a neat finish.
Decorative Techniques
With the basic form of your amigurumi complete, you can now focus on adding character through decorative techniques. Embroidery can be used to create faces, while surface crochet can add design elements like stripes or clothing.
- Use embroidery floss and a fine needle to add eyes, a mouth, or other fine details.
- Apply small buttons, felt pieces, or crocheted embellishments to personalize your creation.
When you’re happy with the decoration, finish off by weaving in any remaining loose ends to give your amigurumi a polished look.
Advanced Techniques
Mastering advanced techniques in amigurumi will elevate your creations, giving them more character and a professional finish. Focusing on the intricacies of shaping, color work, and detailing will help your projects stand out.
Shaping and Structuring
To achieve the desired shape and structure in your amigurumi, it’s crucial to understand the role of each stitch. The single crochet stitch is fundamental, providing a tight and uniform fabric ideal for polyester fiberfill to shape your figure without bulging. For decreasing volume, the invisible decrease method helps avoid gaps, creating a smoother, less noticeable transition. Use slip stitch to join pieces or create flat edges.
- Invisible Decrease: Insert hook into front loop of next 2 stitches, yarn over, pull through first 2 loops on hook, yarn over, and pull through remaining 2 loops.
- Single Crochet Stitch: Insert the hook, yarn over, pull through, yarn over, and pull through both loops on the hook.
Color Changes and Textures
Amigurumi textures and color patterns require precision and a neat hand. When changing colors, pull through the last loop of a stitch with the new color and proceed with your pattern. This technique keeps the stitches looking consistent and helps maintain the fabric’s integrity. Experiment with different yarns or introduce fabric pieces to add unique textures.
- Color Change: Complete the stitch until the last yarn over, then yarn over with the new color and pull through to finish the stitch.
Creating Expression and Details
Expressions bring life to your amigurumi. Utilize embroidery thread for facial features or intricate details to capture the essence of your character. Small stitches can create eyes, mouths, or whiskers, making your amigurumi expressive and personable.
- Eyes: With embroidery thread, create a French knot for each eye. Insert the needle where the eye will be, wrap the thread around the needle twice, and insert back close to the same point.
- Mouth: Use backstitch to form the mouth. Start from beneath, pull up at the starting point, go down at the ending point, come up a stitch-length forward, and then go back down through the ending point of the previous stitch.
Finishing Touches
In the final stages of creating amigurumi, it’s essential to secure your work, add character through embellishments, and assemble the toy carefully to ensure durability and the intended appearance.
Securing the Stitches
To prevent your amigurumi from unraveling after hours of meticulous crochet work, it’s crucial to properly fasten off the yarn once you’ve completed each part. To do this, cut the yarn, leaving a six-inch tail, and pull it through the last loop on your hook. Then, using a yarn needle, weave the tail back through the last few stitches several times before trimming any excess.
Adding Embellishments
Embellishments are what bring your stuffed toy to life, giving it personality and charm. Safety eyes are a popular choice because they are child-friendly and secure once attached. Place them between the stitches of the toy’s head, checking for the correct alignment before snapping the backings on.
Alternatively, for a softer look or for smaller amigurumi, you can embroider the eyes using contrasting yarn. Facial features and additional details can also be embroidered directly onto the toy for a seamless finish.
Final Assembly
Assembling your amigurumi involves attaching separate pieces such as arms, legs, head, and body. Before sewing, it’s beneficial to use pins to position the parts accurately.
Always stuff the pieces with a suitable soft material before closing them up to make sure your toy is cuddly. For each part, thread a yarn needle with the tail of yarn and use a whip stitch or an invisible stitch for a neat result, ensuring all parts are securely fastened to withstand the loving hugs from their new owners.
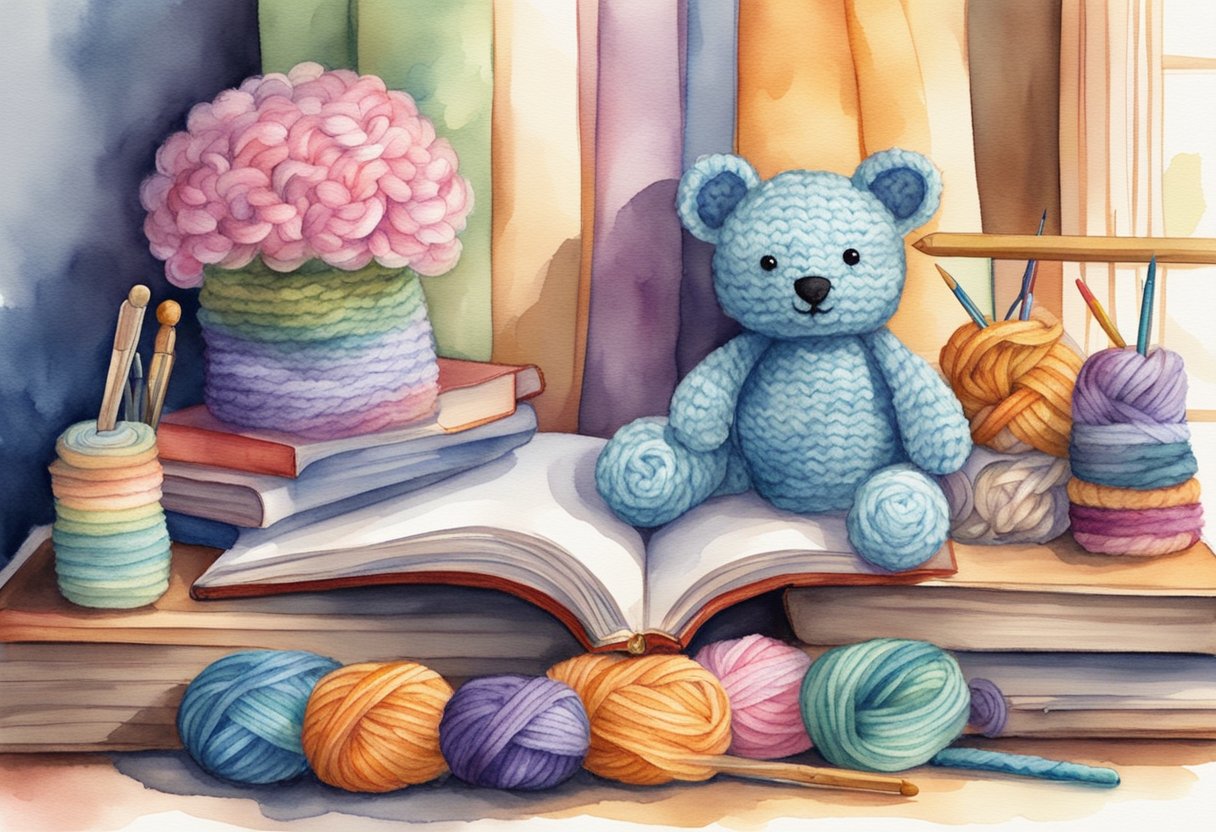
Starting Your First Project
Embarking on your first amigurumi project can be an exciting milestone. You’ll want to choose a pattern that aligns with your skill level and follow a thorough tutorial to guide you through the process, ensuring a comfortable and successful crafting experience.
Choosing a Simple Pattern
Begin your amigurumi journey with a simple pattern that matches your current crochet skills. Look for patterns labeled as “beginner-friendly” or “easy,” which typically involve basic shapes and require fewer color changes.
A straightforward pattern might feature parts like spheres or cylinders, which are common shapes in beginner amigurumi. Avoid complex patterns with intricate stitches or numerous pieces that need to be assembled. A good beginner project is a small stuffed toy or a basic doll that allows you to practice the essential stitches of amigurumi.
Step-by-Step Tutorial
After selecting your pattern, follow a step-by-step tutorial. Many beginner tutorials will help you master the ‘magic ring’ technique, which is a starting point for many amigurumi figures. Tutorials also teach you common stitches used in amigurumi, such as the single crochet stitch.
Look for comprehensive guides that include clear photos or videos, which can make learning easier. Suggested tutorials include resources such as the My Foolproof Guide to Crocheting Amigurumi for Beginners and advice on creating a Magic Ring. As you follow along, be patient with yourself and remember that practice is key to developing your new crafting skills.
Caring for Amigurumi Creations
When you’ve spent hours crafting your amigurumi, proper care and maintenance are key to ensuring they last. Your amigurumi creations can be made from various yarns, including acrylic and cotton, which affect how you should care for them.
For Acrylic Yarn Amigurumi:
- Washing: Hand wash gently with cold water. Avoid wringing to prevent misshaping.
- Drying: Pat them dry with a towel and lay flat to air dry.
For Cotton Yarn Amigurumi:
- Washing: Cotton can handle a bit more agitation, but gentle hand washing is still preferred.
- Drying: Similar to acrylic, lay flat to dry to maintain shape.
Regardless of the yarn type, worsted weight or others, avoid using hot water as it can cause the fibers to felt or colors to bleed.
General Maintenance Tips:
- Gently remove dust using a soft brush or a lint roller.
- Trim any loose ends with scissors, rather than pulling them.
- Keep in a cool, dry place away from direct sunlight to prevent fading.
Cleaning Stubborn Stains: For stubborn stains, use a mild detergent and spot clean the affected area. Always test this on a less visible part of the amigurumi to ensure the yarn’s color does not wash out.
Remember, each piece is unique and made with love, so treat them with care to enjoy your amigurumi companions for years to come.
Frequently Asked Questions
In this section, you’ll find concise answers to some common questions that can help you get started with amigurumi as a hobby.
What basic materials do I need to start creating amigurumi?
To begin your amigurumi projects, you will need a crochet hook, yarn, a yarn needle, stuffing, scissors, and stitch markers. Selecting the right hook size that corresponds to your yarn weight is crucial.
Where can I find free amigurumi patterns suitable for beginners?
Free amigurumi patterns that are ideal for beginners can be found on various craft blogs and websites that specialize in crochet. Websites like Ravelry offer a vast selection of patterns suited for different skill levels, including beginners.
Can you recommend some easy amigurumi projects for first-time crafters?
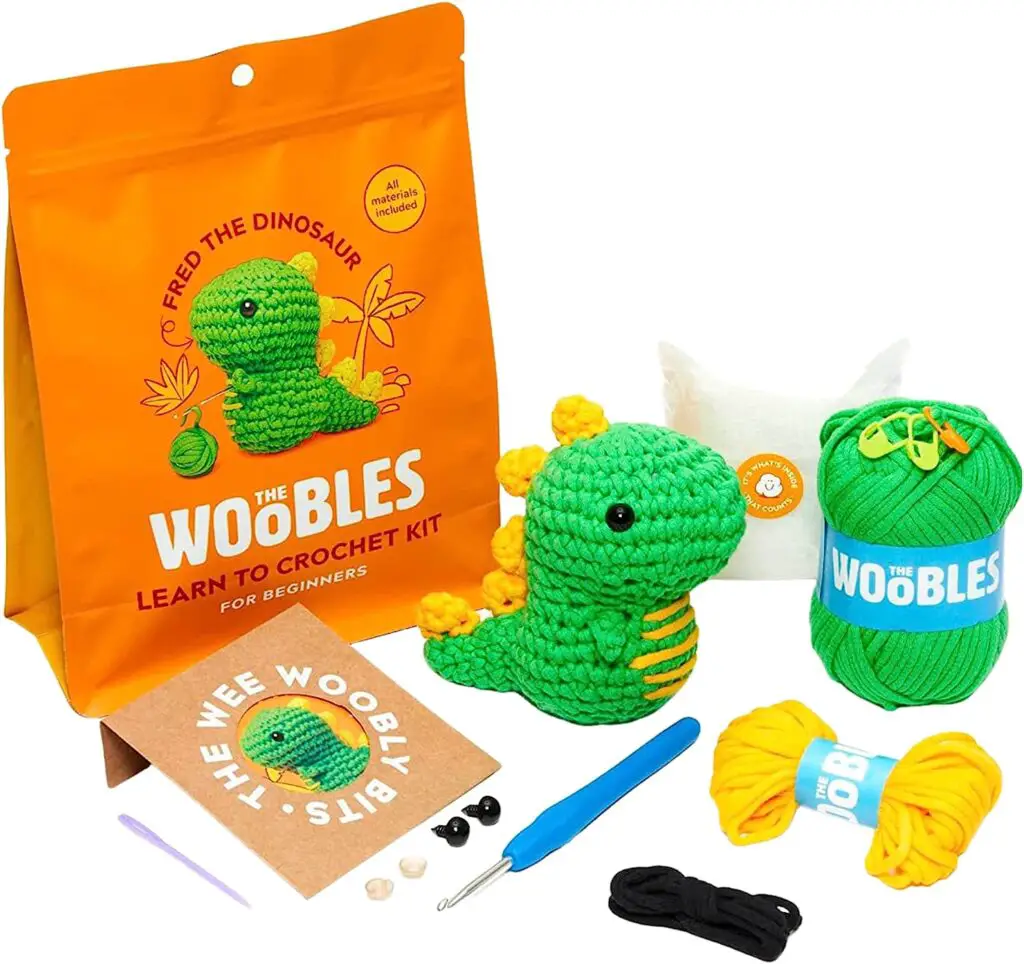
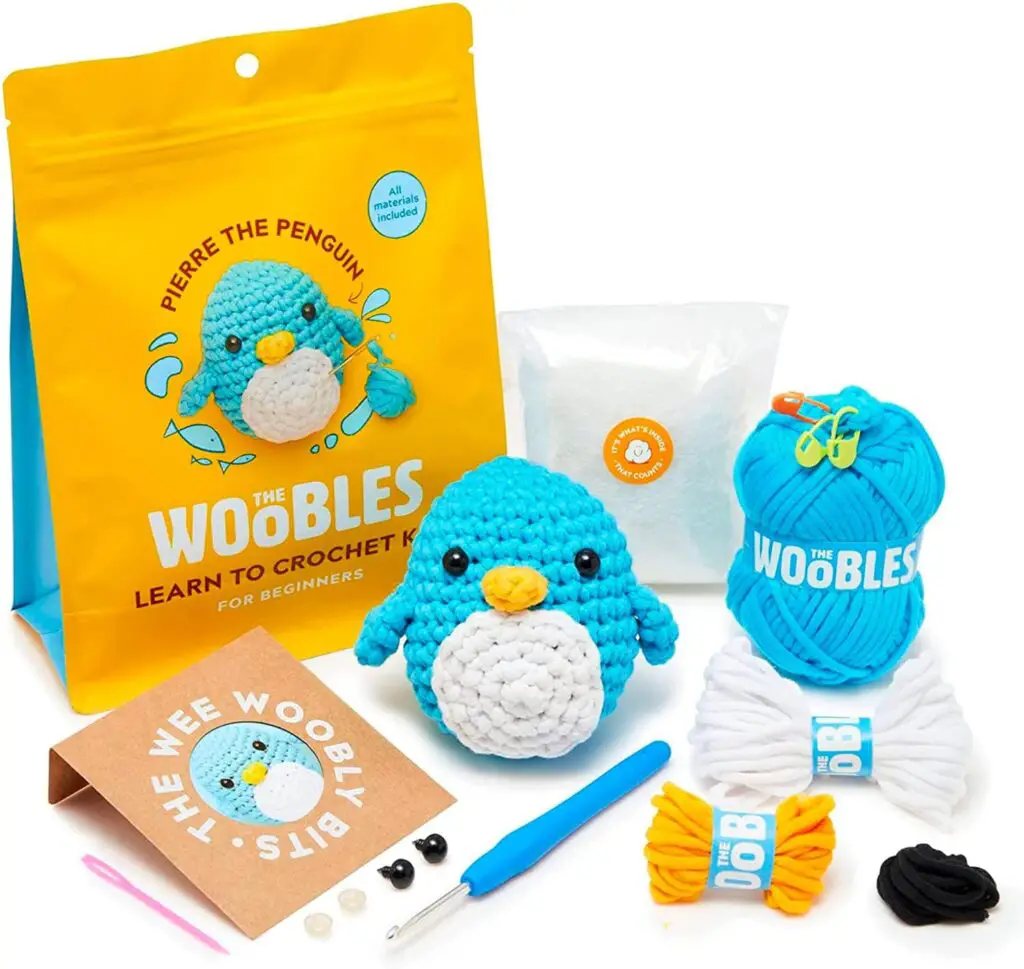
Yes, simple spheres or cube shapes are great starting projects. These forms can be transformed into a variety of adorable creatures and are a good way to practice. Consider beginning with small projects like an amigurumi ball or a tiny bear. Alternatively, there are tons of kits available from Amazon with step-by-step directions for beginners.
What are the essential stitches to master for beginner amigurumi?
Beginner amigurumi crafters should focus on mastering the single crochet stitch, slip stitch, and learn how to increase and decrease stitches effectively. These stitches form the foundation of most amigurumi patterns.
Are there any good books or PDF guides for someone starting out with amigurumi?
There are several helpful books and PDF guides available for someone new to amigurumi. These resources provide step-by-step instructions, tips, and patterns for beginners. The FreshStitches PDF guide is a popular choice among beginners.
What is the difference between regular crochet and amigurumi crochet?
The main difference between regular crochet and amigurumi crochet is that amigurumi is usually worked in the round using the single crochet stitch, creating a tight and dense fabric that’s perfect for stuffed figures. Regular crochet can include a variety of stitches and techniques and is often not worked in the round.