
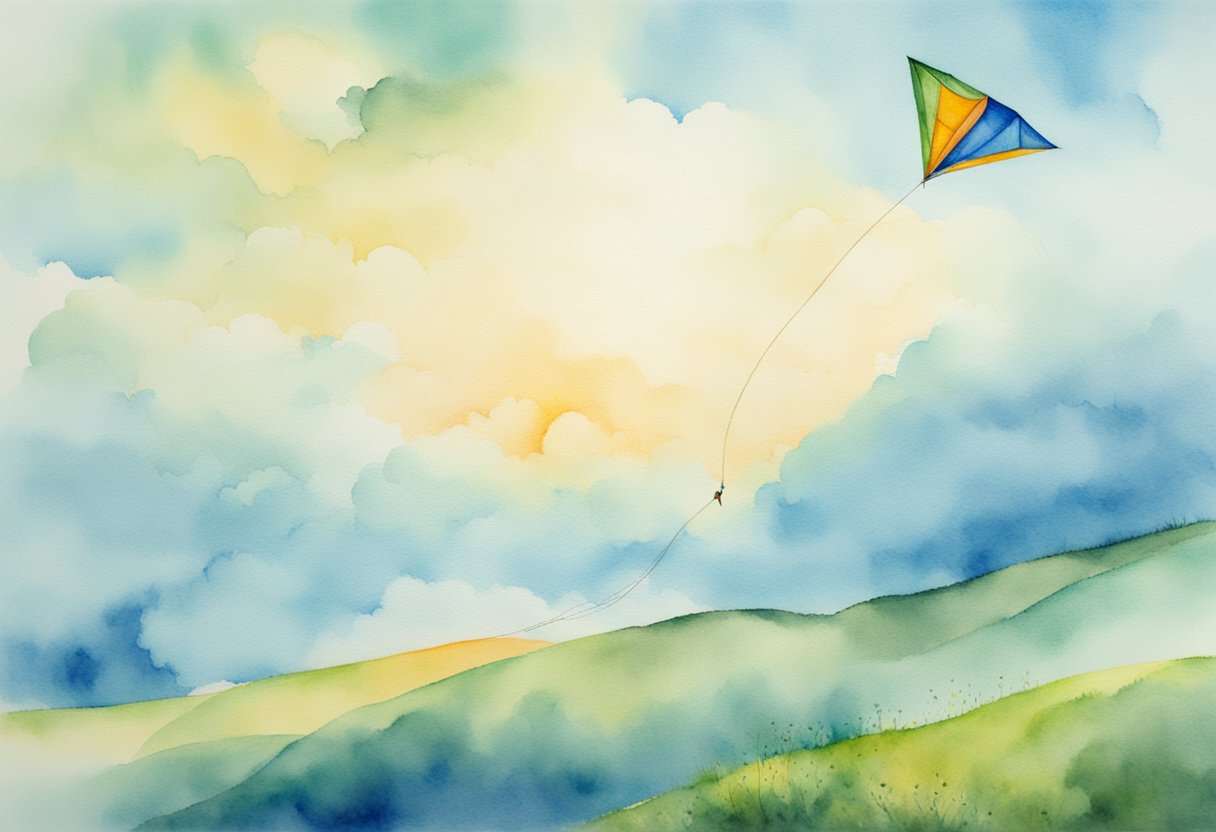
Kite flying is a timeless hobby that brings joy and relaxation to people of all ages.
As a beginner, you might be wondering where to start and how to ensure a successful flight.
This guide aims to provide you with the essential knowledge and tips to make your kite flying experience enjoyable and rewarding.
This article contains affiliate links. If you make a purchase through a link on our site you are supporting our continued efforts to educate people like you in finding new and rewarding hobbies. Thank you!

To begin your journey, it’s important to choose the right kite for your skill level and weather conditions.
A variety of kites are available on the market, including single-line, dual-line, and quad-line kites, each offering a unique flying experience. Understanding their differences and selecting the most appropriate one will set you on the path to success.
Once you’ve chosen your kite, mastering the basics of launching, flying, and landing is crucial. In the following sections, you’ll learn about proper assembly, determining the best flying conditions, and techniques for controlling your kite with ease and confidence.
Welcome to the fascinating world of kite flying!
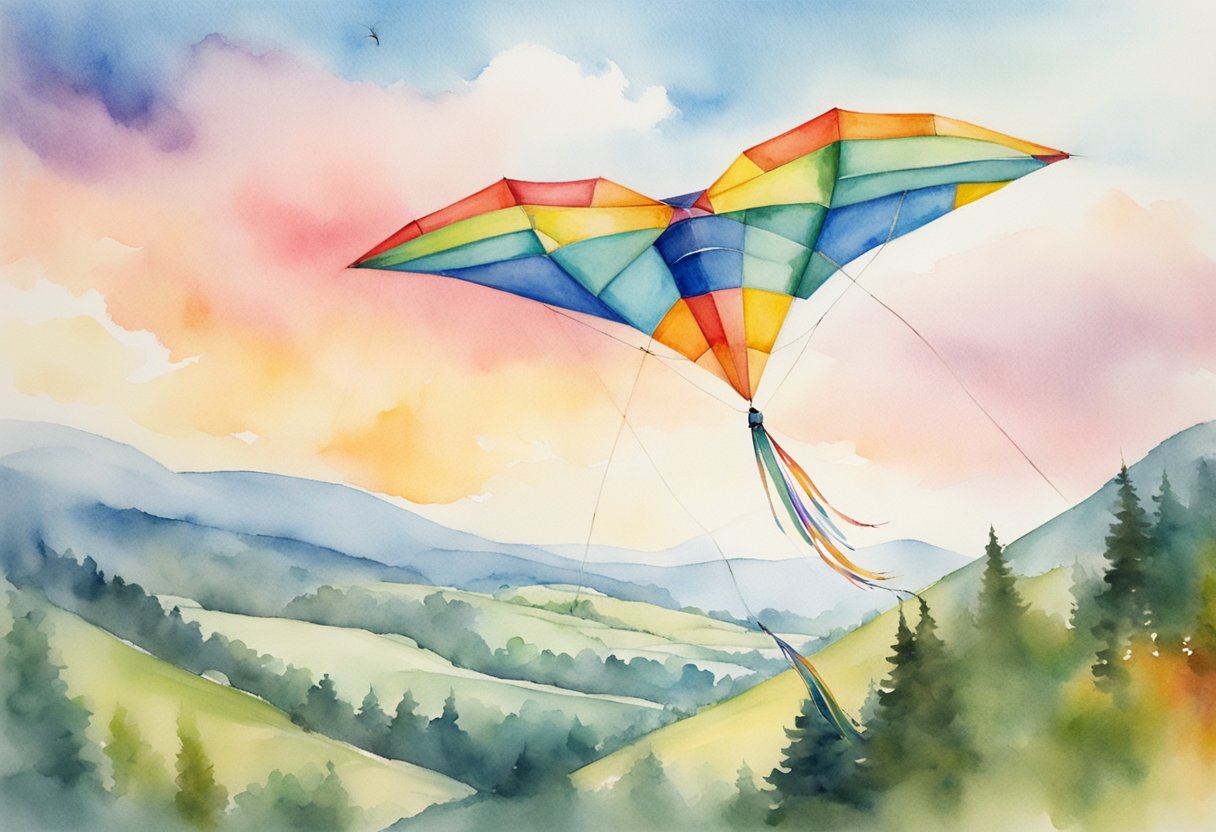
Understanding Kites

Kite flying can be a rewarding and enjoyable hobby for people of all ages. In this section, we will introduce you to different types of kites and their essential parts. This knowledge will help you choose the right kite for your needs and better understand how they function.
Types of Kites
There are several types of kites available, each with its unique features and characteristics. Let’s explore a few popular ones:
- Delta Kites: These kites have a triangular shape and are often referred to as delta-wing kites due to their resemblance to the Greek letter Delta. They are easy to fly and are suitable for beginners as they can remain stable with minimal wind.

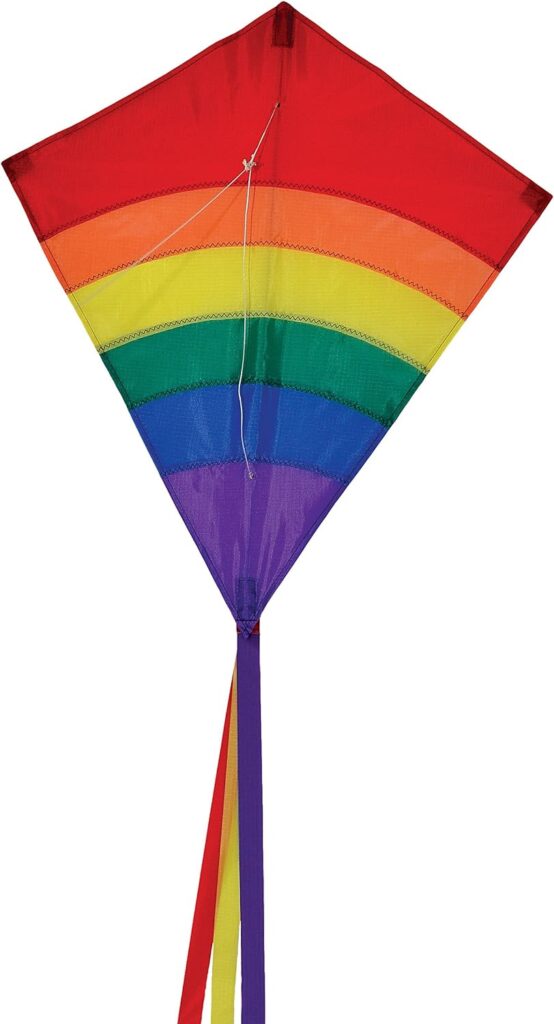
- Diamond Kites: Recognized by their classic diamond shape, these kites are simple to construct and fly. They require a tail to maintain stability and are ideal for recreational flying.
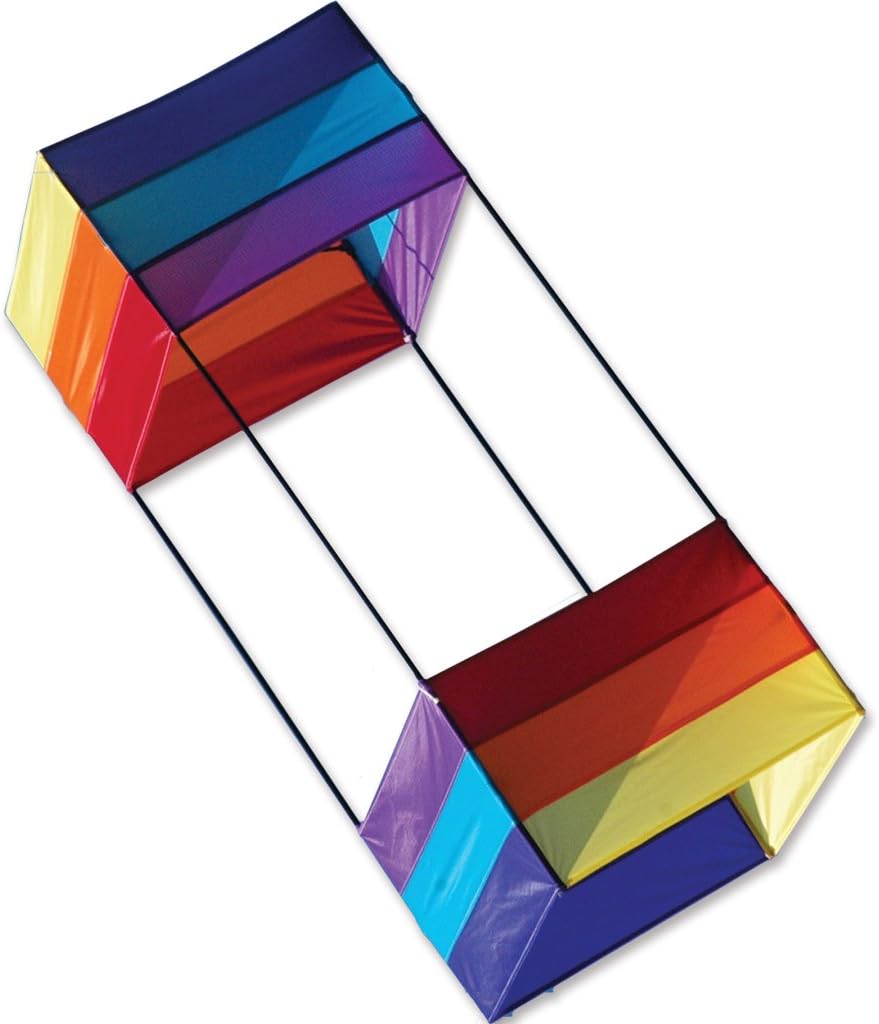
- Box Kites: These have a unique box-like structure and are known for their high altitude capabilities. They can fly in a wide range of wind conditions but may require more experience than delta or diamond kites.
- Foil Kites: Also known as parafoil kites, they are made from soft fabric and have no rigid frame. They are often used in power kiting and kiteboarding due to their excellent lift and stability.

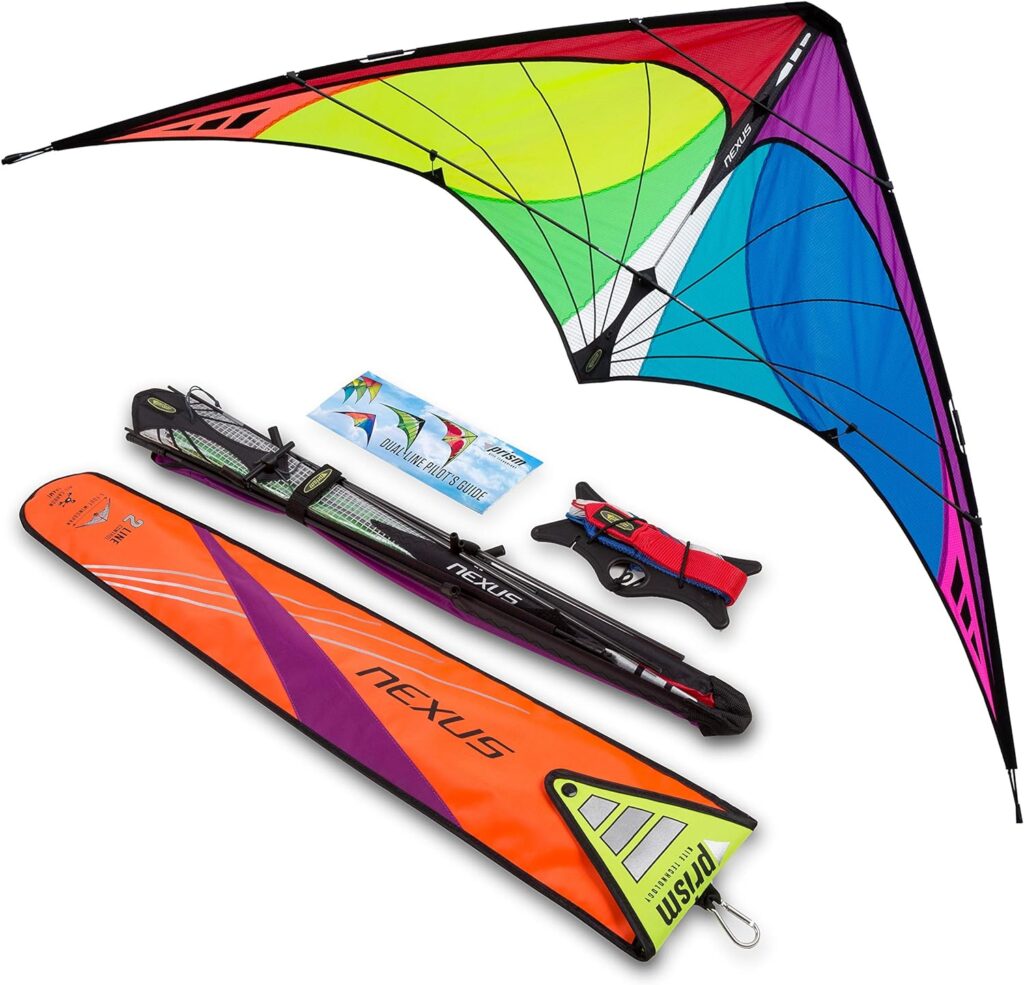
- Stunt Kites: These kites are designed for aerobatic maneuvers and tricks. They typically have two or more lines for precise control, and require more skills to master.
Parts of a Kite
Before diving into kite flying, it’s essential to familiarize yourself with the main components of a kite:
- Shape: This refers to the overall design and form of the kite. As mentioned earlier, common shapes include delta, diamond, box, and foil.
- Frame: The frame provides structure and support to the kite, and is typically made from materials like wood, fiberglass, or carbon fiber. Foil kites do not have a frame, relying instead on their inflated air chambers.
- Sail: The sail is the kite’s fabric part responsible for catching the wind. It can be made from various materials, including nylon, polyester, and Mylar.
- Bridle: This system of lines connects the kite’s frame to the flying line, allowing you to control the kite’s angle and position relative to the wind.
Remember to choose a kite that suits your skill level and the wind conditions in your area. With practice and understanding, you’ll be able to enjoy the rewarding hobby of kite flying!
Preparing to Fly
Kite Selection
When starting your kite flying journey, choosing the right kite is essential. For beginners, it’s best to go for user-friendly models like delta or diamond kites.
These types of kites offer stability and are easier to control in different wind conditions. Look for kites made with lightweight and durable materials, such as ripstop nylon and fiberglass.
Choosing the Location
Finding the perfect spot to fly your kite plays a crucial role in your experience. Pick a wide-open area like parks, beaches, or fields with minimal obstructions.
Avoid places with trees, buildings, or power lines as they can interfere with your kite’s flight and pose potential hazards. Keep an eye on the wind conditions to ensure it is consistent and within the recommended range for your chosen kite.
Ideal wind conditions for beginners:
| Kite Type | Wind Speed Range (mph) |
|---|---|
| Delta Kites | 6 to 20 |
| Diamond Kites | 5 to 15 |
Kite Setup
Before heading out to fly, it’s important to familiarize yourself with your kite’s assembly process. Follow the manufacturer’s instructions to set up your kite, ensuring that the spars, sail, and bridles are correctly connected. If your kite comes with a tail, attach it according to the guide for added stability.
Here’s a brief list of assembly steps:
- Connect the spars if they’re not pre-assembled.
- Insert the spars into the sail’s pockets or connectors.
- Attach the bridle line(s) to the appropriate point(s) on the kite.
- If necessary, straighten and adjust the sail for optimal shape and tension.
Once your kite is assembled and you’ve found the perfect spot, you’re ready to take to the skies and enjoy the rewarding hobby of kite flying.
Mastering Kite Control
Launching Techniques
To launch your kite, first ensure that you have chosen an open space with minimal obstacles and enough wind. Hold the kite line tightly and let the wind lift the kite off the ground. Practice different launching techniques to improve your control, such as:
- Side Launch: Stand with your kite at a 45-degree angle to the wind. With one hand near the center of the kite and the other on the kite line, gradually release the line as the wind catches the kite.
- Drag Launch: Hold the kite line near its full length and slowly walk backward, allowing the kite to drag along the ground until it catches enough wind to rise.
Handling and Maneuvers
Developing control during kite flying requires practice and dedication. Consider the following tips to enhance your skills:
- Control: Get comfortable handling the kite line, adjusting the tension and release to maintain the desired altitude. Reading the wind direction and intensity will also help you maintain control.
- Balance: Pay attention to the kite’s balance in the air. Make adjustments by slightly shifting the position of the bridle, the point where the kite line connects to the kite, to find the optimal balance point.
- Loop: One essential maneuver to practice is the loop, where the kite makes a circular path. Start with a small loop, gradually releasing more line and pulling the kite toward you as it completes the circle. Increase the loop’s size as you gain confidence.
- Dive: A dive is when you lower the altitude of your kite and then bring it back up. To execute a dive, gradually release the line, allow the kite to descend, and then draw the line back in to regain altitude.
- Figure 8: As you progress, practice the figure 8 maneuver. Starting with a loop, guide the kite through an additional loop in the opposite direction, creating an “8” pattern in the sky.
By following these tips and maintaining a consistent practice routine, you will enhance your kite flying abilities and master kite control.
Wind and Weather

Understanding Winds
When it comes to kite flying, wind plays a crucial role in your success. You need to be aware of the wind speed and direction to fly your kite effectively. Generally, a wind speed between 5 and 20 mph is ideal for kite flying. Here’s a quick reference for understanding wind speed and its impact on kite flying:
| Wind Speed (mph) | Wind Range | Kite Flying Experience |
|---|---|---|
| 0-5 | Very Light Winds | Difficult for most kites, may require specialized light-wind kites |
| 5-12 | Light Winds | Suitable for most single-line kites; ideal for beginners |
| 12-20 | Moderate Winds | Great for stunt kites and larger kites; more experienced flyers |
| 20+ | Strong Winds | Difficult to control for beginners; may require expert skills |
Remember to pay attention to the wind direction as well. You should always position yourself with your back to the wind to launch your kite.
Weather Impact
Weather conditions can either improve or hinder your kite flying experience. For instance, light rain can make it difficult for kites to take off due to the wet and heavy sail. Also, avoid flying during storms, as lightning can pose a serious risk to the safety of both you and your kite.
Before you head out for a session, check the local weather forecast for any rain or lightning warnings. Aim for clear skies and moderate wind speeds when flying your kite for the best experience.
Always keep safety in mind and plan your kite flying sessions accordingly. With the right wind and weather conditions, you’ll have an enjoyable and successful kite flying experience.
Kite Safety
Flying Safely
When it comes to kite flying, safety should be your top priority. Always make sure to choose the right kite weight for the wind conditions. Avoid flying in strong winds if you’re a beginner, as it can lead to loss of control and pose hazards around you.
Careful selection of location is essential. Be mindful of your surroundings and make sure to fly your kite at least 100 feet away from hazards, such as power lines, trees, and people. Remember that open outdoor spaces, like parks or beaches, are the best environments for flying kites safely.
Kite tails play a crucial role in maintaining stability during flight. They counterbalance the wind’s force and help you control the kite more easily. Adding tails to your kite can also prevent excessive spinning and diving, ensuring a more enjoyable experience.
Dealing with Hazards
When flying a kite, it’s essential to be aware of possible hazards and follow some safety precautions:
- Power lines: Avoid flying near power lines, as contact with them can cause shock or electrocution. Maintain a safe distance to ensure your safety and the safety of others around you.
- Weather: Steer clear of stormy conditions, especially when there is a risk of lightning. Kites can act as conductors, leading to life-threatening situations.
- Animals: Respect wildlife and be cautious while flying around animals, especially birds. Kites can scare or distress them if flown too close.
- People: Fly your kite in areas with fewer people to avoid collisions or injuries.
Remember, practicing safety measures ensures a fun and enjoyable experience for both you and those around you. Happy flying!
Deeper Into Hobby Kite Flying

Preventing Troubles
As you delve deeper into kite flying, prevent troubles by understanding the nuances of flying in various environments. Whether you fly at the beach or the park, familiarize yourself with local rules and wind conditions. To enhance your experience, consider using a box kite, known for its stability and adaptability to different wind strengths.
Avoid tangled lines by winding them onto a reel or spool. Always inspect your equipment, including lines, spars, and the kite itself, before and after each session. In most cases, troubleshooting minor issues can be done easily with basic knowledge of kite handling.
| Kite Part | Troubleshooting Tips |
|---|---|
| Lines | Check for tangles, abrasion |
| Spar | Ensure proper placement |
| Sail (fabric) | Look for rips or tears |
Improving Skills
Become a more skillful kite flyer and explore different techniques to manipulate your kite’s speed and lifting ability. With practice, you can master controlling multiple aspects of your kite, like drag and positioning.
- Focus on the angle of attack: Learn to adjust your kite’s position to control its lift and thrust.
- Consider weather conditions: Adapt your style and kite setup to different wind speeds and directions.
- Practice launching and landing: Develop and refine your launching and landing abilities for increased control and safety.
Remember, perseverance and passion will take your kite flying hobby to new heights. Enjoy your journey as you continually improve your skills and immerse yourself in the wonderful world of kite flying.
Frequently Asked Questions
What are the best kites for beginners?
When starting out with kite flying, go for a simple and easy-to-fly design like the single-line diamond, delta, or sled kites.
These kites require minimal assembly and are typically more affordable. As you gain experience, you can gradually upgrade to more advanced kites such as stunt or power kites.
How to fly a kite at the beach?
Beach kite flying can be both exhilarating and relaxing. To start, make sure you are facing the wind and have an open space free from people and obstructions.
Hold your kite up by the bridle point and as the wind catches it, release it gently. You may ask someone to hold the kite while you unroll the kite line and create some tension. Once the kite is up in the air, gradually let out more line as needed to gain height and stability.
Is it windy enough to fly a kite today?
Ideal wind conditions for kite flying range between 5 to 25 miles per hour. Use a wind meter or observe trees and flags to gauge the wind speed in your area.
If leaves and flags are constantly moving, it is likely a good day for kite flying. However, if they are barely moving or remaining still, it may be too calm, while overly strong winds can make flying a kite challenging and potentially dangerous.
How to fly a Diamond kite?
Diamond kites are popular for their simple yet classic design. To fly a diamond kite, first assemble it by attaching the cross-spar to the vertical spar and connecting the bridle point.
Hold the kite by the bridle point, facing the wind. Slowly release more kite string as the wind lifts your kite. Adjust the tail length and attach a bow to the cross-spar if needed for added stability.
What is the trick to flying a kite?
The key to successful kite flying is choosing the right kite for your skill level, selecting an appropriate location with a steady wind, and having patience.
Launching the kite may require a few attempts, so don’t get discouraged. Once airborne, maintain a balance between line tension and efficient use of the wind to achieve steady flight. Practice will sharpen your skills and heighten your enjoyment.
What are the do’s and don’ts of kite flying?
- Do’s:
- Choose a spacious, open area free from obstructions and people.
- Pick the right kite for your skill level and the wind conditions.
- Start with your back to the wind and have someone help you launch the kite.
- Gradually let out more line as your kite gains height and stability.
- Be aware of your surroundings and any potential hazards.
- Don’ts:
- Fly kites near power lines, trees, or buildings.
- Fly kites in stormy weather or during lightning, as they may attract electricity.
- Fly kites near airports or in restricted airspaces.
- Use a kite line that is too heavy for your kite or wind conditions.
- Ignore local laws and regulations regarding kite flying.