
Beginner’s Guide to Soap Making as a Hobby: Essential Steps for Starting Out
Soap making is a fulfilling hobby that allows you to craft your own bars from scratch, blending creativity with science. As a beginner, you’ll discover the pleasure of transforming simple ingredients into something both beautiful and practical.

It’s a pastime that can bring a sense of accomplishment and happiness as you tailor each batch to your liking, whether that means experimenting with fragrances, colors, or shapes.
This craft not only indulges your creative side but also gives you control over what goes on your skin. Say farewell to store-bought soaps with unpronounceable chemicals, and hello to natural ingredients you select yourself.
As you learn the basics, you’ll find that making soap at home can be simpler than you might think.
Your first step is understanding the different processes available, such as the cold process, which involves creating soap from scratch using oils and lye.
As you dive into the world of soap making, remember that patience and precision are your allies. You’re embarking on a journey that’s both artistic and scientific, where safety precautions are paramount but the possibilities for customization are endless.
Embrace the process, and soon you’ll have handmade soaps to enjoy and share, embodying your personal touch and dedication.
Understanding the Basics of Soap Making
Embarking on your soap-making journey allows you to craft unique blends while mastering the art of saponification, which is the chemical process that transforms fats and oils into soap.
Defining Soap Making
Soap making is a craft that involves the chemical reaction known as saponification. During this process, fats or oils react with an alkali, usually lye (sodium hydroxide), to create soap and glycerin. The final product you create is much more than a cleansing agent; it’s a personalized result of your choice in ingredients and techniques, offering a range of benefits beyond store-bought options.
Overview of the Soap-Making Process
The soap-making process is a precise one, requiring careful measurement and timing. You will need to:
- Prepare your materials and safety gear.
- Measure the oils and lye accurately.
- Mix the lye water with the oils when both have reached the correct temperature.
- Blend to reach ‘trace,’ where the mixture starts to thicken.
- Pour into molds and insulate.
- Cure the soap, allowing it to harden and mature.
Different Methods of Soap Making
There are several methods you can choose to make soap, each with its unique process and advantages:
- Cold Process Soap Making: Involves mixing oils with lye water at room temperature; requires a curing time of 4-6 weeks.
- Hot Process Soap Making: Similar to cold process but involves cooking the mixture, speeding up the saponification, and reducing the cure time.
- Melt and Pour Soap Making: A beginner-friendly method using pre-made soap bases that are melted, customized with colors and fragrances, and then poured into molds.
Each method offers a different experience, from the hands-on chemistry of the cold and hot processes to the simplicity and creativity of melt and pour. Pick the method that best suits your interests and start enjoying the bespoke benefits of handcrafted soap.
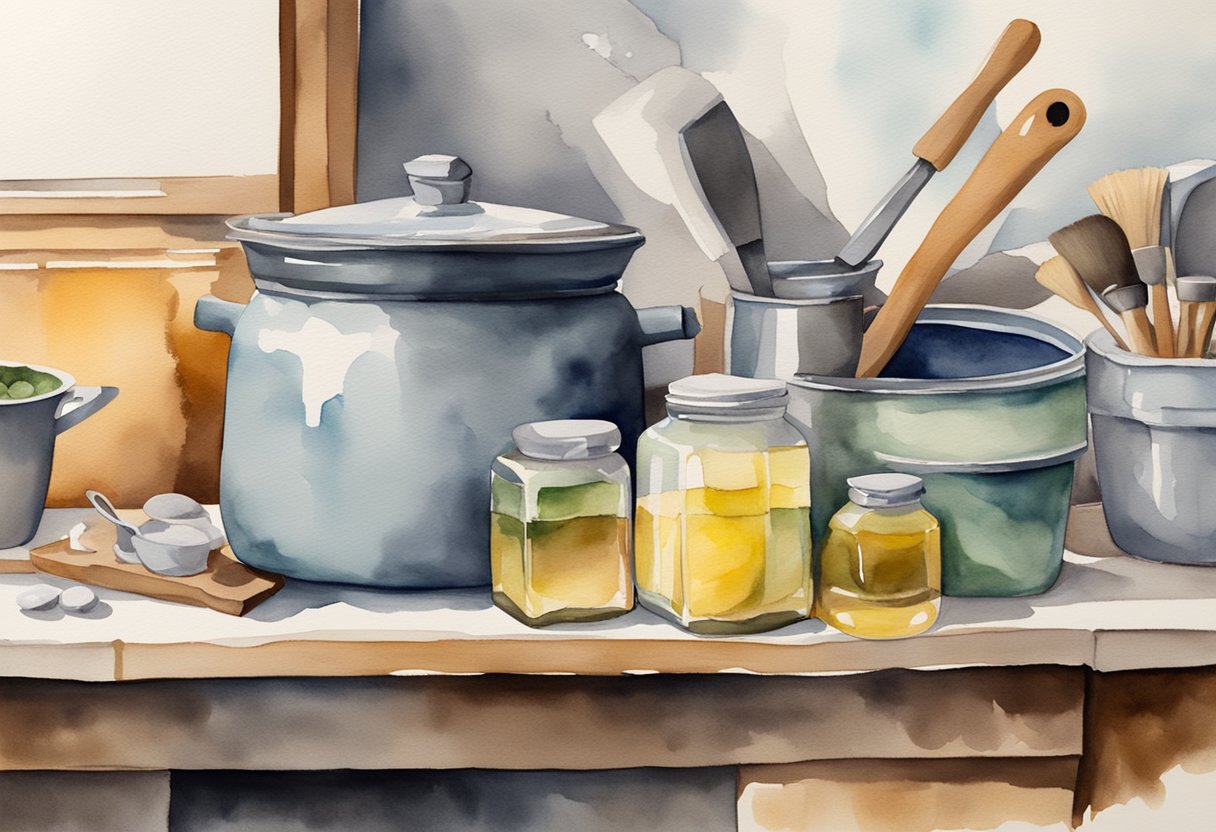
Equipment and Safety Gear
Before diving into soap making, it’s essential to assemble the right equipment and adhere to strict safety precautions. Making soap is a fun and satisfying hobby, but dealing with lye and the soap making process requires particular tools and protective gear for a safe and enjoyable experience.
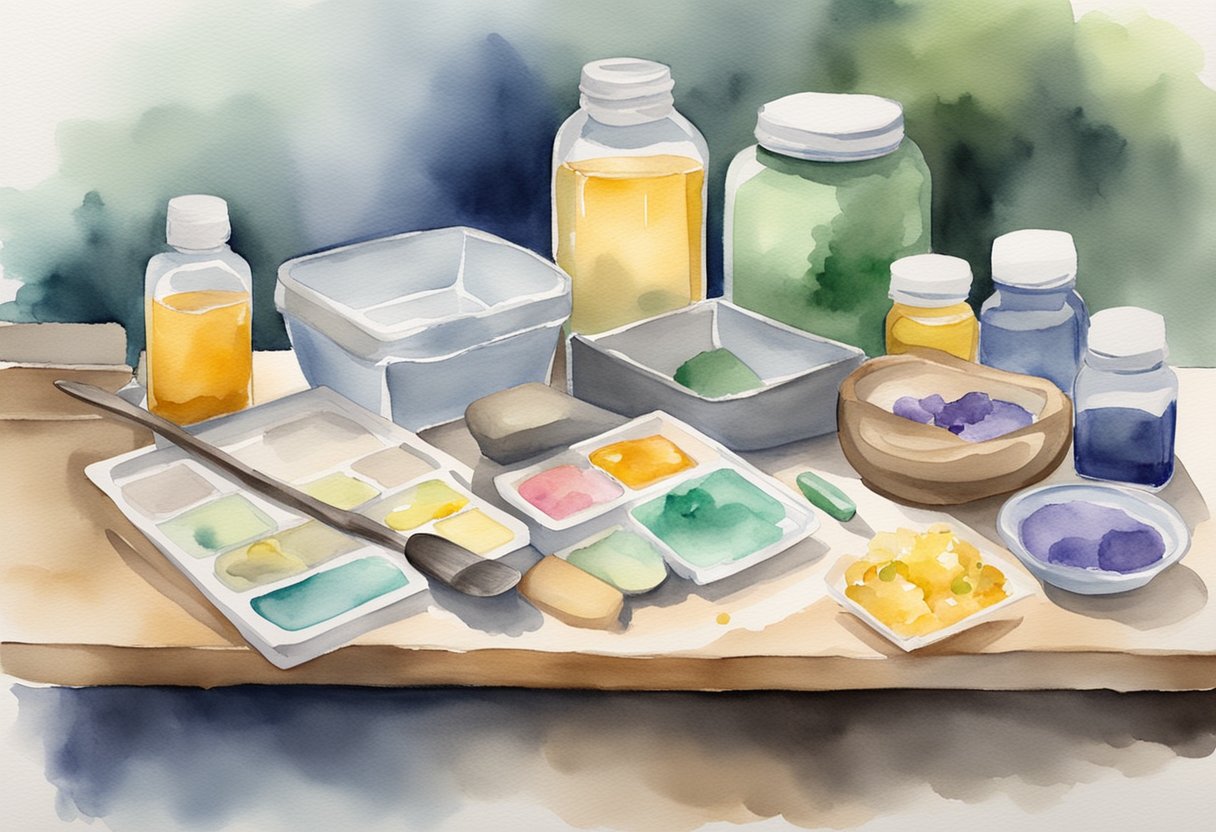
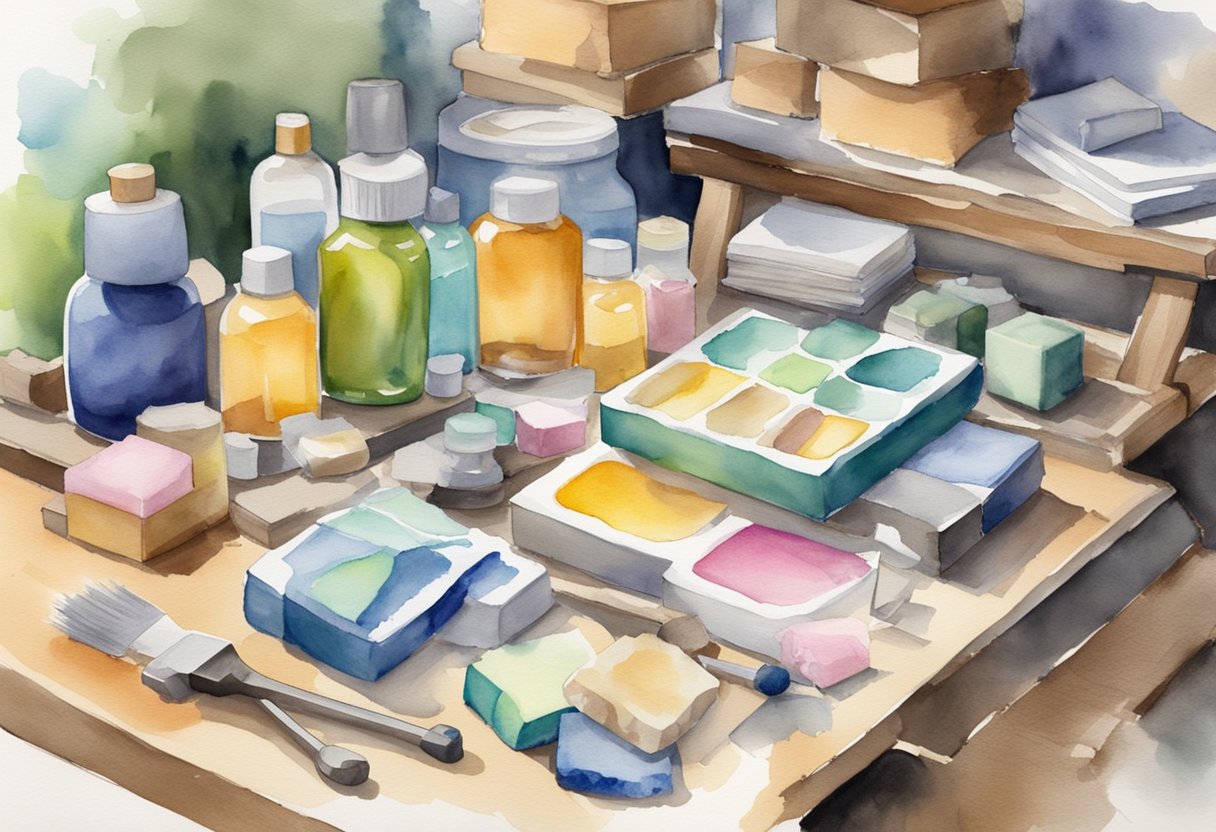
Essential Equipment for Making Soap
Utensils and Mixing Tools:
- Thermometer: You need a reliable thermometer to monitor the temperature of your oils and lye mixture. An infrared thermometer can provide a quick and contact-free reading.
- Stick Blender: A stick blender speeds up the emulsification process, cutting down on time and ensuring a consistent mixture.
- Scale: Precise measurements are crucial in soap making, so a good-quality scale is necessary.
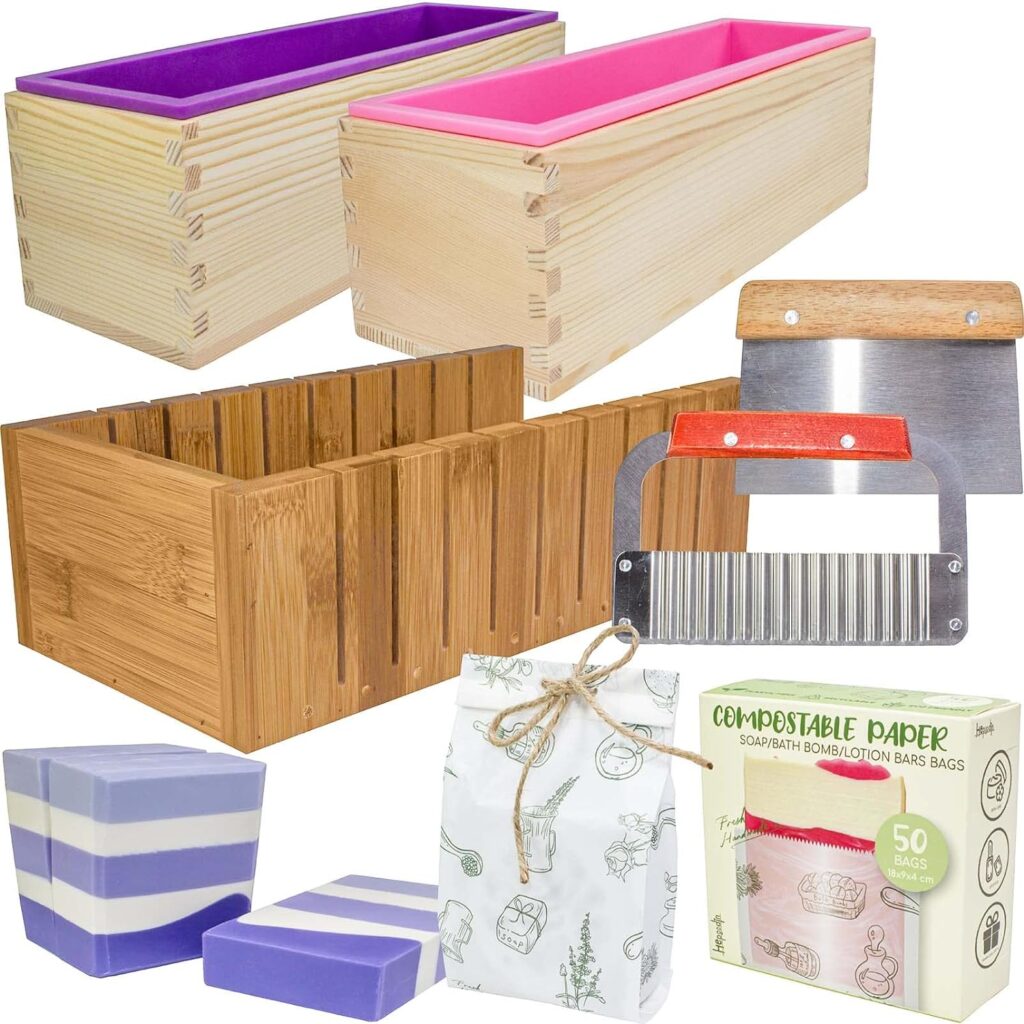
- Soap Mold: Soap molds give shape to your soap. They can be made from different materials, but silicone molds are popular due to their flexibility and ease of use.
- Stainless Steel Equipment: When mixing your soap, use stainless steel bowls and tools as they do not react with lye.
Check out this handy soap making kit available on Amazon to get started with everything you need!
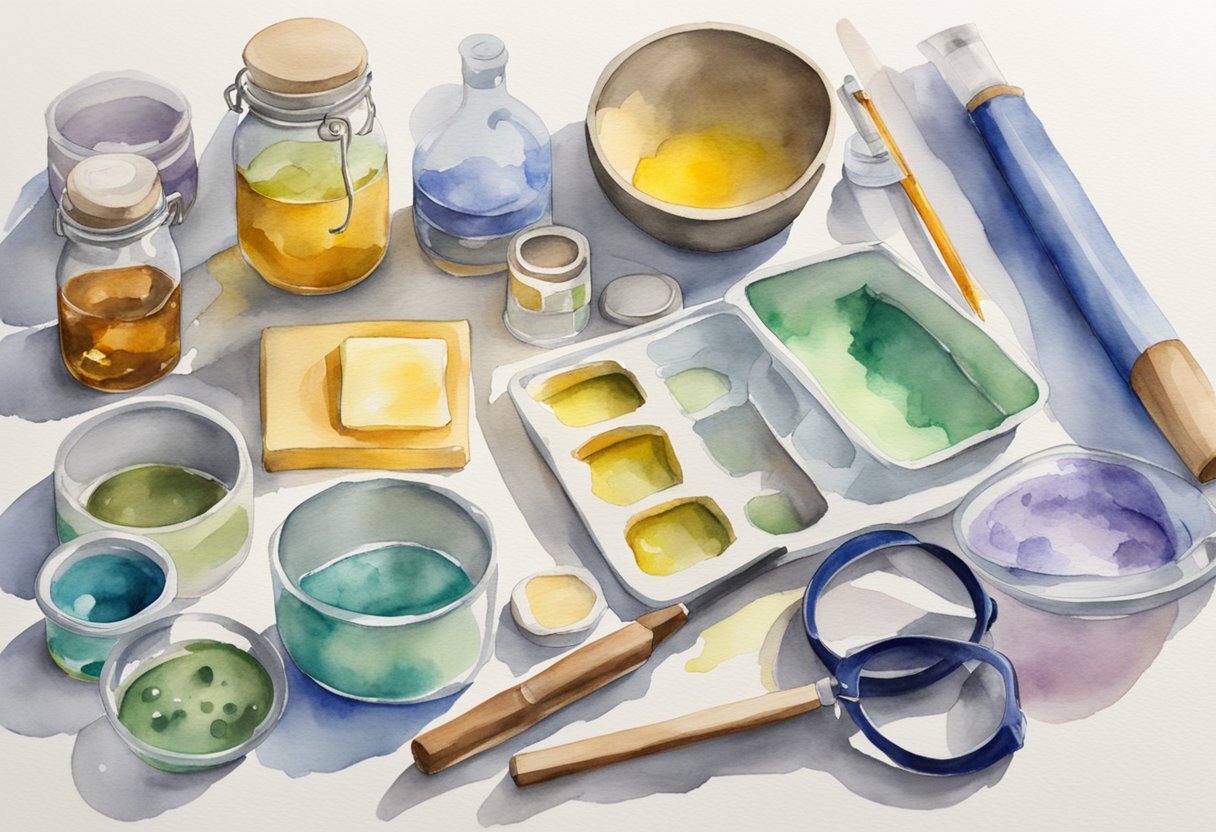
Supplies for Baking and Soap Creation:
- Molding Containers: These come in various sizes and shapes. Many soap makers use silicone baking molds for their versatility.
- Cutting Board and Cutter: Once your soap has hardened, you’ll need a sturdy cutting board and a soap cutter to slice your soap into bars.
Safety Gear and Precautions
- Gloves: Always wear rubber gloves when handling lye or raw soap to protect your skin from caustic burns.
- Goggles: Safety goggles are non-negotiable to protect your eyes from splashes during the mixing process.
- Mask: A mask should be worn to avoid inhaling fumes, especially when working with lye.
Creating a Safety Guide:
- Develop your own safety guide, detailing the steps you’ll take to ensure a safe environment.
- Keep safety gear within reach before starting and familiarize yourself with safety guidelines for the use of each piece of equipment.
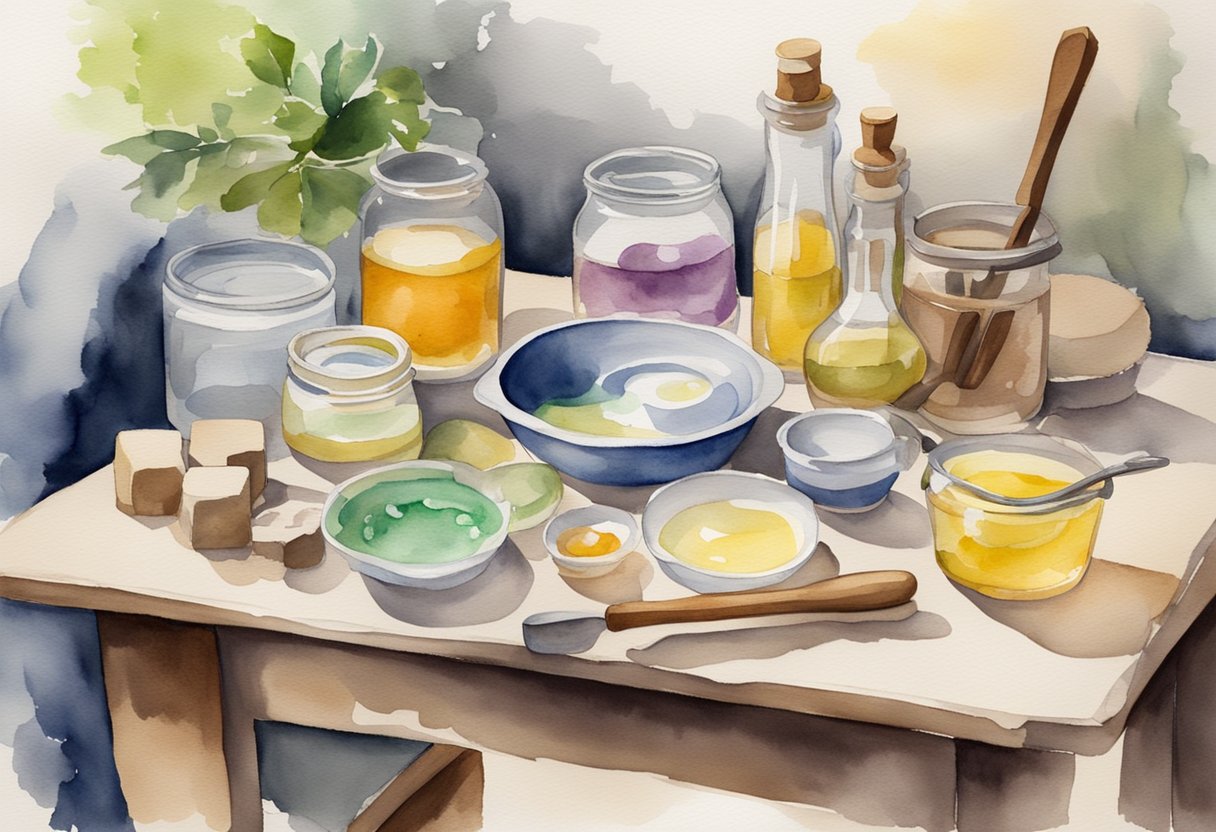
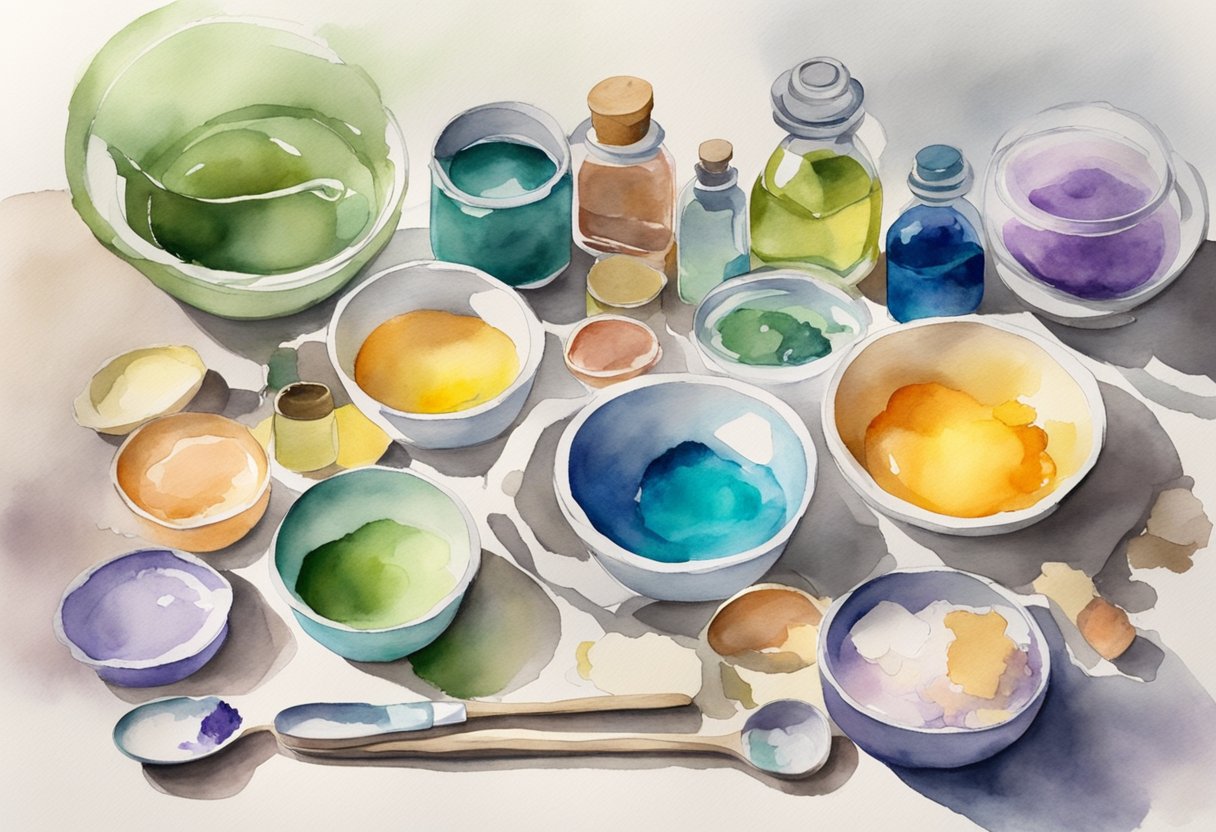
Ingredients for Soap Making
In soap making, the choice of ingredients determines the quality and characteristics of your final product. Each component plays a crucial role in the soap’s performance and sensory attributes.
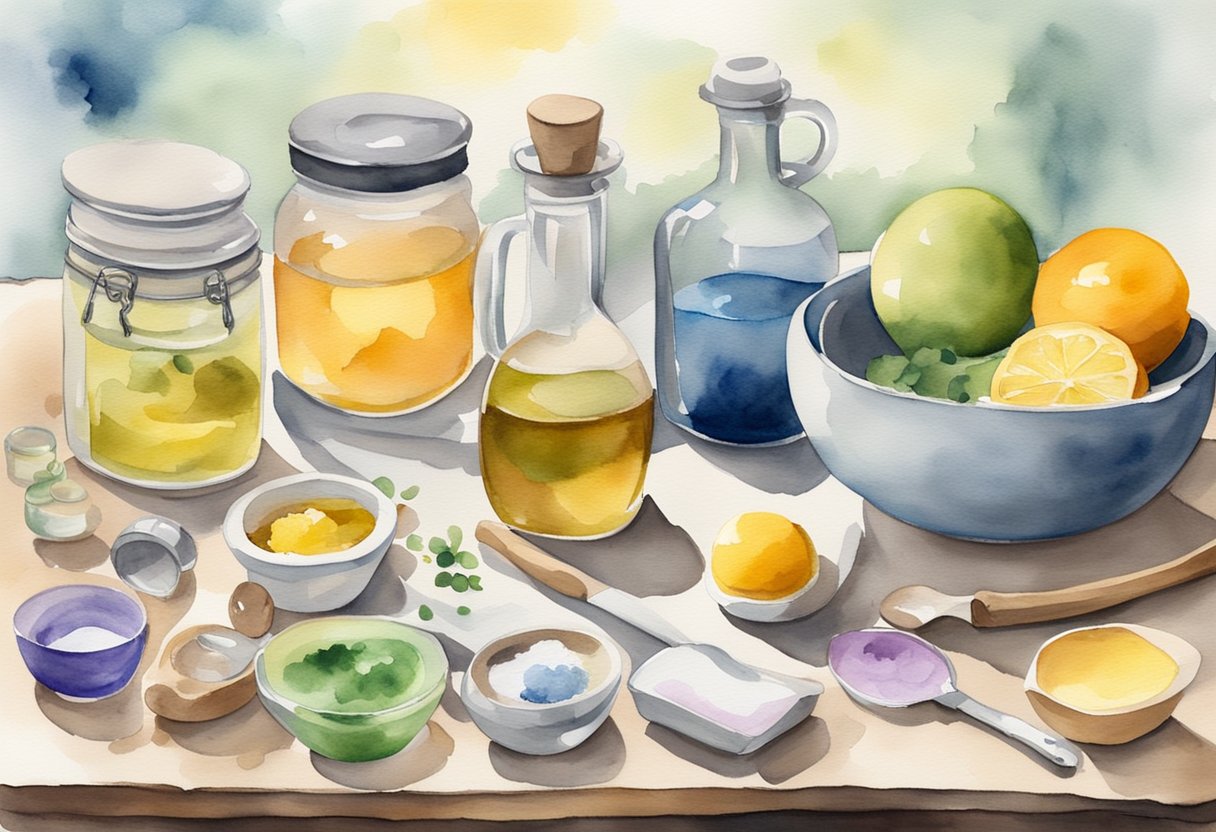
Fats and Oils
The foundation of your soap consists of fats and oils, which provide moisturizing properties and structure. Common oils include:
- Coconut oil: Produces a hard bar with a fluffy lather
- Olive oil: Offers gentle cleansing and a creamy lather
- Palm oil: Contributes to soap hardness and stable lather
- Shea butter: Enhances moisturizing attributes
Select your oils based on the properties you wish to impart to your soap, such as hardness, lathering ability, and skin conditioning.
Lye and Its Role
Lye, a crucial ingredient in soap making, is either sodium hydroxide for solid soaps or potassium hydroxide for liquid soaps. When mixed with water, lye creates a chemical reaction known as saponification. Here’s a simple breakdown:
- Sodium hydroxide: Key to solid bar soap production
- Role of lye: Reacts with fats and oils to form soap
Handle lye with care, as it is a strong chemical that requires proper safety measures during soap making.
Additives and Exfoliants
Additives enhance the aesthetic and functional qualities of soap. Use additives like:
- Fragrance: Incorporate essential oils or synthetic fragrances for scent
- Colorants: Add visual appeal with natural or synthetic options
And exfoliants:
- Oatmeal: Provides gentle exfoliation
- Botanicals: Such as lavender or chamomile for texture and exfoliating properties
These ingredients let you customize your soap to suit different skin types, preferences, and purposes.
The Cold Process Method
The Cold Process Method is a traditional and customizable approach to soap making that involves a chemical reaction called saponification. It allows for a wide range of creativity in choosing ingredients, scents, and additives for your soap recipe.
Step-by-Step Guide
To get started with cold process soap making, follow this structured guide:
- Gather Equipment & Ingredients: Essential equipment includes gloves, safety goggles, a digital scale, a thermometer, mixing bowls, and a mold. You’ll need key ingredients like lye (sodium hydroxide), distilled water, and oils or fats.
- Prepare the Lye Solution: Carefully mix the lye with water to start the saponification process. This chemical reaction transforms oils and lye into soap.
- Mix Oils: Choose oils based on your desired soap properties and heat them to the appropriate temperatures.
- Combine: Slowly add the lye solution to the oils while mixing until they are fully integrated, forming your soap batter.
- Add Extras: If desired, incorporate fragrances, colorants, or exfoliants at this stage.
- Pour: Transfer the mixture into a mold, taking care to tap it to remove any air bubbles.
Reaching Trace
“Trace” refers to the point at which your soap batter is adequately mixed and begins to thicken, indicating it’s ready to pour into the mold. You’ll notice the mixture reaches a consistency where it leaves a subtle trail or “trace” when you drizzle a bit over the top. Achieving trace can take anywhere from a few minutes to an hour, depending on your recipe and the temperature of your ingredients.
Curing Your Soap
After pouring your soap into the mold, it needs to go through the curing process:
- Initial Set: Let the soap sit in the mold for 24-48 hours or until it’s solid enough to remove.
- Cutting: Once solidified, remove your soap from the mold and cut it into bars.
- Cure Time: Place the soap bars on a rack in a well-ventilated area for 4-6 weeks.
Remember, the quality of your soap improves with a proper cure, making it milder, firmer, and more luxurious to use.
The Hot Process Method
The Hot Process method allows you to create soap bars with a more hands-on approach, utilizing a slow cooker to expedite the chemical reaction between lye water and oils.
Understanding the Hot Process
In hot process soap making, your key ingredients are oils, lye water, and any additional fragrances or colorants you wish to add.
The chemical reaction that transforms these materials into soap is known as saponification.
Unlike cold process, hot process uses an external heat source, typically a slow cooker, to maintain a consistent temperature and thus quicken this chemical reaction.
This method affords you the advantage of a shorter cure time, meaning you can enjoy your soap bars much sooner.
Steps:
- Prepare your lye water by carefully mixing sodium hydroxide with water.
- Measure and heat your oils in the slow cooker.
- Once the oils are warm, gradually add the lye water to the oils.
- Blend the mixture until it reaches “trace,” a pudding-like consistency.
Cooking and Curing
After achieving trace, continue cooking the soap in the slow cooker.
This heat phase is crucial as it ensures the saponification process is complete.
Regularly stir the soap to avoid burning and check for the gel-like phase known as the “applesauce” stage.
Once the mixture resembles a thick, vaseline-like texture, your soap is ready for the mold.
Curing:
- Transfer the hot, thick soap into a mold.
- After molding, allow the soap to cool and solidify. This can take a few hours.
- Once hardened, remove the soap from the mold and cut it into bars.
- The soap is now ready to use, but allowing it to cure for a week can improve its texture and longevity.
Melt and Pour Soap Crafting
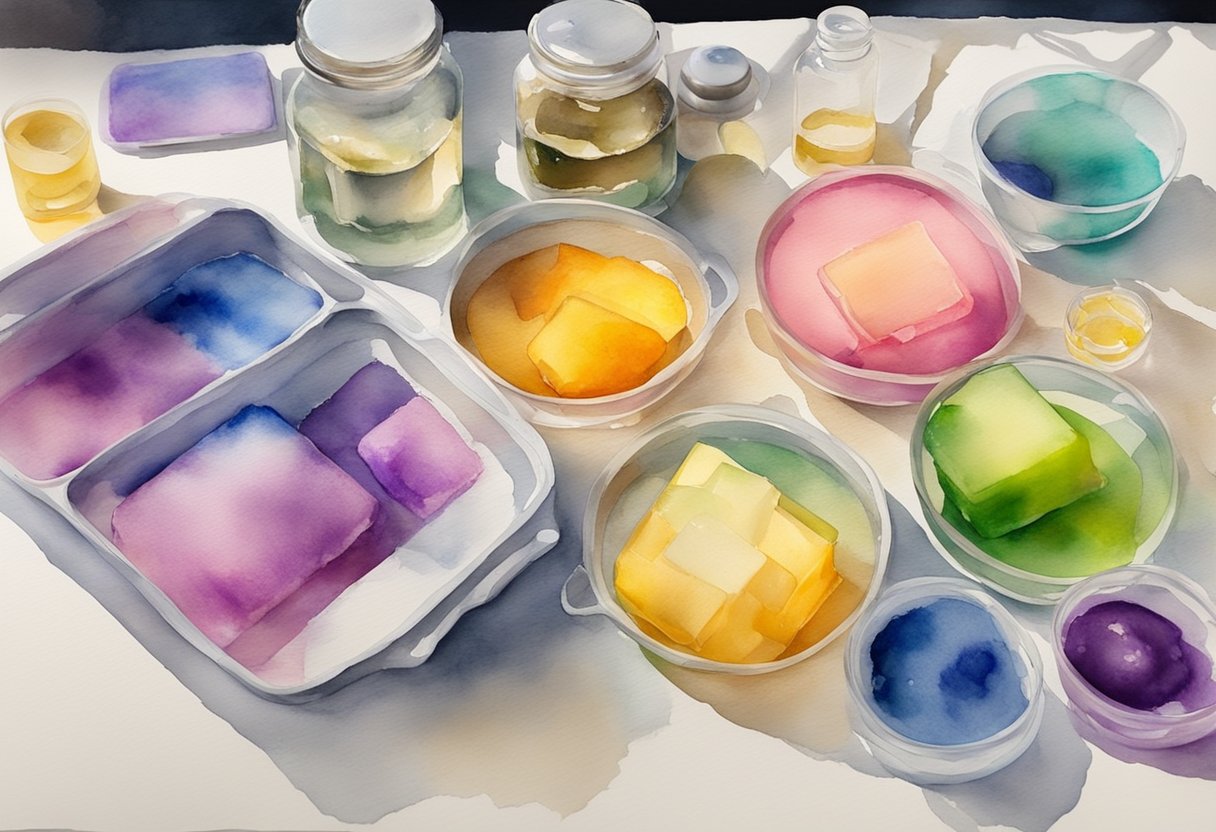
Melt and pour soap crafting is an accessible and versatile hobby that allows for endless creativity. It involves a simple process of melting pre-made soap bases and pouring them into molds to set.
Basics of Melt and Pour
Melt and pour soapmaking is straightforward: you start with a pre-made soap base, typically composed of glycerin, which you melt, usually in a microwave or a double boiler.
Once it’s liquid, you’re ready to move on to the next step.
It’s a safe and easy method that doesn’t involve any complex procedures or handling of harsh chemicals like lye, which is necessary for other types of soapmaking. This approach is ideal for DIY enthusiasts who are new to the world of soapmaking.
Customizing Your Creations
After melting your base, you can personalize your soap in numerous ways. This phase is where your creativity shines:
- Colors: Add soap-safe dyes to achieve the hue you desire.
- Scents: Incorporate essential oils or fragrance oils to give your soap a pleasant aroma.
- Textures and Additives: Include exfoliants like oatmeal or poppy seeds, or moisturizers like shea butter, for added skin benefits.
- Molds: Select from a variety of mold shapes and sizes to create bars that are uniquely yours.
Remember to pour your customized mixture into molds quickly after adding your desired elements to avoid premature solidification.
With melt and pour soap, the possibilities are virtually limitless, which ensures that each batch can be as unique as the last.
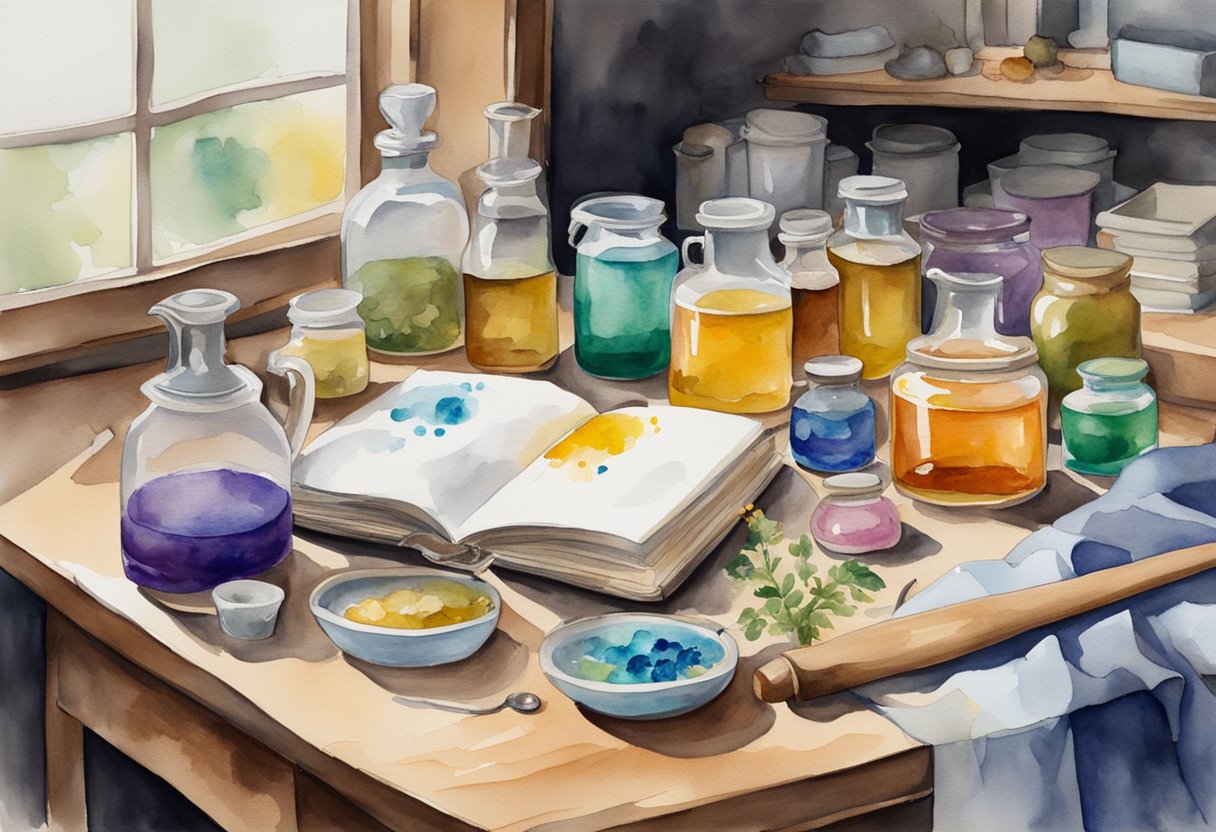
Soap Making Recipes and Tutorials
In this section, you’ll discover a selection of beginner-friendly soap making recipes and where to find comprehensive online tutorials. These resources are thoughtfully chosen to ensure newcomers can confidently navigate through the soap making process, from mixing ingredients to the final curing.
Beginner-Friendly Recipes
- Cold Process Soap: An ideal starting point is the cold process method. It allows for a wide range of creativity while offering a solid foundation in soap making basics. Follow the detailed instructions to learn about saponification and how to safely handle lye, a crucial ingredient in this method. Recipe Example:
- Ingredients:
- Olive oil
- Coconut oil
- Lye (sodium hydroxide)
- Water
- Essential oils (optional for scent)
- Instructions:
- Measure your oils and lye
- Gently heat the oils while mixing the lye with water
- Combine and blend until reaching ‘trace’, a pudding-like consistency
- Add essential oils if desired
- Pour into molds and let it harden before removing
- Ingredients:
- Melt and Pour Soap: If handling lye seems daunting, the melt and pour method is a simple alternative. You start with a pre-made soap base that melts easily and sets without any complex reactions. To customize, add fragrances, colorants, and other additives once melted, then pour into molds. Find a basic melt and pour soap recipe that you can tweak to your liking.
Online Tutorials and Resources
For visual learners, online tutorials can be invaluable.
YouTube offers a wealth of soap making tutorial videos, demonstrating each step of the process so you can follow along from your kitchen.
Practical Self Reliance provides a selection of easy soap making recipes, perfect for beginners wanting to experiment with natural ingredients.
Another comprehensive guide to consider is the Ultimate Guide to Soap Making for Complete Beginners, which breaks down the basics into manageable steps.
Review the instructions to gain an understanding of the soap making sequence — from preparing your molds to the final cure.
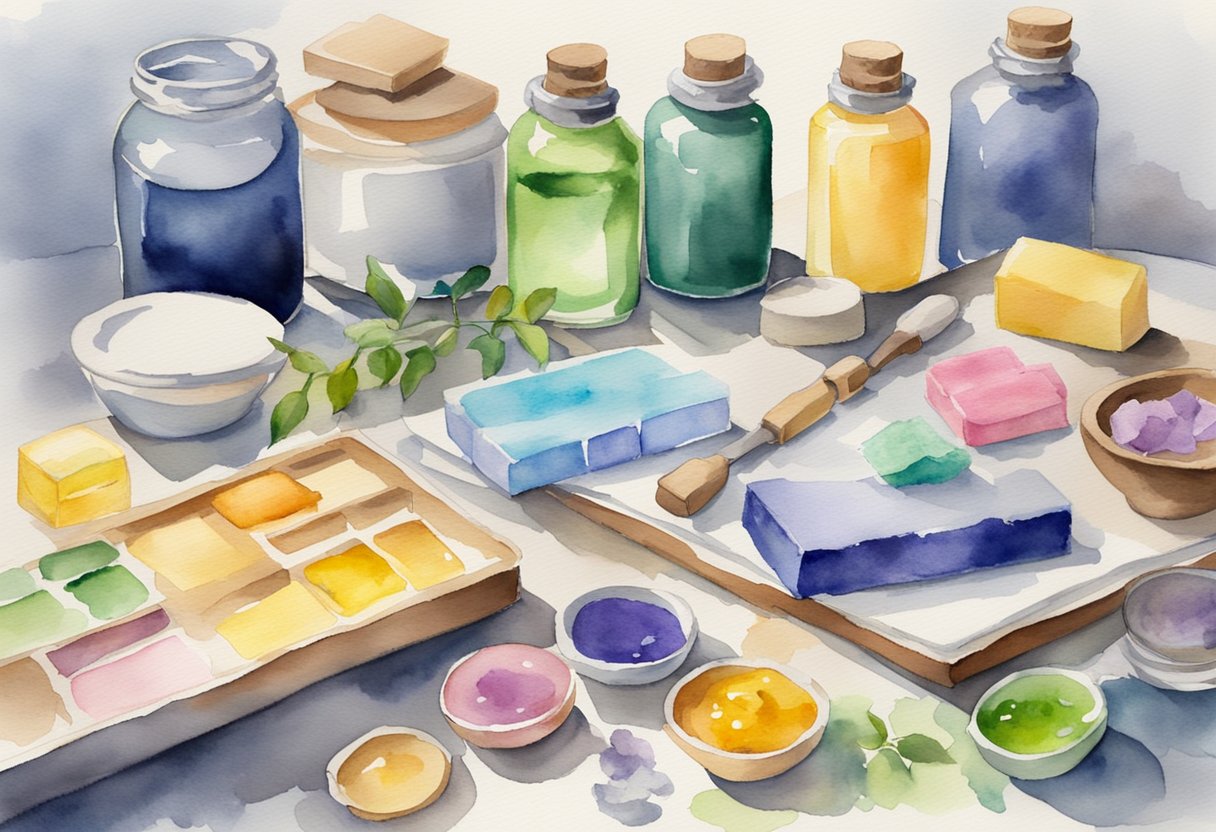
Designing and Customizing Your Soap
Creating a unique bar of soap is all about the choices you make in colors and fragrances, as well as the mold you use to shape it. These components allow you to express your creativity and tailor your soap to personal preferences or specific needs.
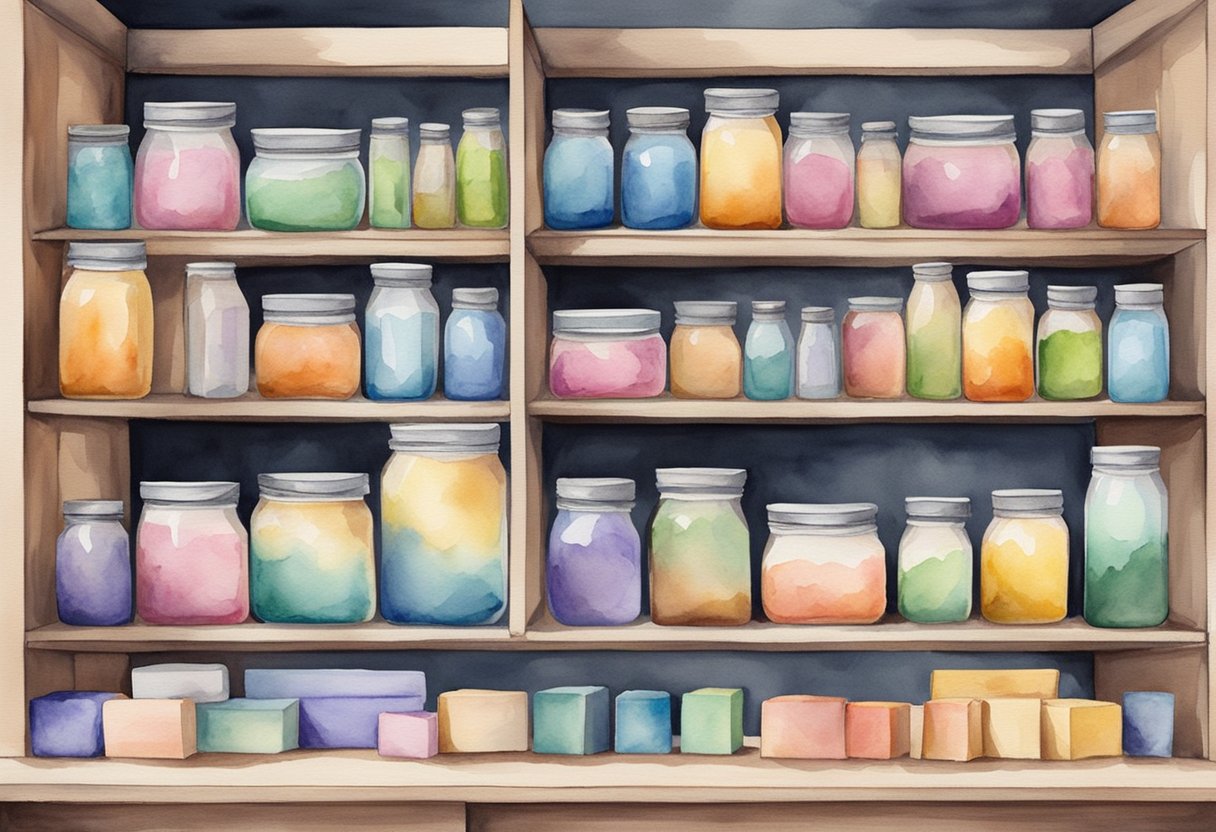
Choosing Colors and Fragrances
Colors: For your soap to stand out, selecting the right colorants is crucial. You have the option of using natural colorants, such as clays or plant extracts, which can provide a range of earthy tones, or vibrant hues achieved through synthetic dyes.
When working with colorants, it’s important to ensure they are skin-safe and specifically meant for soap making to avoid any skin irritation.
Fragrances: The scent of your soap can transform your bathing experience.
Fragrance oils are widely used for a variety of smells, from floral to musky notes.
If you prefer a more natural approach, essential oils derived from plants can add a subtle aroma and may also offer therapeutic benefits.
Remember to use fragrances that are deemed safe for skin contact.
Molding and Shaping
Soap Molds: The mold you choose gives your soap its shape and can make a big impression.
Silicone molds are popular among beginners due to their flexibility and non-stick qualities, making soap release easier.
You can find silicone molds in a multitude of shapes and sizes, from simple rectangles to intricate designs.
Alternatively, you can use a loaf mold if you plan to cut your soap into bars after it has set.
Shapes can range from the traditional bar to more creative forms, giving you the ability to customize for gifts or special occasions.
Use your mold as a way to put a personal stamp on your soap creation, considering that the more intricate the mold, the more skill it may take to perfectly cast your soap.
Advanced Techniques and Tips
Advancing in soap making allows you to create intricate and unique designs that stand out. Mastering techniques such as swirling and layering and troubleshooting common issues will ensure your soap crafting is both enjoyable and successful.
Mastering Swirling and Layering
Swirling in soap making creates beautiful patterns and designs that can turn a basic bar into a work of art.
To achieve effective swirls, you need to carefully control the trace of your soap batter; it should be fluid enough to swirl, yet thick enough to support the design.
Start with a light trace and separate your batter into different containers, adding color to each. Then, pour the colored batters into your mold in various patterns, using a skewer or chopstick to swirl.
Layering is another artistic technique that requires a steady hand and a bit of patience.
To create layers, pour a thin layer of colored soap and let it set just enough to support the next layer but not fully hardened.
Spraying alcohol between layers will help them adhere better.
Experiment with Bramble Berry colorants and fragrances to enhance your layered soaps.
Troubleshooting Common Issues
Encountering issues is a natural part of the learning process, particularly as you explore advanced soapmaking techniques.
If your soap has not set properly, it might be due to incorrect temperatures or measurements. Make sure you’re using a reliable scale for precise ingredient amounts.
If you find your swirls are muddling, this could be a sign that your trace was too thin. Address this by allowing your base to thicken more before attempting to swirl.
Keep a detailed log of your process to identify patterns and help pinpoint where adjustments may be needed.
Packaging and Storing Your Homemade Soaps
After you’ve poured your creativity into making homemade soaps, proper packaging and storing are essential to maintain their quality and extend their shelf life. These steps also allow you to showcase your handcrafted products beautifully when they are ready to use or present as gifts.
Effective Curing and Storage Techniques
When it comes to curing, patience is key.
Curing your homemade soaps ensures they harden properly, which can take several weeks.
During this phase:
- Place the soap in a cool, dry area.
- Provide proper ventilation to prevent moisture buildup.
A well-cured soap will last longer and perform better during use.
As highlighted in Beginner Soap Making Series, you may consider using self-draining soap trays and storing your soaps away from direct sunlight to maintain their quality.
Creative Packaging Ideas
Once your soaps are fully cured, packaging them protects from dust and contaminants, and offers an opportunity to display your work. Here are some suggestions for packaging your homemade soaps:
- Use paper wraps or boxes to encase each bar, which can also be customized for a personal touch.
- Think eco-friendly by opting for biodegradable materials like muslin bags or recycled paper.
Remember, the packaging is the first impression your homemade soaps make, so let your creativity shine here as much as it did during the soap making process.
According to DIY products 101, proper packaging not only preserves the quality but also elevates the overall appeal of your homemade soaps, making them great for personal use or as thoughtful gifts.
Soap Making in the Context of Science and Creativity
Embarking on the journey of soap making not only allows you to express your creativity but also requires an understanding of the science that makes it possible. This balance of chemistry and artistry is what makes soap making a unique and satisfying hobby.
The Chemistry Behind Soap Making
Soap making is fundamentally a chemical process involving the reaction between fats or oils and lye (sodium hydroxide). This reaction is known as saponification.
When you combine oils, such as coconut oil, olive oil, or goat’s milk, and lye, they undergo a transformation, converting into soap and glycerin.
It’s essential to handle lye with care, as it is a dangerous substance. Always make soap in a well-ventilated area and follow lye safety protocols, such as wearing gloves and eye protection, to prevent any accidents.
Soap Making as an Artistic Outlet
As a creative practice, soap making allows for endless artistic expression. You can shape, color, and scent your soaps to reflect a personal sense of style.
Utilizing various soap-making supplies, such as mixing bowls, colorants, and essential oils, you have the freedom to design soaps that are not only effective cleansers but also beautiful and unique art pieces.
Remembering the importance of ventilation as you mix and pour your concoctions, you’ll find that the process of designing and creating your own soaps is as fulfilling as it is fun.
Frequently Asked Questions
Embarking on the journey of soap making as a hobby necessitates understanding the fundamentals. Detailed here are responses to common inquiries that will assist you in getting started.
What are the basic ingredients needed for making soap at home?
For homemade soap, the essential ingredients are oils or fats, water or another liquid, and a caustic substance like sodium hydroxide, commonly known as lye.
Can you describe the step-by-step process of making soap for beginners?
To make soap, prepare your workspace and materials, melt the soap base, add fragrances and colors, pour the mixture into molds, and let it cool and cure before use.
What equipment do I need to begin making soap as a hobby?
You’ll need a soap mold, a heat source, mixing utensils, safety gear like gloves and eyewear, a scale, and containers for measuring and mixing ingredients.
How can I create a soap recipe suitable for cold process soap making?
Creating a soap recipe requires careful calculation of oils, lye, and liquid proportions to ensure the right balance for saponification, the chemical reaction that produces soap.
What are the legal considerations for selling homemade soap?
If you’re considering selling your soap, it’s essential to be informed about regulations and labeling requirements, which may vary depending on your location.
Are there any natural ingredients I can use for soap making, and how do they differ from commercial ones?
You can use various natural ingredients like coconut oil, shea butter, and essential oils.
These differ from commercial ingredients as they are typically free from synthetic fragrances and additives.