
Beginner’s Guide to Collage as a Hobby: Crafting Your Creativity
Embarking on a creative journey can be both invigorating and therapeutic; collage art is no exception.
It is a versatile hobby that allows you to craft unique visual compositions by assembling various materials such as magazine images, newspaper clippings, photographs, and even ephemera like movie tickets.
The charm of collage lies in its inclusive nature; you can incorporate anything paper-based and even expand into mixed media. Working with an array of textures and objects to create layered, thought-provoking pieces.

As a beginner in collage art, the process can be as simple or complex as you deem suitable to your style and preferences.
You may choose to arrange your materials intuitively or follow a thematically structured approach, creating narratives or abstract expressions.
Collage art does not demand extensive experience or expensive materials, making it an approachable hobby.
It’s a liberating form of self-expression, where the ‘rules’ are as flexible as your imagination, empowering you to transform scraps and bits into cohesive, visually striking artworks.
To ensure your collage’s longevity, you might consider using a sealer like clear acrylic spray, though it’s not a strict necessity.
It’s important to remember that the creative process is personal and intuitive—feel free to experiment with the resources you have on hand.
Your collage can serve as a visual diary, a means of commentary, or simply as an exploration of color and form.
Whatever path you choose, collaging offers a welcoming space for you to showcase your individuality and creativity.
Understanding Collage Basics
In this section, you’ll gain a clear and confident understanding of what collage art is and its significance through history. A solid foundation in basic terms and concepts will set you on the right path as you start this creative journey.
Defining Collage Art
Collage art is the process of assembling different forms of media onto a single surface to create a new, unified artwork.
It often involves layering materials such as magazine images, newspaper clippings, fabric, and found objects.
As a beginner, you should know that the essence of collage lies in the juxtaposition of varied elements to produce new meanings and aesthetics.
History of Collage
The history of collage goes back to ancient China and Japan, but it became widely recognized as a modern art form in the early 20th century.
Pioneered by artists like Pablo Picasso and Georges Braque, collage art became a means to challenge traditional views of painting and sculpture. Since then, it has been embraced by countless artists to explore relationships between different visual components.
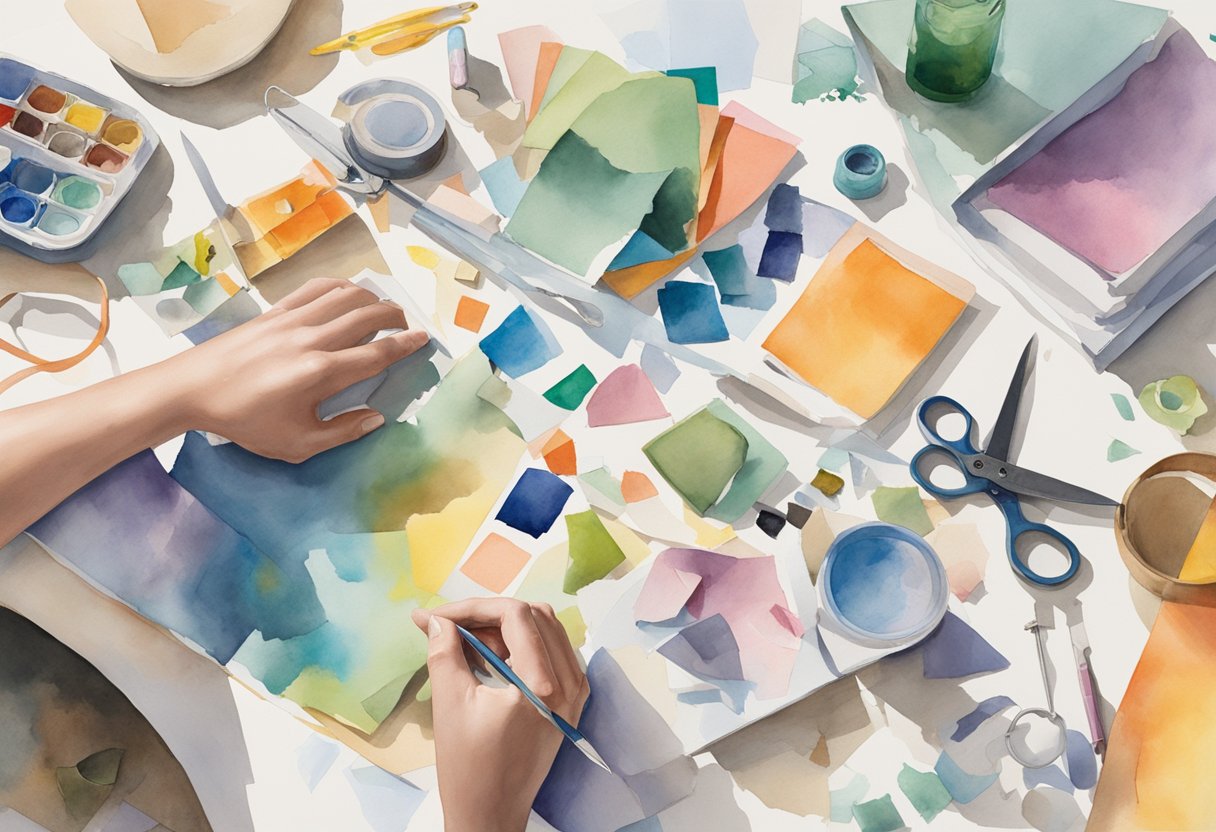
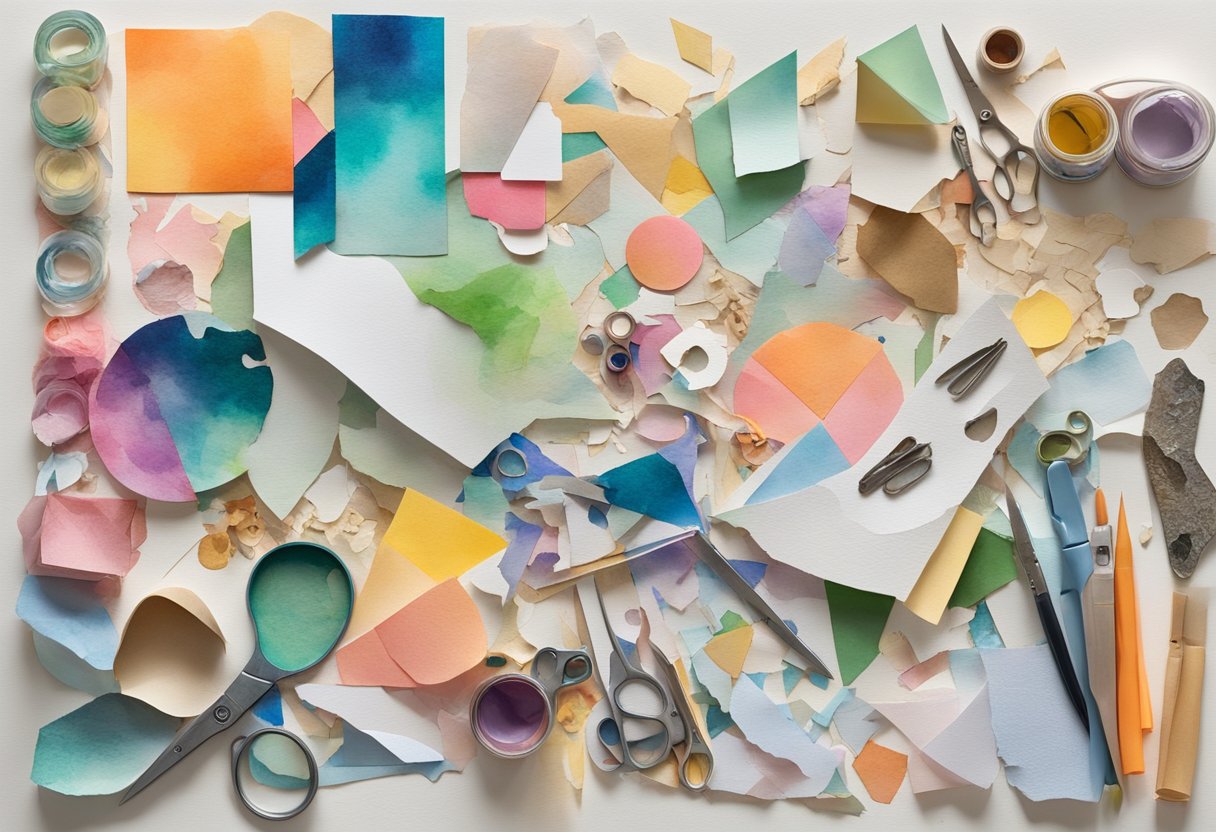
Setting Up Your Workspace
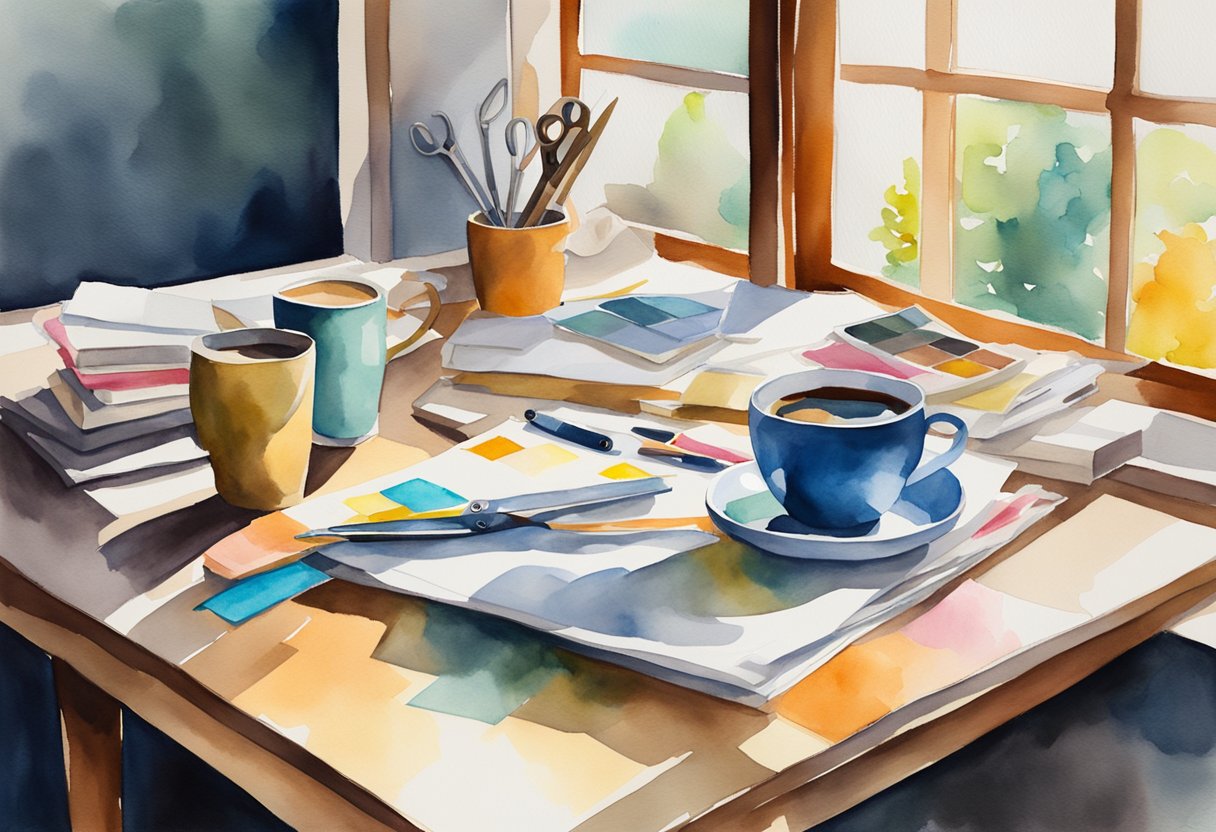
In beginning your journey with collage art, preparing a dedicated workspace is crucial. This space will be the heart of your creative process, involving key choices of surfaces and organization to foster your artistic flow.
Choosing the Right Surface
Your workspace should start with a sturdy surface to support collage construction.
A sizeable, flat table or desk acts as your ground, offering a reliable foundation for artistic endeavors.
Ensure it’s easy to clean, as collage work can involve glue and other adhesives. The right surface is essential not only for the placement of materials but also for the longevity of your tools.
Organizing Your Materials
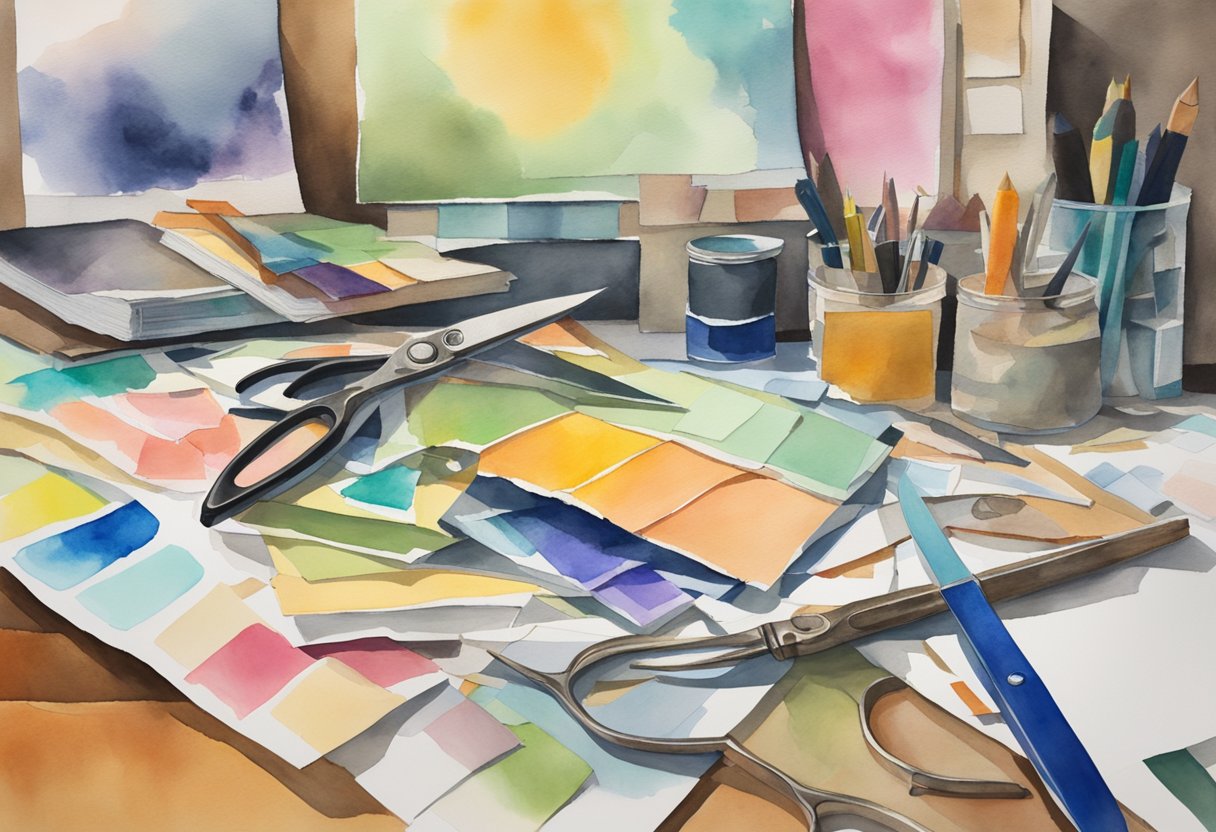
- Materials: Keep a variety of paper, scissors, and adhesives within reach. Use storage solutions like trays, jars, or shelves.
- Tools: Dedicate space for cutting tools, brushes for glue, and materials for texturing your ground or support.
Your organization system should allow you to easily access these items without interrupting your workflow.
Remember to periodically do an inventory check to keep your materials refreshed and your tools in good shape.
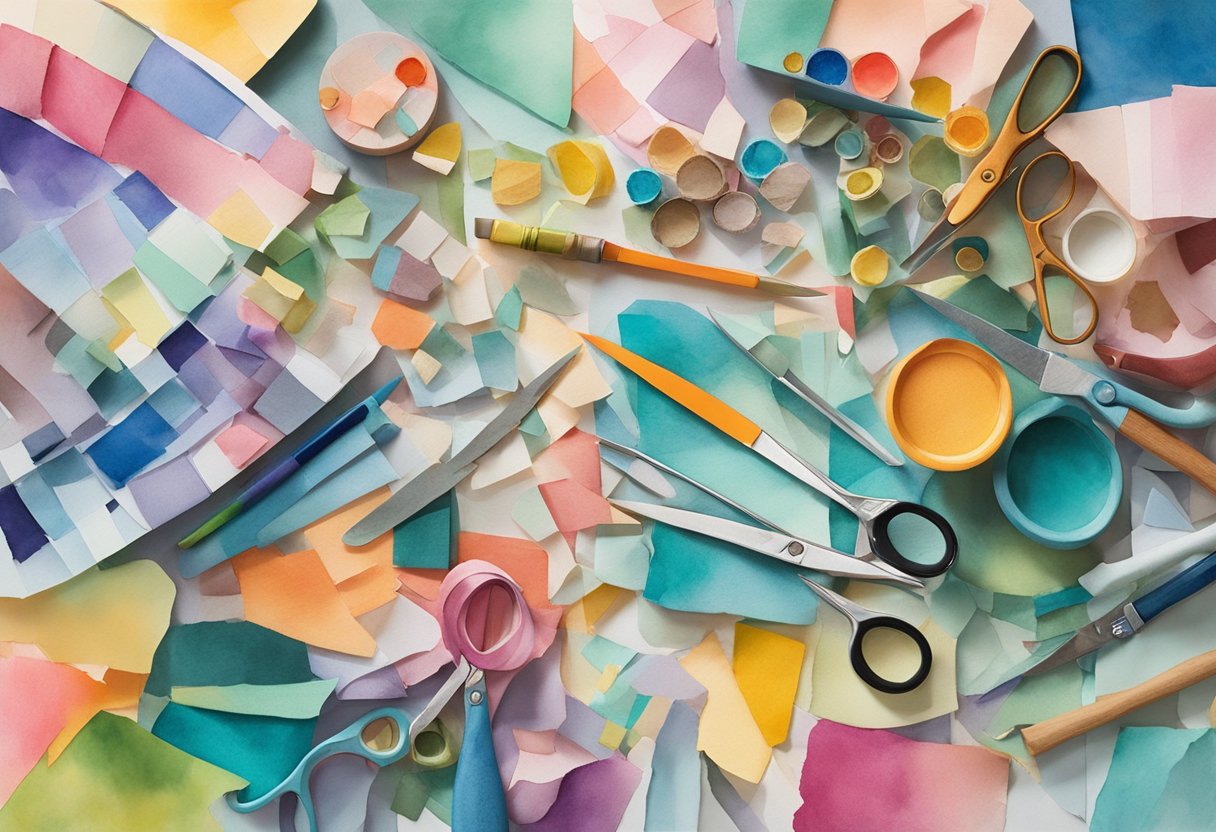
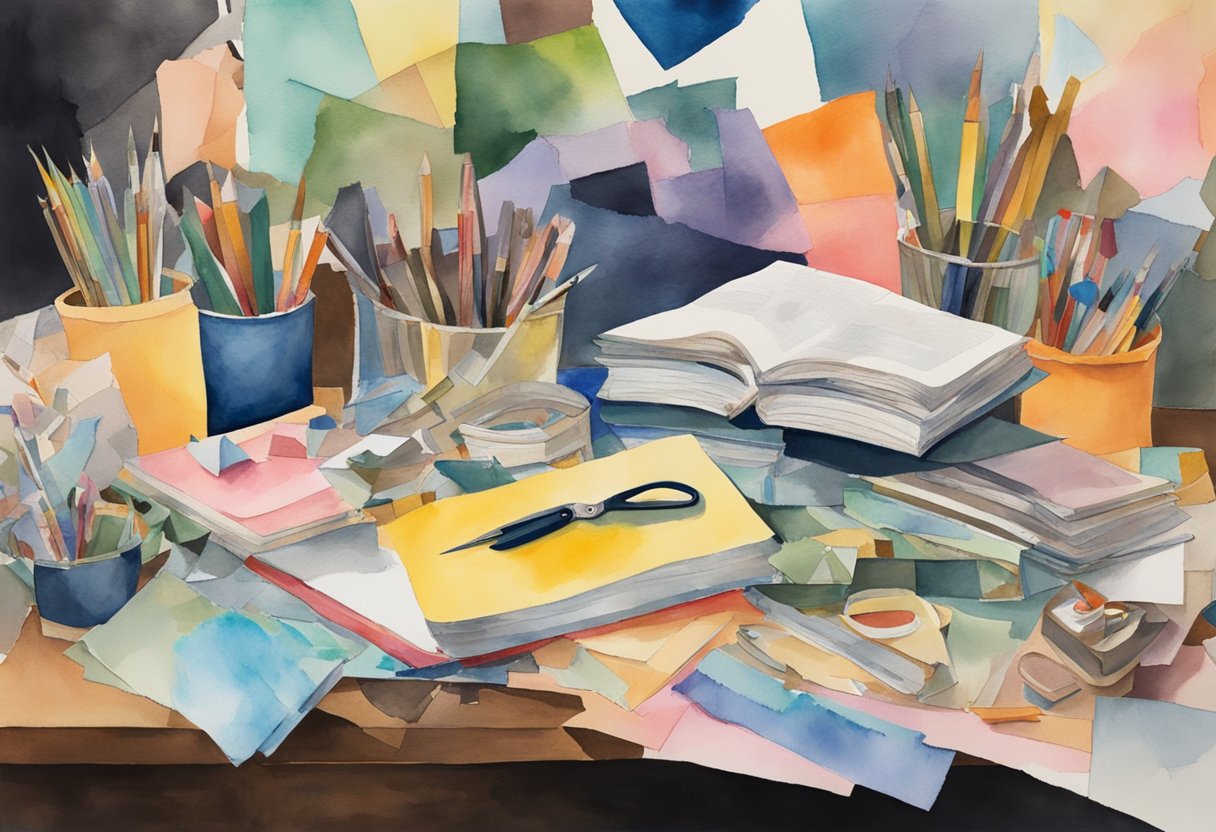
Essential Tools and Materials
When embarking on your collage journey, having the right set of tools and materials is imperative. This ensures your creative process is smooth and your finished pieces are of high quality.
Adhesives and Cutting Tools
Adhesives: The backbone of your collage are the adhesives.
A good quality acid-free glue stick is essential for ensuring your artwork stands the test of time without yellowing.
For more intricate work, you might prefer the precision of clear glue or a gel medium. These won’t clash with your design like duct tape might.
Cutting Tools: Sharp scissors are a must for cutting out detailed shapes, and you’ll benefit from having both regular-sized and smaller, more precise pairs.
For cutting straight edges or heavier paper, a craft knife with a metal ruler on a cutting mat creates clean cuts without damaging your workspace.
Collage Papers and Embellishments
Papers: Your primary medium, collage papers, come in diverse types such as magazine images, newspaper clippings, or specialty papers.
Selecting a variety ensures your collage has depth and interest.
Embellishments: Personalize your collage with buttons, fabric pieces, or even found objects that speak to your style.
Remember, the beauty of collage art is in the layering and texture.
Technical Supplies
Technical Tools: If you’re planning to showcase your work, a well-chosen frame can enhance the overall look. Consider acid-free backings to preserve your piece.
Also, for mixed media collages, basic drawing tools to sketch out designs prior to assembly can be incredibly useful.
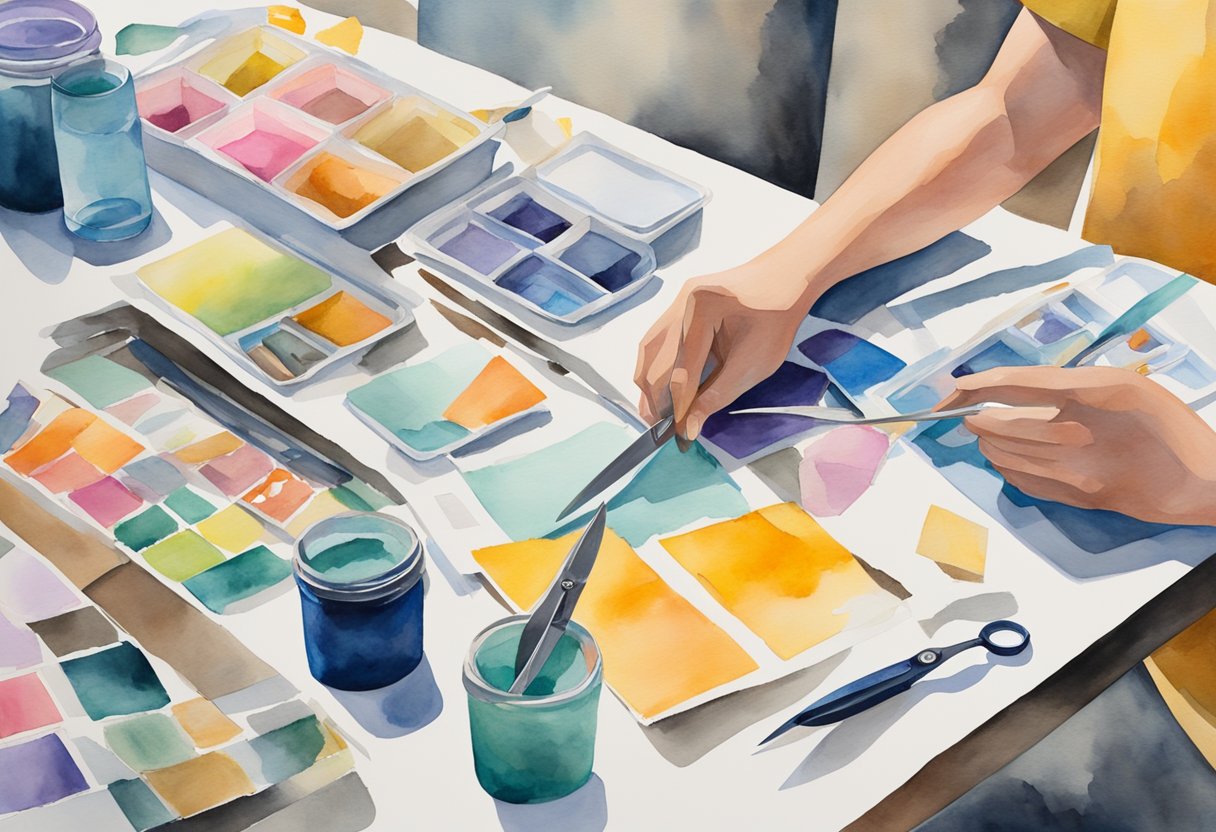
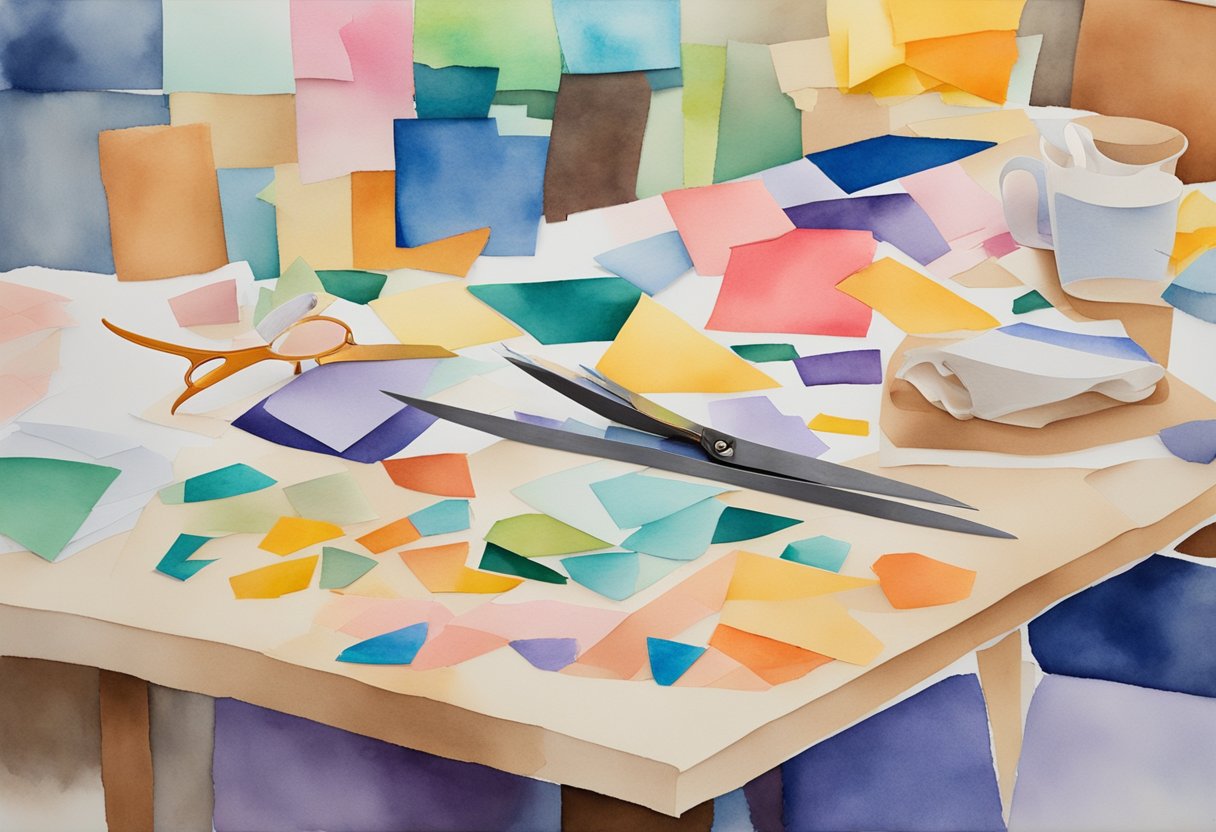
Basic Techniques and Processes
Collage art combines diverse materials and techniques to transform simple paper scraps into compelling compositions. You’ll master the craft by experimenting with various methods of cutting, layering, and adhering materials to your canvas of choice.
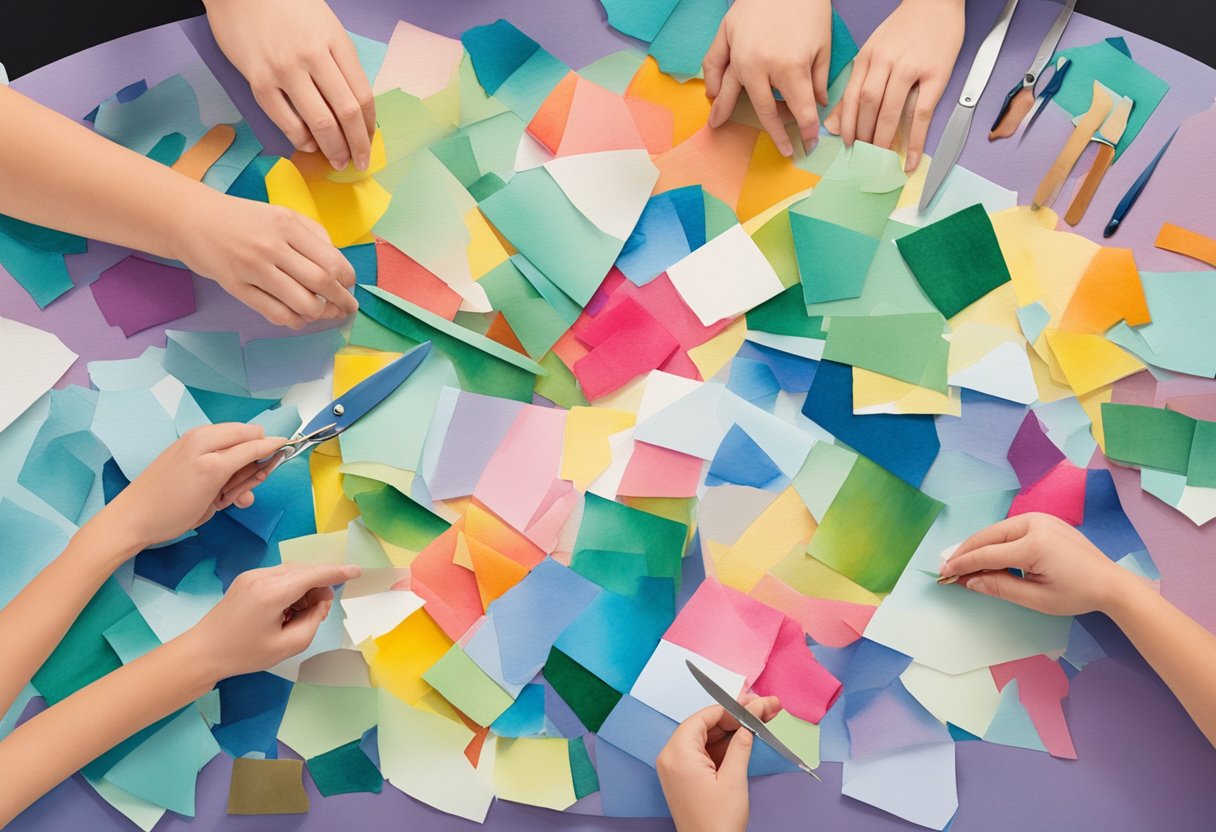
Cutting and Tearing Paper
Cutting: Precise cutting is essential for defined edges and intricate designs.
Use scissors for control or an exacto knife for precision. Aim for clean, sharp lines to ensure your elements combine seamlessly.
Tearing: Tearing paper adds a textured, organic edge to your pieces.
This method allows for more spontaneous and natural-looking results. Vary the pressure and speed of your tearing to achieve different effects.
Layering and Assembling
Begin with a foundational layer and progressively add more elements.
Consider the composition’s balance, color interaction, and the visual narrative as you layer.
The positioning of materials will determine your collage’s depth and perspective.
Adhesive Methods
Tape: Transparent double-sided tape can be a discreet way to adhere light materials. It’s less messy than glue and allows for repositioning if needed.
Glue: Use white glue for its versatility or a specialized collage adhesive like matte medium for a more professional finish.
Apply glue evenly to avoid wrinkles, and ensure each layer is dry before applying the next to prevent shifting.
Themes and Motifs
As you embark on your collage journey, themes and motifs will serve as your creative compass. They bring coherence to your artwork and express your ideas through visual narratives.
Working With Photographs
Photographs are a staple in the collage world, providing a snapshot of reality that you can manipulate and incorporate into your piece.
Consider using personal or found photographs to create a biographical theme, or choose images that evoke a particular emotion or period in time.
For a twist of creativity, mix black and white with color photos to highlight contrasts or focus on a theme.
Exploring Text and Typography
The incorporation of text and typography in your collage can add layers of meaning and a striking visual appeal.
Select fonts that reflect the emotion or idea you wish to convey, such as bold lettering for a strong statement or elegant script for a touch of sophistication.
Arrange words and letters in a manner that guides the viewer’s eye and complements the flow of your imagery.
Using Natural Elements
Embracing elements from nature like flowers or leaves can introduce organic shapes and textures to your collage.
Whether you’re using pressed flowers for a delicate touch or juxtaposing natural elements with industrial motifs, such as motors or gears, the contrast can create a thought-provoking piece that speaks to the relationship between the natural and manufactured worlds.
Incorporating Mixed Media
In collage, mixed media is a dynamic approach to enhance your artwork with a rich variety of textures and forms. You can explore the relationship between different media to create depth and interest in your pieces.
Integrating Paint and Sketching
To begin integrating paint and sketching into your collage, you’ll need to select materials that work well together.
Use acrylic paints for their versatility and fast-drying properties; they can serve as a colorful backdrop for more detailed work with pencil or ink.
Start by painting a base layer on your collage surface, and once it’s dry, add sketches or detailed drawings to interplay with the painted areas.
- Materials: Acrylic paints, pencils, ink
- Texture: Provides a layered effect
- Technique: Apply paint first, then sketch
Using Fabric and Textiles
Incorporating fabrics and textiles can introduce new textures and patterns into your collage artwork.
Choose fabrics that complement your theme and use them to fill larger areas or as accents.
Adhesive methods vary, but a reliable fabric glue or a medium gel can secure textiles onto your canvas without stiffness.
Consider the weave and weight of your textile choices—they will contribute significantly to the texture of your piece.
- Materials: Fabric pieces, fabric glue, medium gel
- Texture: Weave of fabrics adds depth
- Technique: Cut fabric shapes, glue them down strategically
When you add items like photographs, ensure they are well-integrated by surrounding them with painted or sketched elements, or by overlaying transparent textiles.
These layers create a thoughtful composition that makes your mixed media collage stand out.
Finishing Touches and Presentation
After assembling your collage, final touches are essential to elevate your artwork.
Expert presentation can protect your piece and showcase it in the best light.
These final steps of mounting, framing, and applying sealants are key to your collage’s longevity and display quality.
Mounting and Framing Your Collage
To ensure the stability and durability of your collage, proper mounting on a sturdy backing is crucial.
Choose a backing material that is acid-free to prevent deterioration over time.
When selecting a frame, consider one that complements your collage without overwhelming it. Here’s a quick guide:
- Choose Mounting Adhesive: Pick a non-acidic adhesive to secure your collage to the backing board.
- Trim Backing Board: Cut the board to the desired size, allowing a margin if you’ll be framing it.
- Attach Your Collage: Carefully place your collage onto the adhesive, smoothing out any air bubbles.
After mounting, frame your piece with a border that adds to its aesthetic.
Frames not only enhance the look but also provide a protective edge:
- Select a Frame: Go for a quality frame that supports and complements your artwork.
- Frame Size: Ensure the frame is slightly larger than your collage, including the backing board.
Protective Coatings and Sealants
The final step involves applying a protective coating or sealant to safeguard your collage from damage such as fading or moisture. Consider the following options:
- Varnish: Apply a clear varnish for a glossy finish that doesn’t yellow over time.
- Sealants: Choose a purpose-made sealant to protect paper-based components against UV light and wear.
By carefully mounting, framing, and sealing your collage, you’ll enhance its stability and aesthetic appeal, ensuring that it can be appreciated for years to come.
Sharing Your Work
Once you’ve created a collage, you’ll likely want to share it with friends, family, or the public.
The right approach can ensure your artwork is seen in the best light and reaches a wide audience.
Photographing Your Collage for Reproduction
Optimal Lighting: Arrange your collage in a well-lit area with natural light to avoid harsh shadows.
If natural light isn’t available, use soft artificial lighting for a consistent look.
Camera Setup: Use a camera with a high-resolution setting or a DSLR to capture fine details.
For smaller collages, a macro lens is ideal; for larger works, use a standard lens. Ensure your camera is parallel to the artwork to prevent distortion.
- Tripod Use: Secure your camera to a tripod to prevent blurring.
- Editing Apps: Utilize apps like Adobe Lightroom or Photoshop for touching up, ensuring the digital representation matches the original’s colors and textures.
Digital Sharing on Platforms
Social Media: Share your collages on platforms like Instagram, Pinterest, or Facebook.
Use hashtags and captions to engage with communities interested in collage art.
- Instagram: Ideal for visual storytelling and reaching a niche art community.
- Pinterest: Great for reaching people searching for creative inspiration.
- Facebook: Good for joining collage art groups and sharing with a broader audience.
Personal Websites and Blogs: Create a gallery on your personal site or write a blog post documenting your process and finished piece.
This can help attract enthusiasts and potential buyers.
Art Sharing Websites: Platforms such as DeviantArt or Behance allow you to showcase your work to a network of artists and art lovers.
- File Format: Ensure your images are in a high-resolution JPEG or PNG format.
- Image Quality: Aim for 1080px in width for optimal quality on most platforms.
Frequently Asked Questions
Before diving into your collage art journey, it’s essential to familiarize yourself with some of the fundamentals. These answers to frequently asked questions will help get your creative process started on the right foot.
What are the basic techniques to learn when starting collage art?
When beginning with collage art, you should learn how to layer and arrange various materials on your canvas.
Techniques such as cutting, tearing, and overlapping are foundational in creating depth and interest in your collage.
Which type of paper is most suitable for paper collage?
Heavier papers like cardstock or watercolor paper work well for paper collage as they provide a sturdy base for adhering your materials.
However, the versatility of collage art means you can also experiment with magazine and newspaper cutouts.
What is the ideal surface to create collage artwork on?
A solid, flat surface like a canvas board or wooden panel is ideal for creating collage artwork.
These surfaces can handle the weight of glued materials and any additional painting or media you may add.
What are the essential supplies needed to begin making collages?
To start making collages, you need basic supplies such as scissors, a variety of papers, glue or a gel medium, and a base like a canvas or heavy paper.
Adding drawing tools and paints to your kit allows for expanded creativity.
How can I convert my traditional collage art into digital format?
To digitize your traditional collage art, scan or take a high-resolution photograph of your artwork.
Using image editing software, you can then refine your collage or incorporate it into digital projects.
Which adhesive is recommended for collaging on canvas?
For collaging on canvas, a clear glue or gel medium is often recommended as it provides a strong hold while maintaining the look and feel of your materials.
If desired, you can also seal your finished work with a clear acrylic spray for extra durability.