Beginner’s Guide to Cheese Making: Cultivating Your Culinary Passion at Home
Embarking on the journey of cheesemaking as a hobby can be both a delightful and fulfilling experience for beginners. The craft of transforming simple milk into a variety of cheeses is a tradition that dates back thousands of years, yet it remains an accessible skill that you can master with a bit of patience and guidance.
Whether your goal is to create soft, fresh cheeses like mascarpone and paneer or to work up to more complex varieties such as bloomy rind brie or aged cheddar, there are ample opportunities for you to get started and advance your skills.
Understanding the basics of the cheesemaking process is crucial, and there’s satisfaction in learning to produce your very own handmade cheeses right at home.
You don’t need a multitude of specialized tools to begin; just a few essentials can set you on the path to creating mouthwatering cheese.
The art and science behind cheesemaking involve controlling factors such as temperature, humidity, and acidity, which will start to feel more intuitive as you gain hands-on experience.
As you dive into home cheesemaking, remember that every cheese tells a story of the milk it was made from and the person who crafted it.
Your journey will open up a world of flavors and textures, and with time, you’ll be able to tweak and develop recipes that suit your personal taste.
Cheesemaking is not just a hobby—it’s an adventure in food craftsmanship that encourages creativity and offers a wonderful way to share your creations with friends and family.
Getting Started with Cheesemaking
Embarking on your cheesemaking journey combines the pleasures of crafting something with your hands and the satisfaction of savoring homemade cheese.
To set off on the right foot, it’s essential to grasp the basics and select the appropriate ingredients.
Understanding the Basics
Cheesemaking is both an art and a science, requiring precision and a bit of patience.
To begin making cheese at home, familiarizing yourself with the fundamental steps is crucial.
The cheesemaking process typically starts with milk, which is then curdled using a combination of rennet and an acid such as citric acid. After curdling, the resulting curds are separated from the whey using a cheesecloth.
Here’s a basic list of tools you’ll need in your kitchen:
- A large stainless-steel pot for heating milk
- A thermometer to monitor the milk’s temperature accurately
- Cheesecloth for straining curds
- Cheese press for forming and aging (for certain types of cheese)
- pH meter or acidity test strips (optional but helpful)
Selecting the Right Ingredients
Your cheese quality depends heavily on the ingredients you choose.
Starting with high-quality milk is non-negotiable — the fresher, the better. If possible, opt for unpasteurized milk because it usually leads to more flavorsome cheese. However, pasteurized milk will work as well, particularly for beginners.
Rennet, a key ingredient responsible for coagulating the milk, comes in liquid, tablet, or powder form.
You have the choice between animal or vegetable rennet, with each type having a slight impact on the final flavor.
Citric acid is used in cheese types like mozzarella to help the milk achieve the proper acidity level. Quality salt not only seasons the cheese but also plays a role in its preservation and texture.
Lastly, acquiring proper cheesemaking equipment can make the process smoother.
Ensure that all your tools are clean and sanitized before starting to curb any unwanted bacteria growth.
With the right setup and ingredients, you can explore various recipes that range in complexity from fresh cheeses like ricotta to more aged varieties such as cheddar.
Cheese Types and Recipes
Embarking on the journey of cheese making, you’ll discover a world where fresh cheeses such as ricotta and paneer reign with their simplicity, stretchy cheeses like mozzarella and burrata astound with their versatility, and aged varieties including cheddar, gouda, and parmesan present a horizon of flavors that deepen over time.
Fresh Cheeses Overview
Fresh cheeses are your entryway into cheese making and vary from ricotta, known for its delicate flavor suitable for both savory dishes and dessert recipes, to paneer, a staple in Indian cuisine that maintains its shape when cooked. These cheeses typically don’t require aging and are often appreciated for their pure, milky taste:
- Ricotta: Heat milk and cream, add an acid like lemon juice, and strain for a soft, spreadable cheese.
- Paneer: Similar to ricotta but usually involves pressing to create a firmer texture perfect for sautéing.
Fresh cheese recipes are the easy recipes needed to boost your confidence as you start this hobby.
Stretchy Cheeses Explained
Stretchy cheeses such as mozzarella and burrata fall into a mesmerizing category where the magic of pulling and stretching warm curds is not only satisfying to watch but also results in delectably melty textures:
- Mozzarella: A pasta filata cheese where curds are heated and kneaded, creating the signature stretch.
- Burrata: Begins much like mozzarella but is then formed into a pouch and filled with cream and soft curd pieces.
Both are perfect to elevate your homemade pizzas or to enrich a fresh salad with luxurious textures.
Aged Cheeses Introduction
Aged cheeses invite patience and precision as flavors intensify over time.
Starting with cheddar, famed for its sharpness, to nutty gouda, and the crumbly parmesan, these cheeses pack robust tastes and dense textures that are well worth the wait:
- Cheddar: Often pressed into molds and aged to develop a range of flavors from mild to extra sharp.
- Gouda: Known for its buttery rich consistency, which can develop caramel notes with age.
- Parmesan: A hard cheese with a granular texture, it is aged for months to years for a deep savory profile.
Aging cheese like brie, known for its creamy center and white rind, or Valencay, with its characteristic ash-covered pyramid shape, allows you to explore a spectrum of aromas and refine your cheese-making craft further.
Discovering cheese recipes that work for you is an essential step in your cheese-making journey.
Whether you’re crafting a simple feta for a Greek salad or aging a wheel of havarti, you can be confident that your efforts will lead to impressive homemade creations to share and enjoy.
Preparing Your Kitchen
Cheese making at home can be a delightful hobby, and with the right setup and tools, you can turn your kitchen into the perfect cheesemaking environment.
A well-prepared space and having the essential gear at hand will ensure a smooth and enjoyable process.
Setting Up the Space
To begin, designate an area of your kitchen for cheese making. It should be a clean surface, away from high traffic zones to avoid contamination.
Make sure this space is close enough to your stove for easy access during the heating process.
It’s also important to consider refrigeration space. Homemade cheese often requires aging under specific conditions, so ensure you have adequate refrigerator space or a specialized cheese cave.
Essential Tools and Equipment
A successful foray into cheesemaking requires collecting some key pieces of equipment. Here’s a quick list to help you get started:
- Stockpot: A large, heavy-bottomed pot that distributes heat evenly.
- Cheese Forms: Molds that shape your cheese as it sets and drains.
- Slotted Spoon: Ideal for stirring and transferring curds.
- Cheesemaking Kit: These often include ingredients and tools for beginners, such as citric acid, rennet, thermometer, and basic cheese forms.
| Equipment | Description |
|---|---|
| Stockpot | Heavy-bottomed and large enough to hold your milk. |
| Cheese Forms | Various sizes for different cheeses. |
| Slotted Spoon | Stainless steel is preferred for its durability and ease of cleaning. |
| Thermometer | Vital for monitoring milk temperature accurately. |
| Cheesecloth | A fine, mesh fabric for draining the curds. |
Before starting, ensure that all equipment is sanitized correctly to prevent unwanted bacteria from spoiling your cheese.
Milk: The Foundation
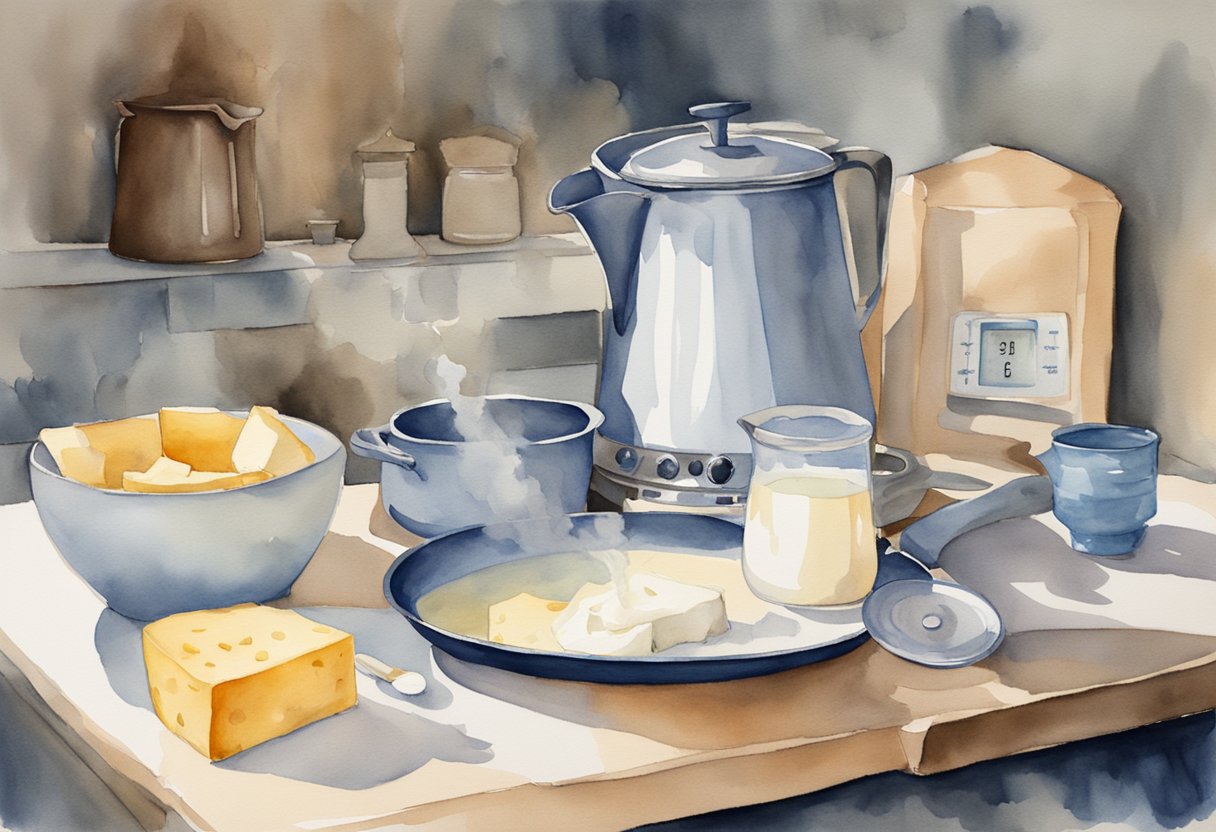
Selecting the right kind of milk is crucial when embarking on your cheesemaking journey. Your choice between raw and pasteurized milk and understanding the role of cream can significantly impact the texture, flavor, and overall success of your cheese.
Raw vs Pasteurized Milk
When you’re starting out with cheesemaking, you’ll have to choose between raw milk and pasteurized milk.
Raw milk comes directly from the animal and has not undergone any heat treatment. This kind of milk can introduce a complex array of natural bacteria, which may lead to a more nuanced flavor profile in your cheese. However, it’s important to note that raw milk can also contain harmful bacteria, making it crucial to source it from reputable suppliers to ensure safety.
On the other hand, pasteurized milk has been heated to a specific temperature to kill any harmful bacteria. This process can make the milk a safer option, especially for beginners who are just learning the ropes of cheesemaking.
Despite this, some cheesemakers believe that pasteurization may reduce the complexity of flavors that can be developed during the cheese aging process.
The Role of Cream in Cheesemaking
The cream content in milk determines the richness and texture of the finished cheese. Milk with a higher cream content will yield a cheese that’s creamier and more luxurious in texture.
If you’re aiming for a richer cheese, like a decadent triple-cream brie, you’ll want to use milk with higher cream content or consider adding cream to the milk before starting the cheesemaking process.
Conversely, for cheeses that require a firmer texture, like a fresh cheddar, you may opt for milk with lower cream content or even partially skimmed milk.
As a beginner, be conscious of the cream content in your chosen milk, as this will influence both the cheese’s character and your overall satisfaction with the cheesemaking experience.
Understanding Cheese Cultures and Bacteria
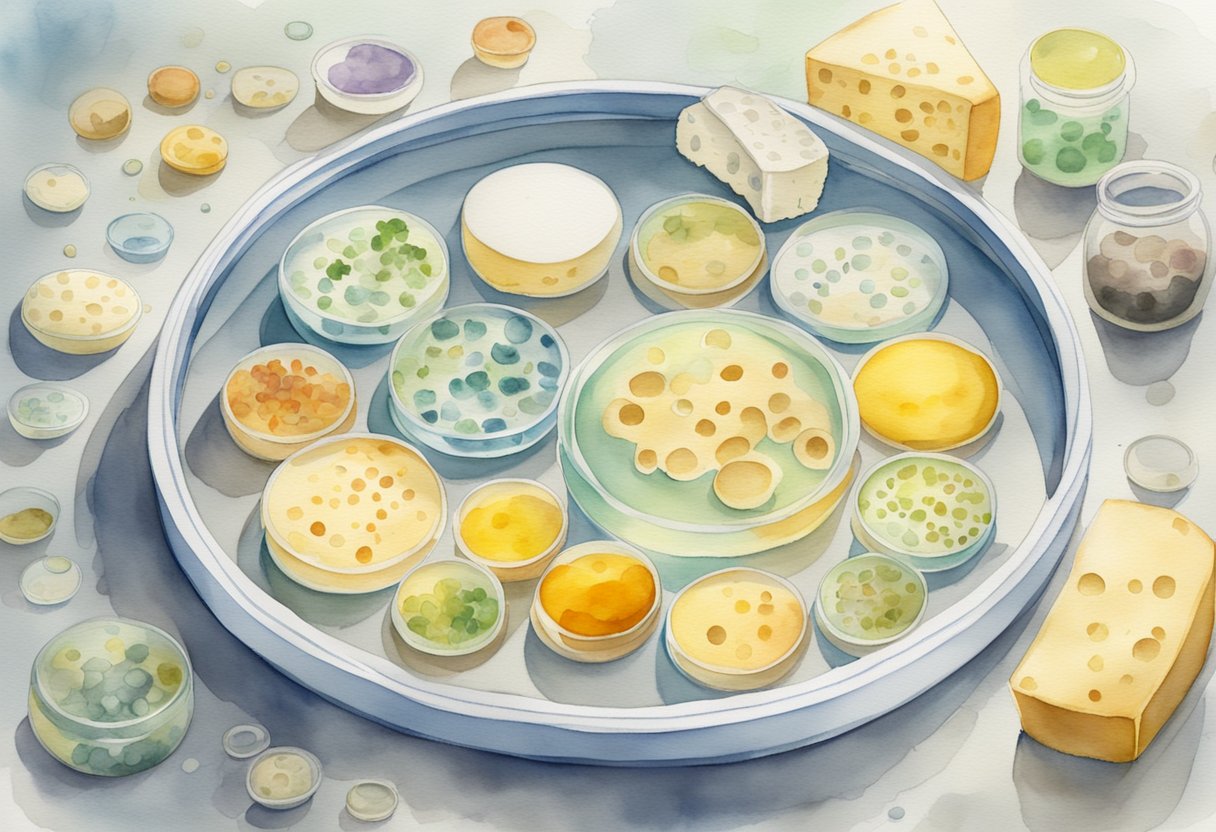
Cheese cultures and bacteria are pivotal in cheesemaking, directly affecting the flavor, texture, and overall success of your cheese.
You’ll use starter cultures to begin the fermentation process, and the specific bacteria involved will help determine the type of cheese you’ll create, like yogurt, sour cream, or various cultured cheeses.
Using Starter Cultures
Starter cultures are select strains of bacteria which you’ll introduce to milk for making cheese. They ferment lactose, the sugar in milk, producing lactic acid.
This acidification is crucial, as it causes the milk to become more conducive to cheese formation, affecting both taste and texture.
There are two primary types of starter cultures:
- Mesophilic cultures: Prefer cooler temperatures and are often used in cheeses that don’t require cooking, such as Cheddar or Gouda.
- Thermophilic cultures: Thrive at higher temperatures and are key for cheeses that need to be cooked and stretched, like Mozzarella and Parmesan.
For a smooth start in your cheesemaking, understanding the role of these cultures is indispensable. Using the right culture for your desired cheese type will lead to successful cheese creation.
The Importance of Bacteria
Bacteria are not just important; they are the very essence of cheesemaking. Different types of bacteria will influence your cheese’s flavor profile, aroma, and texture.
Beneficial bacteria also play a key role in:
- Safety: They outcompete harmful microorganisms, thereby making cheese safe to consume.
- Character: They contribute to the development of the unique characteristics of various cultured cheeses.
The bacteria found in starter cultures are specifically chosen for their reliability and consistency in producing these desired attributes.
By carefully selecting and managing these bacterial cultures, you ensure that your cheese transforms from ordinary milk to an extraordinary culinary product.
The Cheesemaking Process
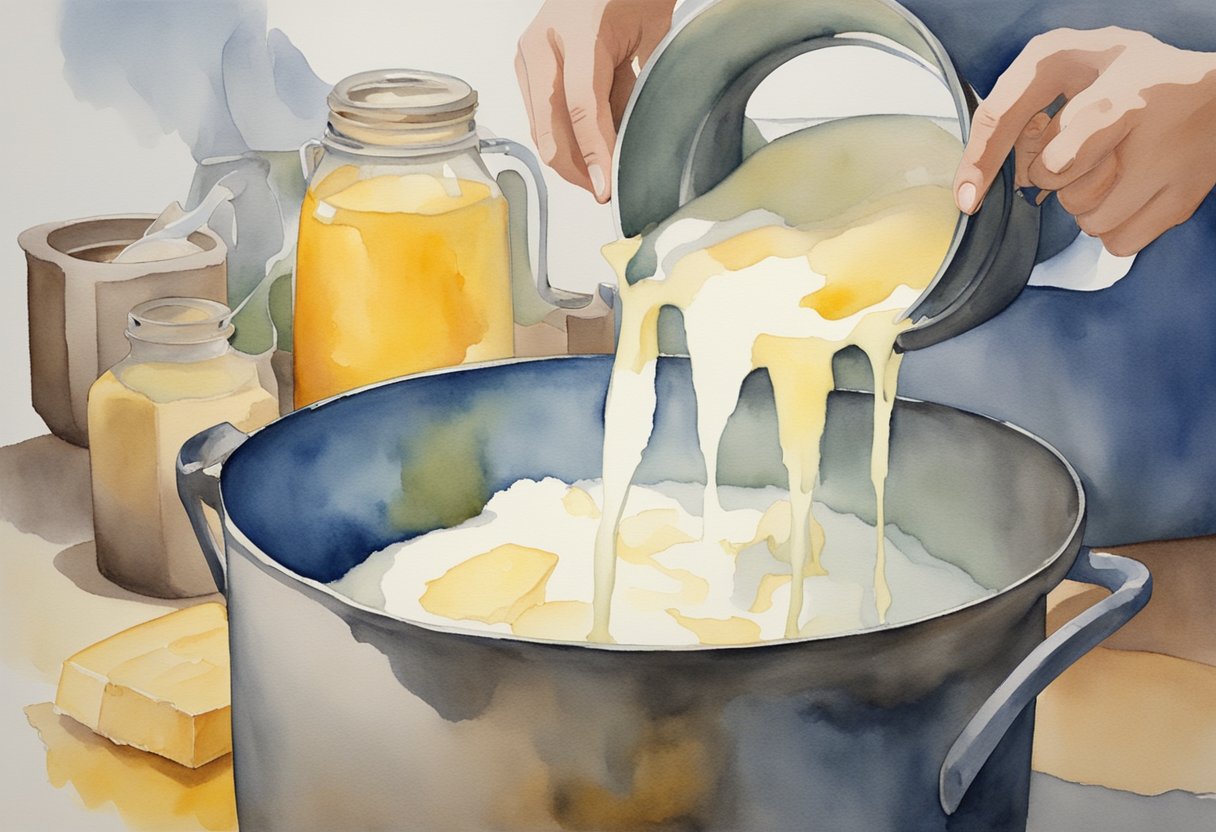
Cheesemaking is a craft that turns milk into a wide range of delicious cheeses through controlled processes. You’ll master how to coagulate milk and shape the resulting curds into your desired cheese form.
Coagulation and Curdling
The first stage, coagulation, involves thickening milk to form curds and whey. You need to add an acid like lemon juice or vinegar to start the process, or use rennet, an enzyme that curdles the milk more consistently.
Instructions:
- Warm the milk gently to the temperature specified in your recipe.
- Add the acid or rennet, stirring gently to ensure even distribution.
The milk will soon start to coagulate. The solid part is the curds, and the liquid part is the whey. The curds contain the fat and protein, which are the foundation of your cheese.
Shaping and Molding Cheese
After the curds form, it’s time to give shape to your cheese using cheese forms or molds.
Instructions:
- Transfer curds to a mold or form lined with cheesecloth.
- Apply pressure evenly using a cheese press to expel excess whey and help the curds knit together.
Different cheeses require different amounts of pressure and time in the molds. This step-by-step molding process will determine the final texture and appearance of your cheese. Keep the pressing conditions as consistent as possible for the best results.
Aging and Storage
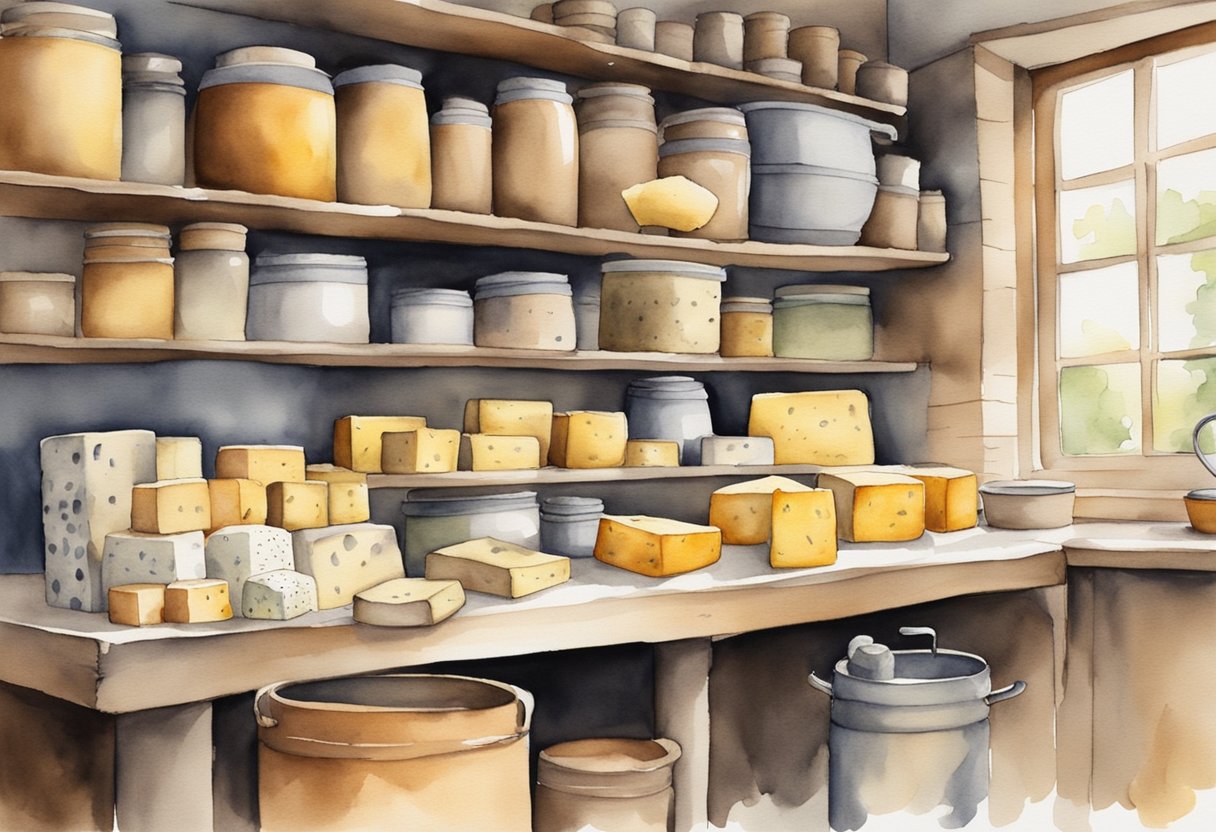
In cheese making, aging and storage are crucial for developing flavor and texture. Proper conditions ensure your cheese matures correctly, creating the desired taste profile and consistency.
The Aging Process
Aging, also known as affinage, allows the flavors in your cheese to deepen and evolve over time. As your cheese ages, beneficial molds and bacteria work to develop a unique rind or outer layer, while affecting the interior texture and taste.
The duration of aging can vary widely, from a few weeks for soft cheeses to several months or even years for harder varieties.
Throughout this process, maintaining the right humidity and temperature is key to preventing unwanted mold growth or drying out the cheese.
- Temperature: Target a range of 50-55°F, ideal for slow aging.
- Humidity: Keep it around 70-85% to facilitate proper mold growth and rind development.
Creating an Aging Space
Your aging space, often referred to as a cheese cave, is where the magic happens. It’s a dedicated area designed to replicate the environmental conditions of traditional underground aging caves.
To create your own cheese cave, you can modify a wine refrigerator or a spare fridge with a temperature control feature. Ensure it provides:
- Consistent temperature control
- Adequate humidity
- Protection from strong smells and contaminants
Additionally, you might consider using ash as part of the cheese-making process. Ash can contribute to pH balance and the development of certain types of rinds, while also adding a unique visual element to the finished cheese.
Flavoring and Seasoning
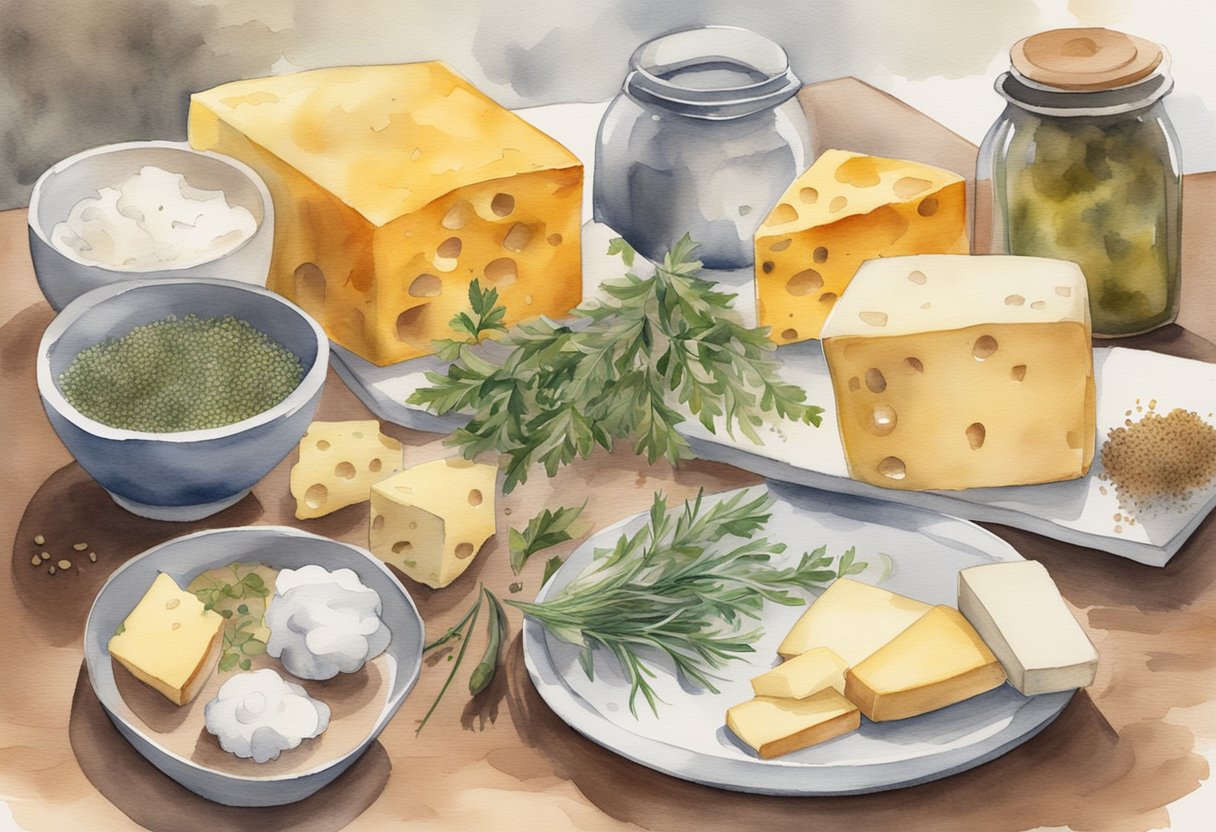
In cheese making, flavoring and seasoning are crucial for developing the desired taste and character of your cheese.
Different methods and ingredients will impart distinct flavors and qualities, enhancing the sensory experience of your homemade cheese.
Adding Herbs and Spices
When you’re looking to infuse your cheese with aromatic notes or a burst of flavor, incorporating herbs and spices is the way to go. A few things to remember:
- Selection: Choose fresh or dried herbs and spices based on the flavor profile you want.
- Timing: Add herbs and spices at the right stage of the cheese-making process, usually after the curd has been formed and before pressing.
Examples include:
- Fresh Herbs: Dill, basil, or chives for a refreshing taste.
- Dried Spices: Peppercorns, garlic powder, or mustard seeds for a bold kick.
The Use of Salt and Ash
Salt isn’t just a seasoning; it’s an essential aspect of cheese making that affects flavor, texture, and preservation.
- Types of Salt:
- Cheese Salt: A non-iodized salt, which prevents bitterness and doesn’t hinder the cultures’ activity.
- Kosher Salt: Its large crystals dissolve slowly, resulting in an even distribution throughout the cheese.
Ash, primarily used in the making of aged cheeses, creates a distinct rind and can affect the pH of the cheese surface, promoting the growth of certain beneficial molds.
A common type of ash is made from coarsely ground, vegetable ash, a tradition that dates back centuries and imparts a subtle, earthy flavor.
Troubleshooting and Common Issues
Addressing Texture Problems
Cheese texture issues can range from overly soft to excessively hard. These problems are often a result of incorrect milk acidity, temperature mishaps during the curd processing stage, or imbalanced moisture content.
To address these issues, ensure that you’re accurately measuring the acidity level of the milk and maintaining strict temperature control throughout the process. If the cheese is too dry, consider adding more moisture in the initial stages or cutting the curds into larger pieces to retain more whey. Conversely, for overly moist cheese, cut the curds smaller and press the cheese longer to expel extra whey.
Dealing with Molds and Bacteria
Molds and unwanted bacteria can pose significant challenges in cheesemaking, sometimes leading to spoilage or undesirable flavors. To combat this, maintain a clean working environment and sterilize all equipment before use.
If you notice unwanted mold growth on your aging cheese, you can usually remove it by gently scraping the surface or washing it with a solution of saltwater and vinegar. Using the right cultures and ensuring proper aging conditions will also help keep unwanted microbes at bay.
Finishing Touches and Presentation
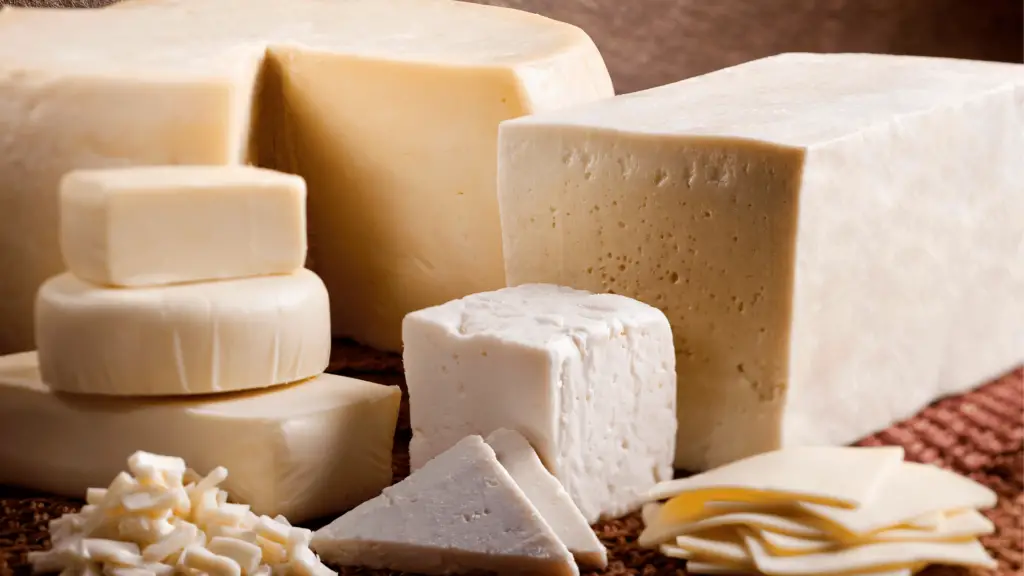
Cutting and Serving
The way you cut and serve cheese can significantly affect its flavor and texture. Soft cheeses are best served with a smooth blade to avoid crushing, while hard cheeses might require a sharper knife or even a wire cutter.
Serve cheese at room temperature to maximize flavor, and consider the shape and size of your cuts to enhance presentation and ease of eating.
Pairings with Wine and Beer
Pairing cheese with the right wine or beer can elevate the tasting experience. As a general rule, pair mild cheeses with lighter wines and beers, and stronger cheeses with fuller-bodied beverages.
For example, a creamy Brie goes well with a light Chardonnay, while a sharp cheddar pairs beautifully with a robust IPA. Experimenting with different combinations will help you discover what works best for your palate.
Building Your Cheesemaking Confidence
Advanced Techniques
Once you’re comfortable with the basics, explore advanced techniques like aging (affinage), washing rinds, or incorporating herbs and spices. Aging cheese in a controlled environment can develop depth and complexity of flavor.
Washing rinds with beer, wine, or brine can introduce unique tastes and textures. Adding herbs and spices can create personalized cheese varieties that cater to your preferences.
Learning from a Cheese Master
Consider taking a workshop or course led by an experienced cheesemaker. This hands-on experience can provide invaluable insights into the subtleties of the craft, allowing you to learn advanced techniques and troubleshoot in real-time.
Engaging with a community of cheesemakers can also offer support, inspiration, and the opportunity to share knowledge.
Frequently Asked Questions
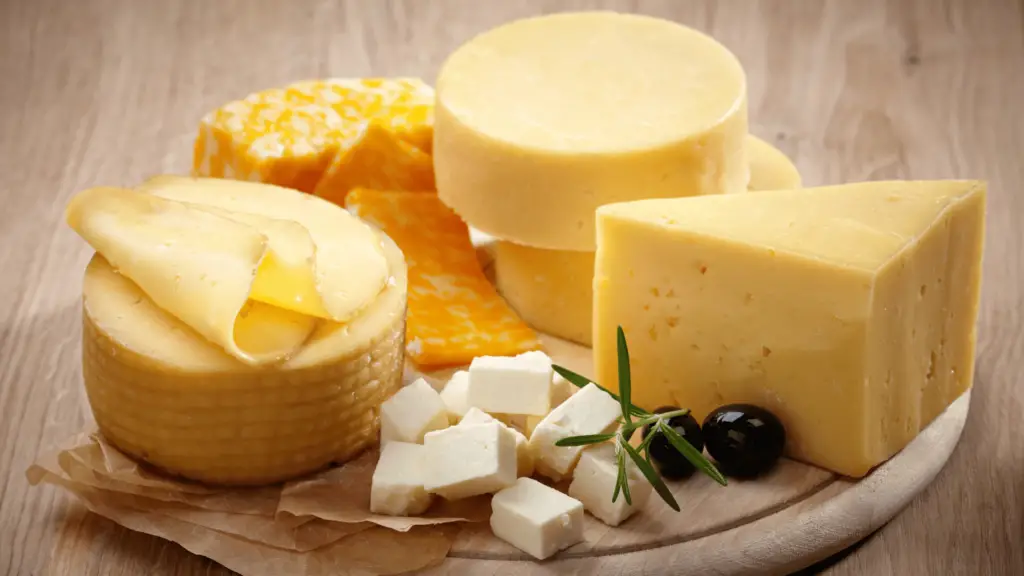
What equipment is essential for a beginner looking to start making cheese at home?
Basic equipment includes a large pot, thermometer, cheesecloth, colander, and cheese press. You’ll also need specific cultures and rennet, depending on the type of cheese you’re making.
Which type of milk is best for a beginner to use in cheese making?
Fresh, high-quality pasteurized milk is best for beginners. Avoid ultra-pasteurized milk, as it doesn’t coagulate well due to the high-heat processing.
What are the initial steps to take when learning to make cheese as a hobby?
Start with simple recipes like ricotta or paneer that don’t require aging or complex techniques. This will help you understand the basic principles of cheesemaking before moving on to more challenging types.
How can I find and choose the best cheese making kit for a beginner?
Look for a kit that includes all the necessary tools, cultures, and a detailed instruction booklet. It’s also beneficial to choose one that offers a variety of cheese types so you can experiment with different styles.
Can you recommend any beginner-friendly cheese making recipes?
Fresh cheeses like mozzarella, ricotta, and cottage cheese are great starting points. They require minimal equipment and can be made in a few hours.
Are there any online cheese making classes suitable for beginners?
Yes, there are many online platforms offering cheesemaking classes for beginners. Look for courses with comprehensive instruction, including video tutorials, to get a thorough understanding of the process.
Check out these highly-rated Beginner Cheese Making courses available at Skillshare.com here…
