
Beginner’s Guide to Diamond Painting as a Hobby: Tips and Techniques
Diamond painting offers a unique and enjoyable way to create shimmering art pieces. This hobby combines the relaxation of painting by numbers with the intricate detail of cross-stitching.
Entering the world of diamond painting requires just a few essential tools and some patience, making it accessible to enthusiasts of all skill levels.
As you embark on this creative journey, organizing your workspace becomes key to a successful project.
Preparing your canvas and selecting your diamonds are critical steps.
With the right techniques, you’ll find that applying these sparkling “drills” is both meditative and rewarding, as each diamond contributes to the beauty of the final composition.
For those looking to take their skills further, understanding advanced techniques can transform your work into extraordinary art.
From solving common challenges to perfectly displaying your finished piece, there’s always more to learn and enjoy in this captivating craft.
Key Takeaways
- Diamond painting is an accessible and relaxing hobby.
- Proper organization and preparation are crucial for success.
- Explore techniques for enhancing and displaying your artwork.
Getting Started with Diamond Painting
Beginning your journey into diamond painting involves understanding the basic tools and techniques.
Choosing the right kit is crucial as it determines your initial experience.
This hobby is accessible to everyone, providing a creative outlet that combines precision and relaxation with stunning results.
Understanding Diamond Painting
Diamond painting is a craft where you apply small, shiny resin diamonds to a canvas that has a design outlined. You use a pen tool, often with wax, to pick up the diamonds and place them on the sticky canvas surface.
The design usually features numbers or symbols corresponding to different diamond colors. This method is much like painting by numbers or cross-stitching, where each area matches a specific color.
Working systematically by selecting a section to complete ensures efficiency and helps maintain focus. This craft is not only accessible but also rewarding as it offers you the chance to create dazzling artwork.
Choosing Your First Diamond Painting Kit
Selecting your first diamond painting kit involves considering several factors.
Look for kits that include a pre-printed canvas, a set of diamonds, a tray, and a pen tool, which often contains wax to help pick up diamonds.
Kits are available in various sizes and difficulty levels, so choose one that aligns with your skill level and interest.
As a beginner, opting for smaller and simpler designs can be beneficial. Designs vary widely, from abstract patterns to detailed landscapes.
Starting with a manageable project helps you develop skills without feeling overwhelmed.
Exploring options available at stores or online platforms enables you to find a kit that excites and motivates you.
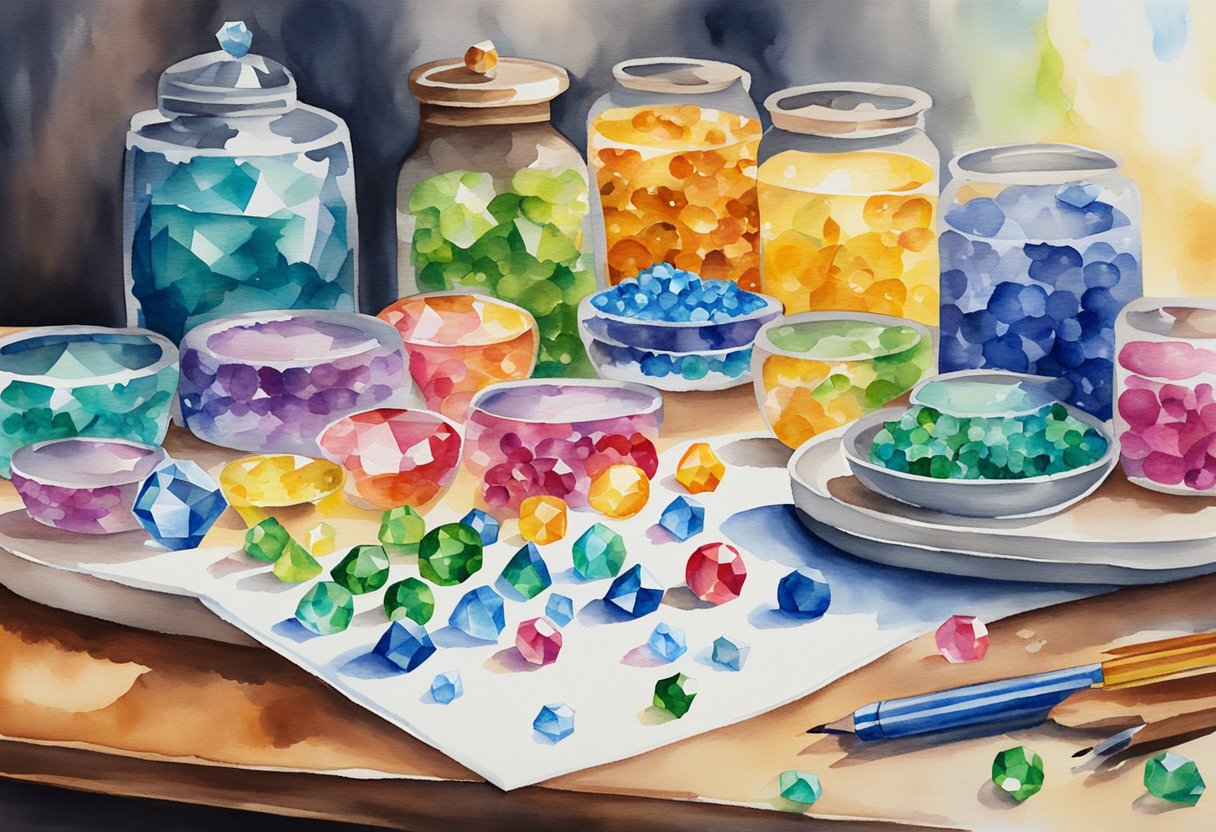
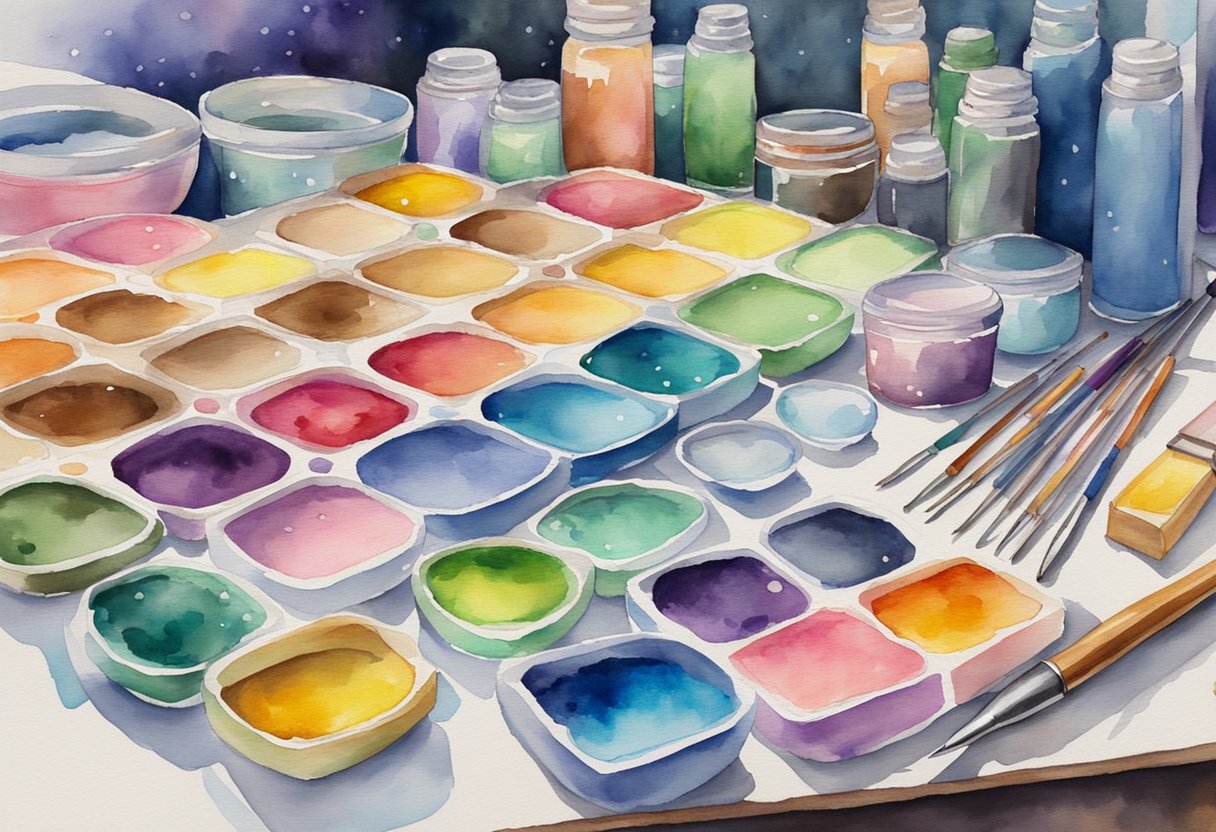
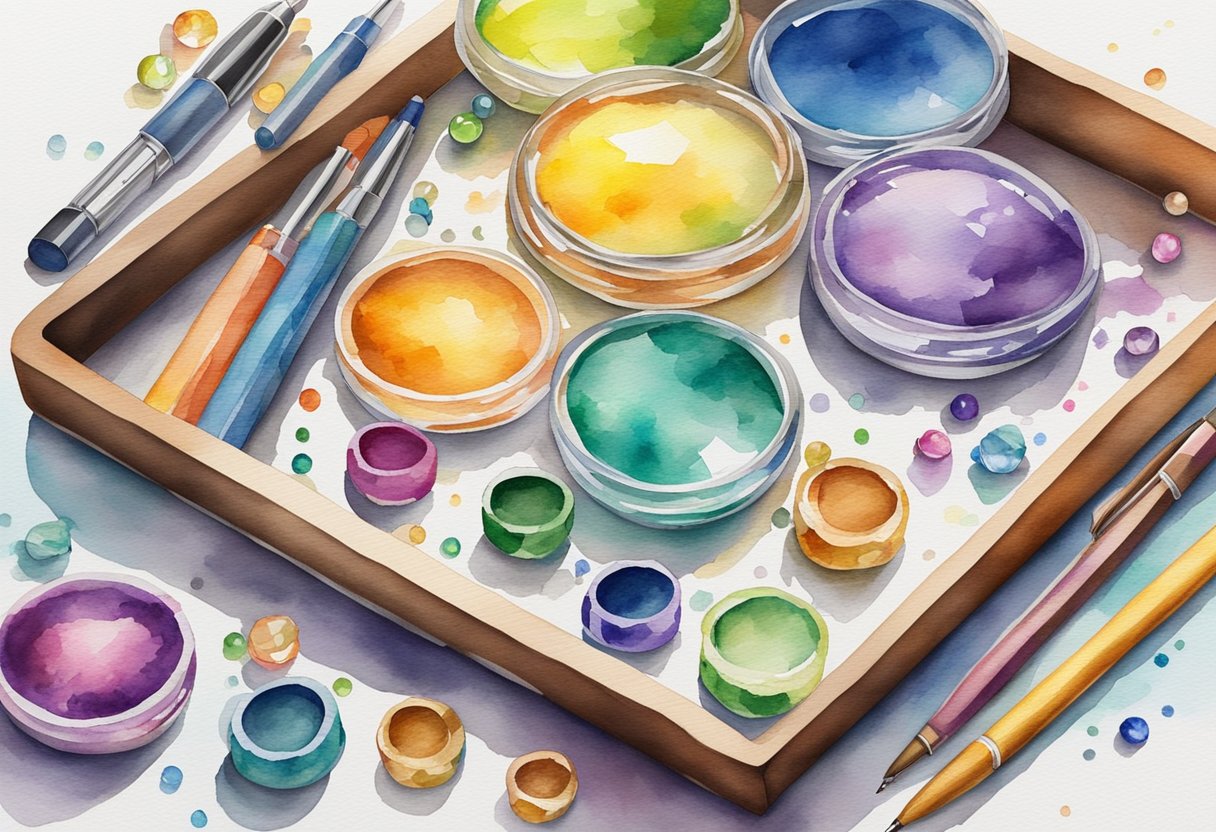
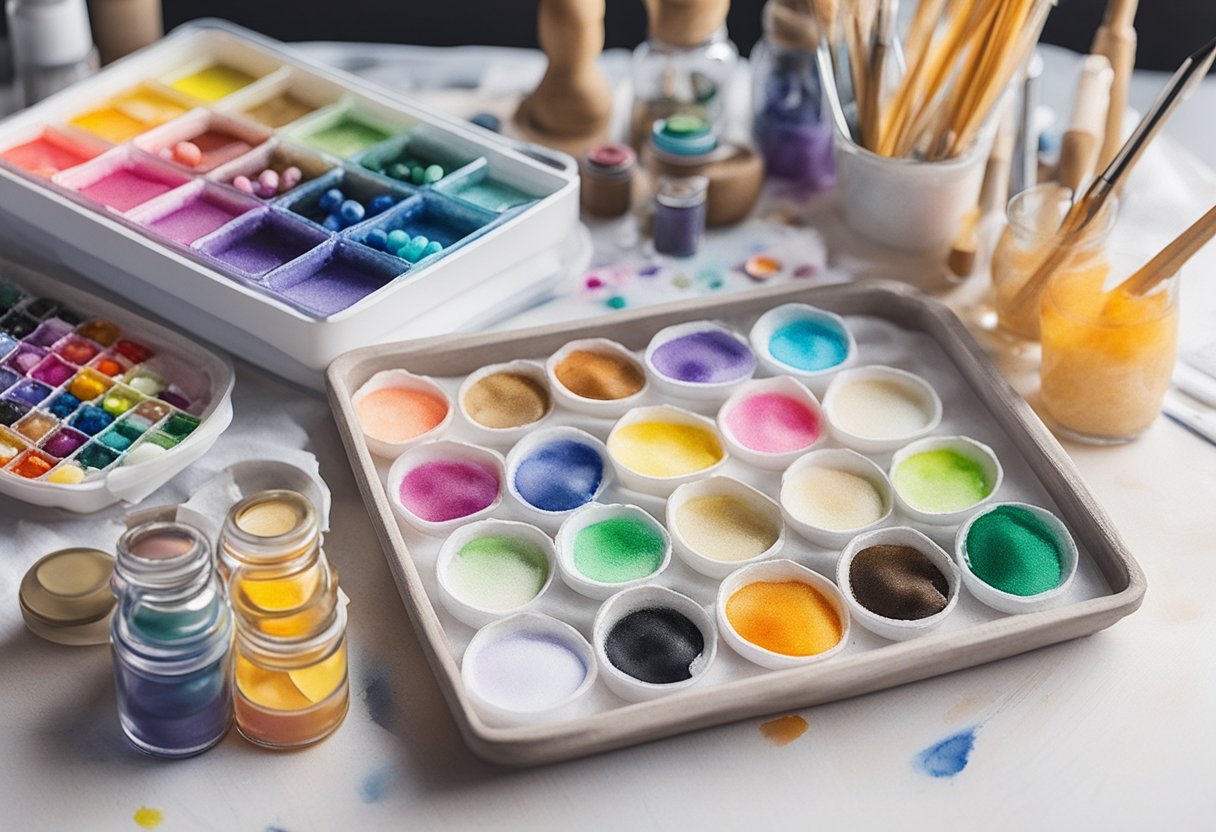
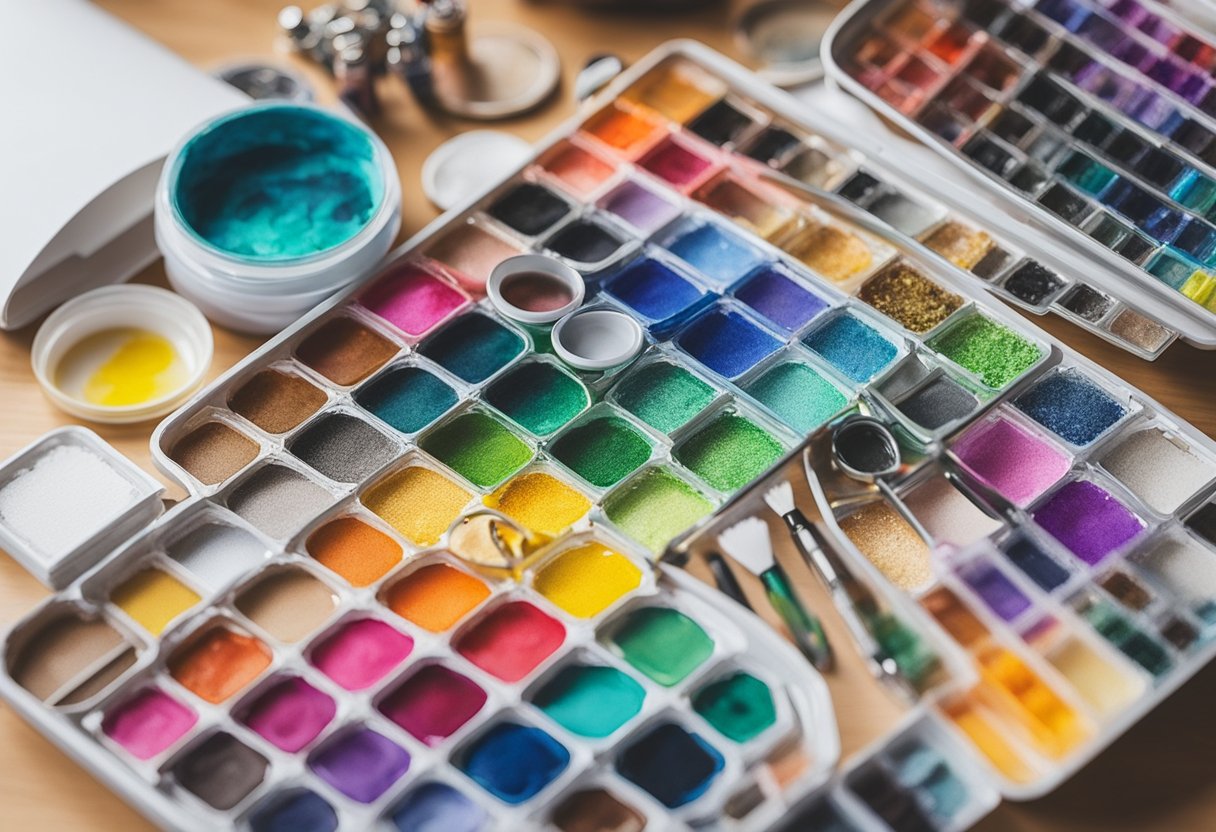
Essential Tools and Materials
When starting diamond painting, having the right tools and materials is crucial. A standard kit provides most of the essentials, but adding a few more tools can significantly enhance your experience.
Exploring the Contents of a Standard Kit
A typical diamond painting kit includes all the basic materials you need.
You’ll find a pre-printed canvas with a color-coded guide that helps in placing the drills accurately. The canvas is sticky, allowing the small resin pieces, known as drills, to adhere firmly.
An applicator or diamond pen is included to pick up the drills. This pen often comes with a small piece of wax.
You dip the pen into the wax to help the drills stick to the pen before setting them onto the canvas. Tweezers might also be provided for more precise placements.
Kits typically vary, so check the contents before purchasing to ensure it meets your needs.

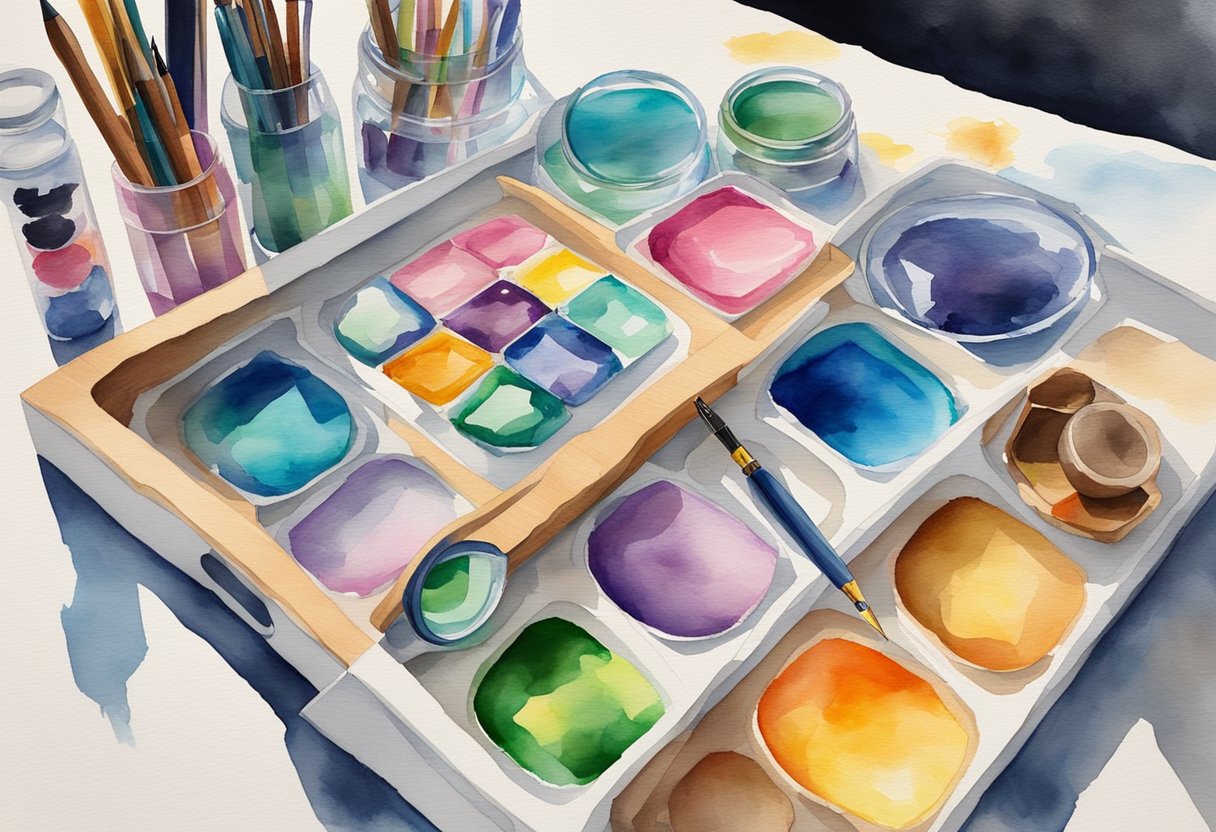
Additional Tools You Might Need
Although a standard kit is quite comprehensive, adding a few extra tools can make the process more enjoyable.
Tweezers are valuable for correcting misplaced drills or handling small details.
Consider a light pad to place under your canvas; it illuminates the symbols on the canvas for easier identification.
Additionally, investing in a multi-drill pen can speed up the process by allowing you to place multiple drills at once.
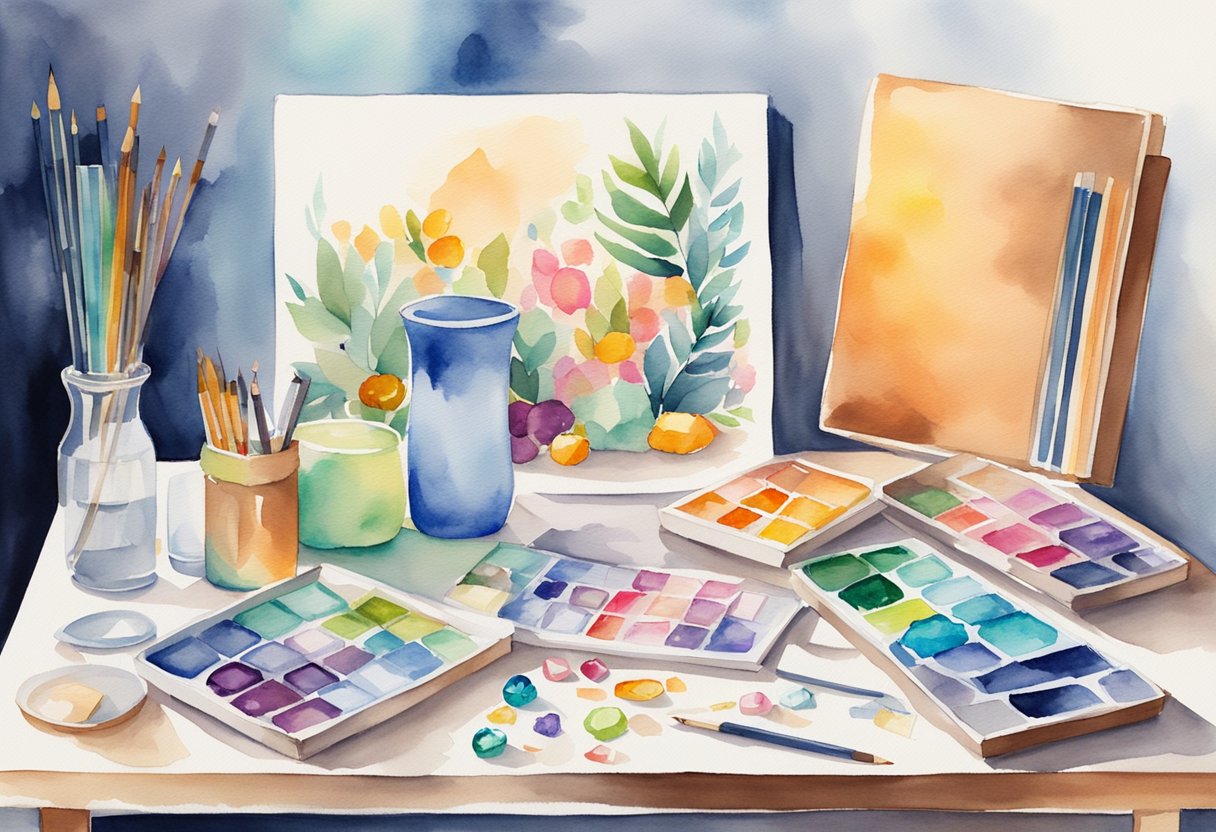
Storage containers or resealable bags are useful for sorting and organizing drills by color.
These tools enhance efficiency and precision, making your diamond painting experience more fulfilling.
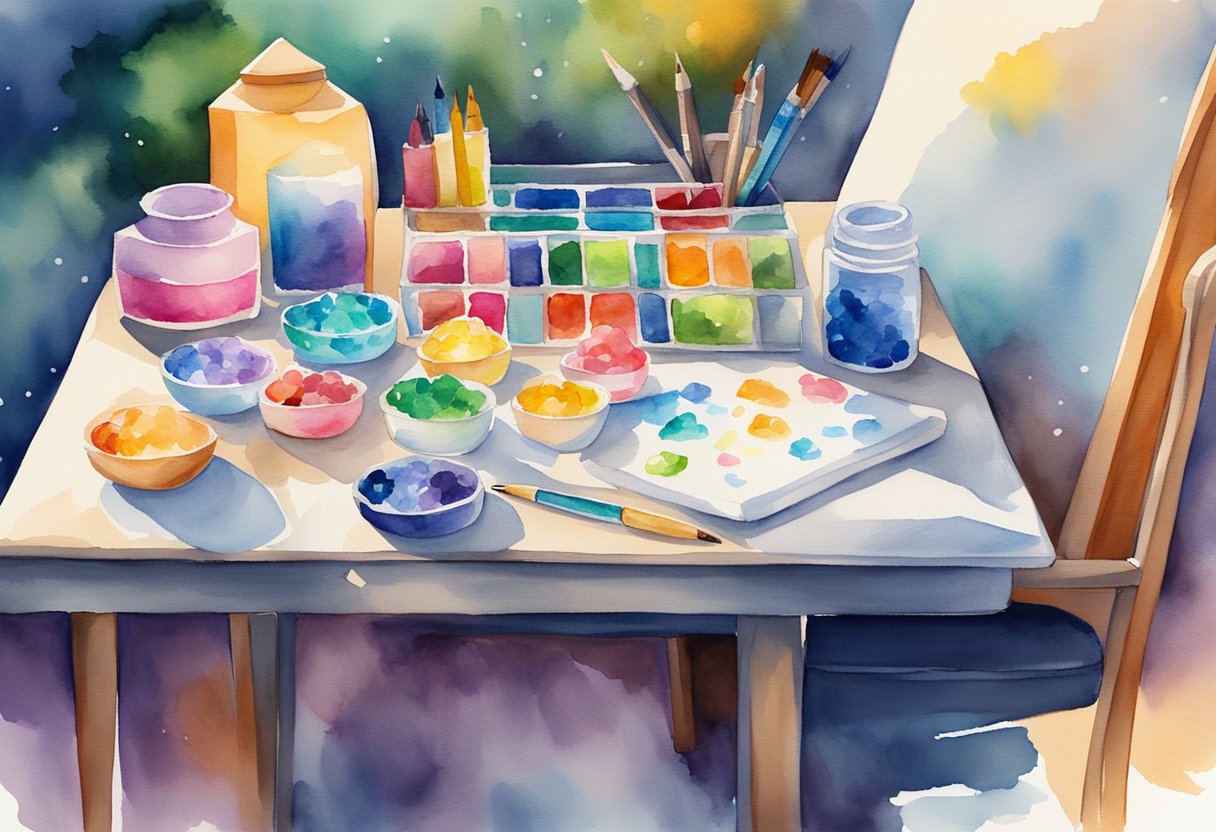
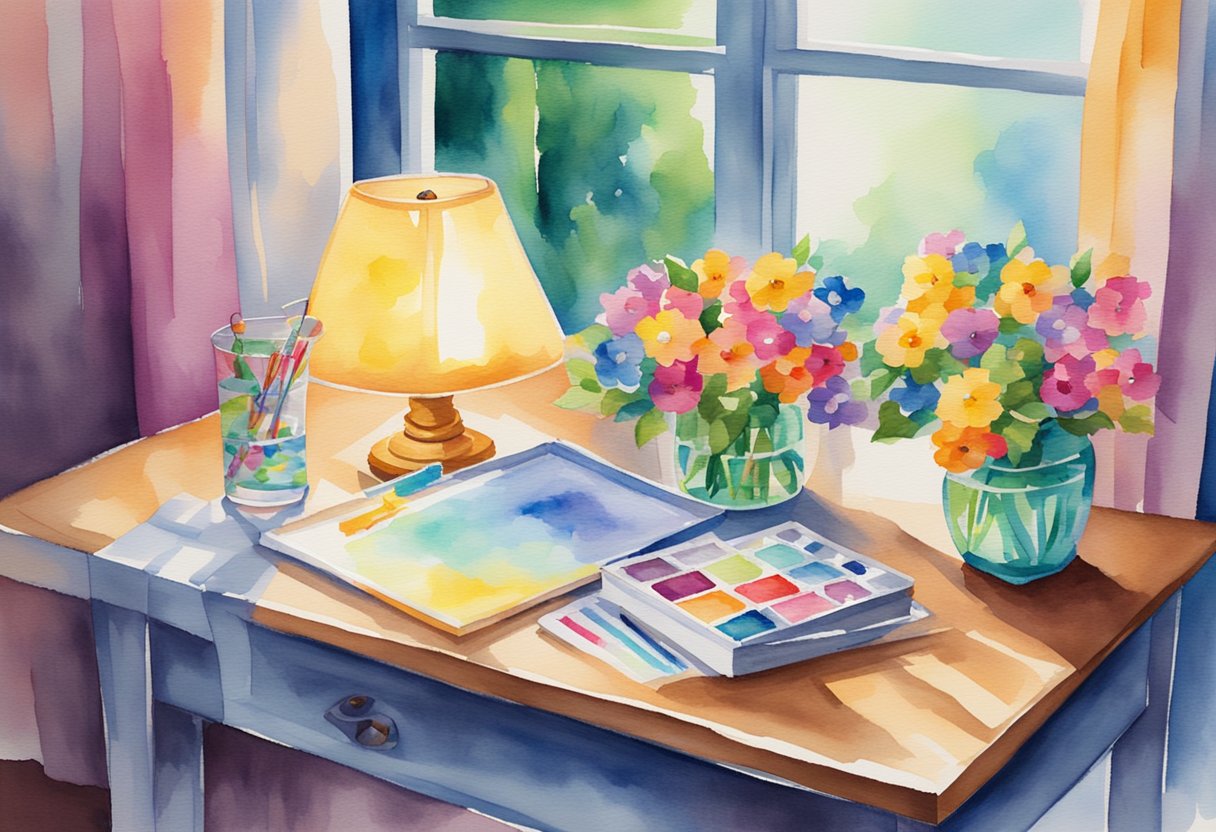
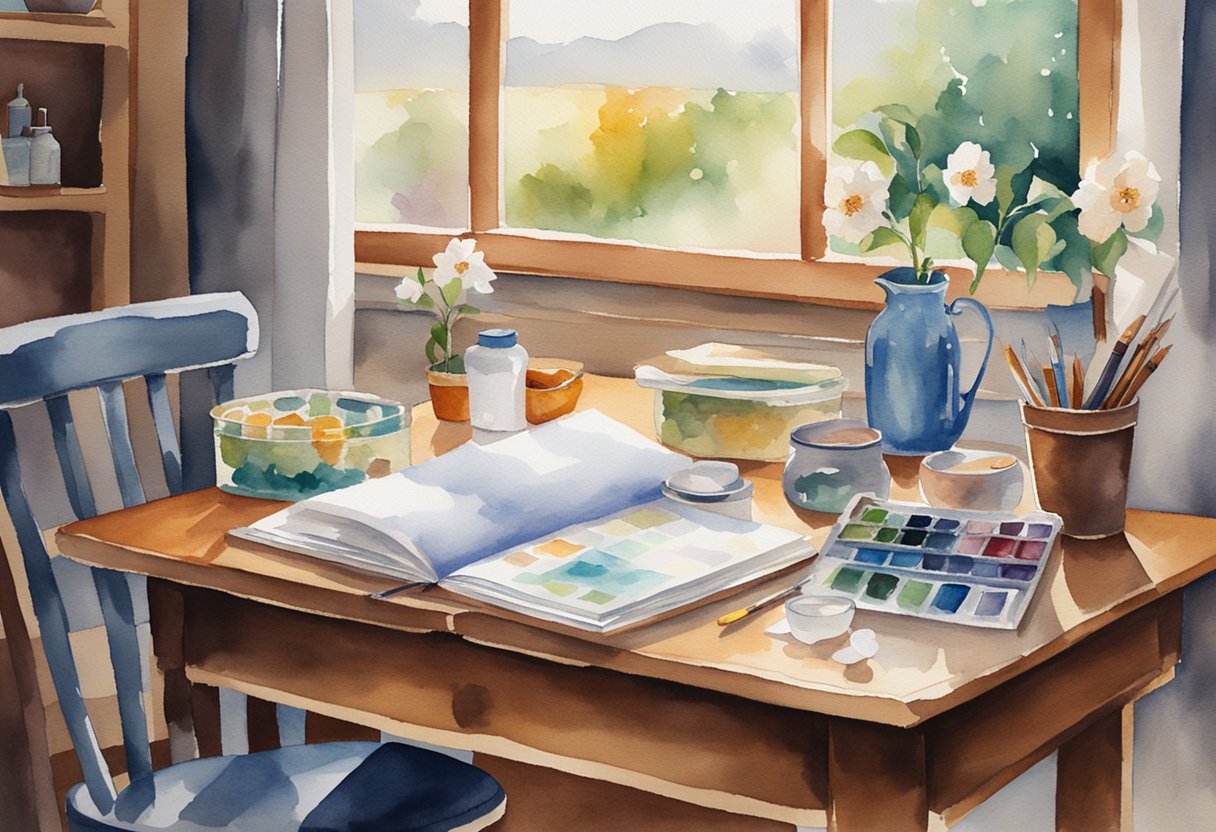
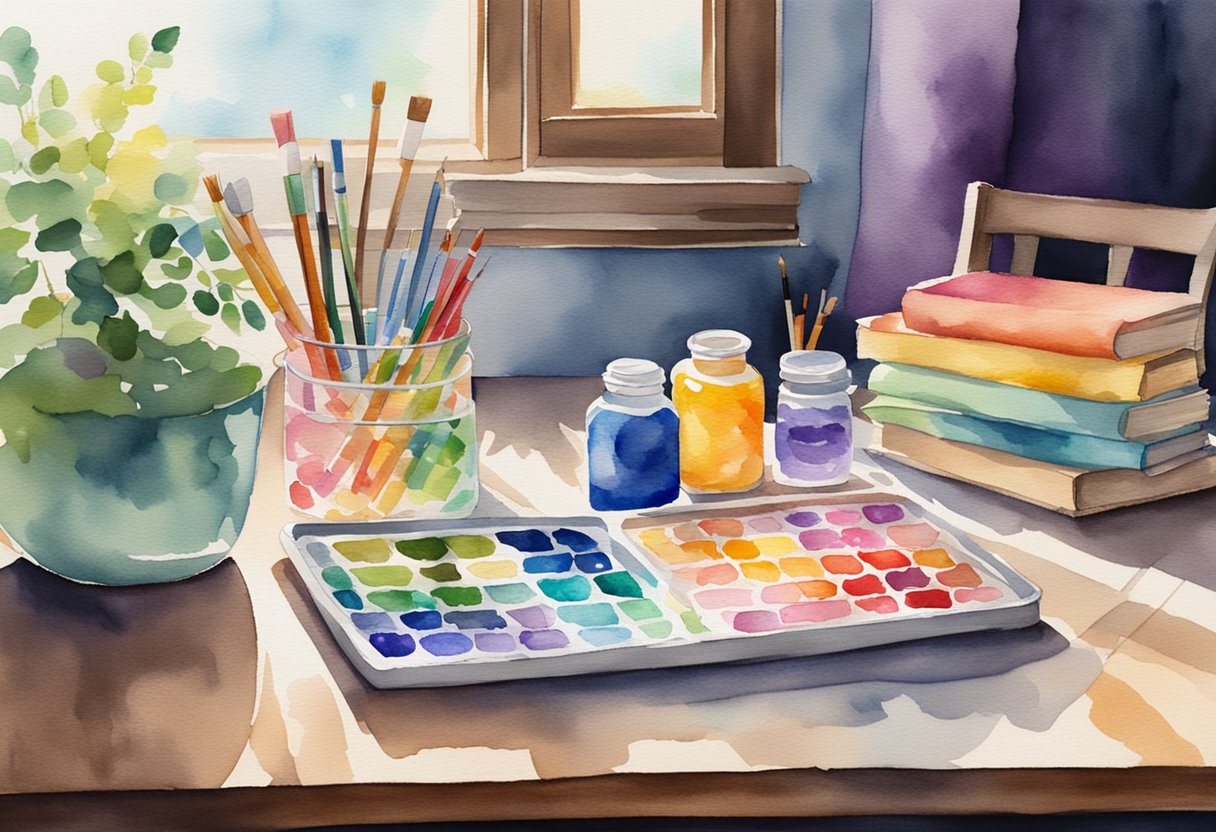
Preparing Your Workspace
Setting up a proper workspace for diamond painting ensures a smoother and more enjoyable crafting experience. An organized area and good lighting are crucial elements for optimal results.
Setting Up an Organized Area
Begin by securing a flat surface, such as a table or desk, to work on. Cover the surface with a protective film to prevent any mess.
Arrange your diamond painting kit items like the canvas, plastic tray, and diamond drills in a neat manner.
Keep all tools within easy reach.
Consider using small containers or divided trays to store different colored diamonds. This will help you stay organized and avoid mixing colors.
A designated space not only boosts efficiency but also keeps your materials safe from damage or misplacement.
Lighting and Comfort Tips
Ensure your workspace has good lighting.
Natural light is ideal, but a bright desk lamp or a light pad can significantly enhance visibility, especially if you’re working in the evening.
This helps reduce eye strain and ensures accurate placement of diamonds.
Consider your seating arrangement to maintain comfort during long painting sessions.
Use a comfortable chair with proper back support. This minimizes fatigue and makes your experience more enjoyable.
Understanding the Canvas
When starting with diamond painting, the canvas is key to creating stunning artwork. A pre-printed canvas typically features a grid of symbols and colors that guide you in placing the diamonds.
Understanding how to interpret these symbols and manage the protective film is essential for a smooth and enjoyable crafting experience.
Interpreting Symbols and Colors
On a diamond painting canvas, each square has a symbol that corresponds to a specific diamond color. This system helps you determine where each colored diamond should be placed.
The symbols are often varied to ensure clarity and make it easier to match the diamonds to their designated spots.
To avoid mistakes, it’s crucial to refer to the legend or color chart provided with your canvas. This chart acts as a key, showing you which symbols align with which diamond colors.
Starting from a specific area and working systematically can prevent errors and help maintain consistency in your work.
The Role of Protective Film
The protective film covering your canvas is vital for maintaining the adhesive layer’s quality.
This film prevents dust and debris from sticking to the canvas, which could interfere with the diamond application process.
When working on your project, only remove the protective film from the specific section where you aim to work.
Peeling away the film gradually helps minimize exposure and keeps the remainder of the canvas clean.
It’s best to use a small pair of scissors or a scalpel to cut the film into manageable sections you can easily peel back and reseal. This approach prevents static cling, which can attract dust and disrupt your diamond placement.
Working with Diamonds and Drills
Understanding the types of drills and proper techniques for handling diamonds is essential for a successful diamond painting experience. Selecting the right tools and materials can enhance the quality and enjoyment of your hobby.
The Different Types of Drills
In diamond painting, you will encounter various types of drills.
The two primary shapes are round and square drills. Round drills are easier to pick up and place, making them ideal for beginners. They create a softer, more rounded appearance on the canvas.
Square drills, on the other hand, fit tightly together, leaving less space between each diamond. This results in a more precise and detailed finish.
Additionally, there are AB (Aurora Borealis) drills that add extra sparkle due to their special coating.
It’s crucial to choose the type of drill that suits your project and preferences.
For instance, round drills are easier for beginners, as they are more forgiving when placed slightly off-center.
Managing and Handling Diamonds
Properly managing and handling your diamonds is key to maintaining an organized workspace and ensuring a smooth painting process.
Begin by pouring a small number of diamonds into a tray. Gently shake the tray to align the diamonds for easier pickup.
Use a pen tool with adhesive wax to pick up the resin diamonds.
Keep a piece of parchment paper handy to cover the canvas sections you’re not working on. This prevents dust from settling and keeps the adhesive sticky.
Organizing diamonds by color in labeled containers or bags can save time and reduce errors.
The Diamond Application Process
In diamond painting, precision and patience play a crucial role. Proper handling of tools is essential to ensure that each diamond is placed correctly. This activity can enhance focus and provide a relaxing experience.
Picking Up and Placing Diamonds
To begin, ensure your diamond painting pen or applicator tool is prepared.
This involves dipping the pen’s tip into a wax pad—just enough to make it sticky. This wax aids in picking up the diamonds easily.
Hold the pen at a slight angle for better precision. Carefully press the pen onto a diamond, making sure it attaches securely.
With a steady hand, transfer the diamond to its designated spot on the canvas.
Maintain focus to avoid accidentally displacing any placed diamonds.
This meticulous process can be quite relaxing, as it allows you to zone in on the repetitive actions.
Not only will you improve your focus through this hobby, but the satisfaction of seeing your artwork progress can also contribute to a calming sense of accomplishment.
Advanced Techniques and Tips
To enhance your diamond painting skills, focus on both efficiency and creative techniques. Mastering advanced methods can lead to quicker completion and more stunning artwork.
Improving Efficiency and Precision
Maximize your crafting time by organizing your materials.
Arrange diamonds by color in small containers or a bead organizer.
This setup makes it easier to find the right color quickly.
Use a light pad beneath your canvass to clearly see the chart and reduce eye strain.
This helps in accurately placing the diamonds on the canvas.
Additionally, employing a multi-diamond applicator tool allows you to place multiple diamonds at once, speeding up the process.
Ensuring your canvas is flat is vital for precision.
Secure it to a flat surface using washi tape or clips.
This keeps it steady while you work, preventing misalignment or disturbances.
Creative Approaches to Diamond Painting
Get creative with different techniques to make your artwork truly unique.
Try layering drills of various sizes to create a textured effect within your painting.
This technique adds depth and dimension to your designs, bringing them to life.
Experiment with alternative designs by mixing partial and full drill canvases.
This method highlights specific aspects of your painting, allowing certain parts to sparkle more prominently.
Consider customizing your own designs by using software to convert personal photographs into diamond painting templates.
This personal touch adds a unique flair to your craft hobby and makes for memorable gifts or keepsakes.
Solving Common Diamond Painting Problems
In diamond painting, addressing common issues effectively can enhance your crafting experience and ensure a beautiful finished piece.
Solutions often involve simple steps for misplaced or missing diamonds and fixing adhesive quality, making it a relaxing hobby.
Replacing Lost or Defective Diamonds
Missing or defective diamonds can impact the final look of your artwork.
You might have received extra diamonds with your kit, which you can use for replacements.
If not, many online retailers sell individual diamond drills in various colors and sizes.
Organizing your diamonds by color and using a checklist can prevent loss.
Store them in small labeled containers or zip-lock bags right from the start.
When facing defective drills, consider quality control during your purchase process.
Choose reputable brands that guarantee diamond consistency to avoid receiving flawed pieces.
Regularly check for batch quality to ensure they match the rest of your collection.
Dealing with Adhesive Issues
Adhesive problems may render the experience less enjoyable if diamonds won’t stick properly.
If you notice the adhesive on your canvas losing its stickiness, a simple technique involves gently pressing it with a wax-covered tool to reinforce adherence.
Alternative adhesives like double-sided tape can provide a quick fix for small areas where stickiness has entirely failed.
For a curled-up canvas, flatten it by using a towel or blanket and placing heavy books on top for a day or two, as suggested by Diamond Art Club. This ensures a smooth working surface.
Additionally, preserving the protective film over the adhesive when not in use helps maintain the canvas’s quality.
Finishing and Displaying Your Artwork
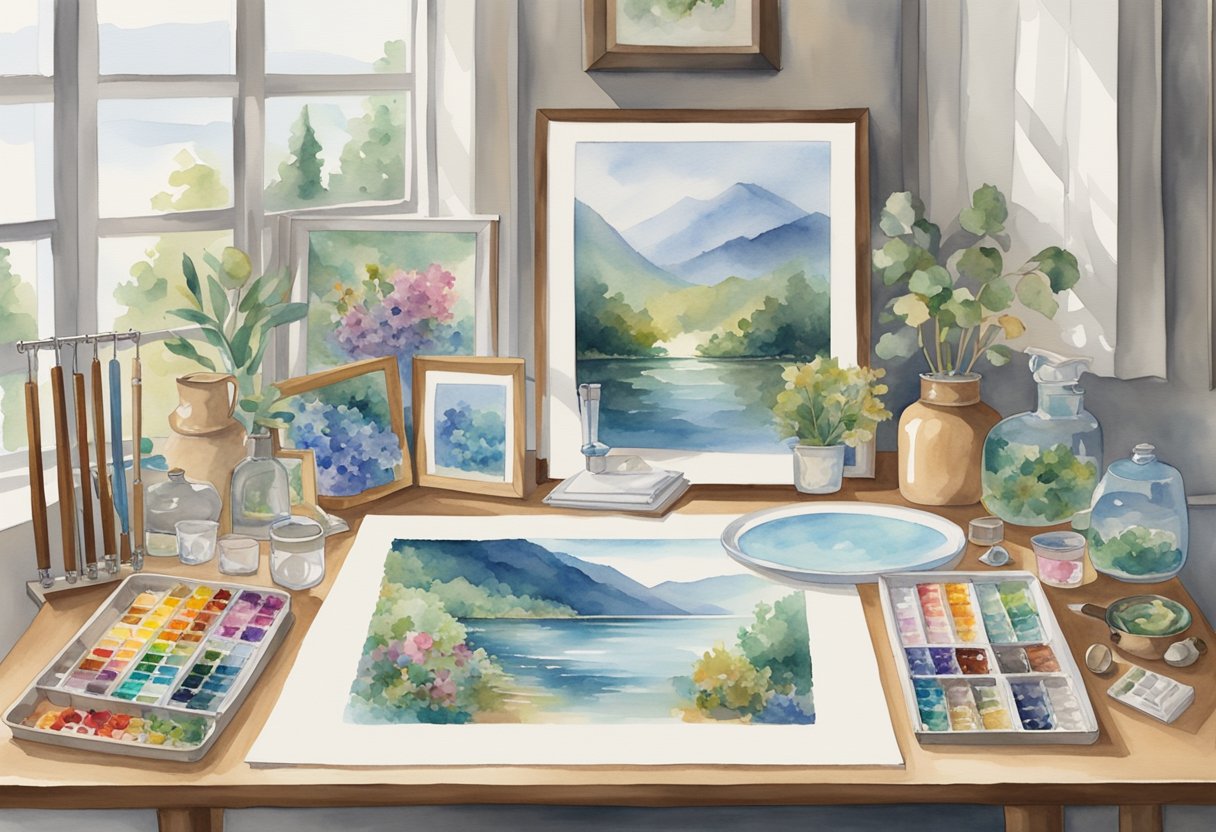
Finalizing your diamond painting involves several key steps to ensure it remains vivid and protected.
Careful sealing and appropriate framing can elevate your artwork for lasting enjoyment.
Sealing and Framing Diamond Art
To protect your diamond art from dust and damage, using a clear, water-based sealer designed for diamond paintings is essential.
This provides a protective layer that maintains the sparkle of the diamonds.
Apply it evenly using a brush or spray, allowing it to dry fully.
Avoid using harsh chemicals that might dull your artwork.
Framing is another crucial step.
You can glue your diamond painting to a pre-stretched canvas for an easy and cost-effective method.
Alternatively, use a standard or specialized frame that suits your decor.
Ensure the frame has a glass cover to further safeguard your piece.
These finishing touches not only protect but also amplify the beauty of your diamond art.
Cleaning and Maintenance
Maintaining your diamond painting involves properly caring for your tools and canvas.
This ensures the artwork remains vibrant and the diamonds stay intact over time.
Implementing effective storage solutions can also protect your work from damage.
Caring for Your Tools and Canvas
When cleaning your diamond painting, use a soft, dry cloth to gently wipe away any dust or dirt.
Avoid water or cleaning solutions as they can damage the canvas and dull the diamonds.
Properly storing your diamond painting is crucial.
When not on display, place it in a dry, cool area to prevent moisture and sunlight from affecting its quality.
Consider using large, flat drawers or dedicated storage boxes for Diamond Painting Supplies.
This keeps your tools organized and your canvases safe from wear and tear.
Regularly check your diamond pens and refill them with adhesive wax to maintain their effectiveness.
Where to Find Diamond Painting Resources
Diamond painting is a rewarding hobby with a wide variety of resources available to help you get started.
From online communities and stores to books and guides, you can find plenty of materials and support for your creative journey.
Online Communities and Stores
Numerous online platforms offer valuable resources for diamond painting enthusiasts.
Amazon is a great place to begin, offering a large selection of kits and tools. You can compare different brands and read reviews to make an informed decision.
For more specialized options, explore sites like Paint With Diamonds.
They offer detailed product descriptions and customer feedback.
Social media groups and forums, such as those on Facebook and Reddit, provide spaces to exchange tips and showcase your creations.
These communities can offer encouragement and troubleshooting assistance as you progress in your hobby.
Craft stores, both online and physical, also present a chance to see products in person and ask for expert advice.
Stores like Hobby Lobby and Michael’s typically carry beginner-friendly kits, making them perfect for newcomers.
Books and Guides for Further Learning
If you prefer a structured approach, consider diving into books and guides. They offer step-by-step instructions and advanced techniques to refine your skills.
Visit your local library or bookstore for craft books focusing on diamond painting and mosaic art.
These publications often contain patterns and tips that can inspire new projects.
Look for guides specifically targeting beginners; they explain essential concepts and help avoid common mistakes.
In addition to hard copies, e-books and online manuals offer convenient access to information on your devices.
Websites like Happiness is Homemade provide comprehensive guides that you can read at your own pace.
Frequently Asked Questions
When starting with diamond painting, you’ll want to know the essential supplies, workspace setup, and steps for a successful project. Additionally, find guidance on choosing kits, avoiding common mistakes, and framing your artwork.
What basic supplies are needed to start diamond painting?
To get started, you need a diamond painting kit that includes a coded adhesive canvas, resin diamonds, a diamond applicator tool, and a tray.
Kits can vary, so ensure yours has everything necessary for completion.
How do you set up your workspace for diamond painting?
Choose a well-lit and comfortable area with a flat surface.
Good lighting helps distinguish colors, while a tidy space ensures your diamonds stay organized.
Some people prefer using an adjustable easel to prevent neck strain.
What are the steps involved in beginning a diamond painting project?
Start by laying out your canvas and arranging your diamonds.
Peel back the protective film partially and begin applying diamonds using the tool.
Work in sections to maintain adhesiveness and avoid smudging the canvas.
How can you frame and display a finished diamond painting?
Once finished, you can frame your artwork using traditional frames or canvas stretchers.
Ensure the painting is dry and flat before framing to achieve the best display. Some choose to seal the painting with a spray for added durability.
What are some tips for choosing the right diamond painting kit?
Begin with a smaller, simpler design, especially if you’re new to the hobby.
Look for kits with clear instructions and high-quality materials.
Check reviews to gauge the experience of other users with the kit you’re considering.
What are the common mistakes to avoid for diamond painting beginners?
Avoid exposing too much of the adhesive at once to prevent it from drying.
Don’t mix diamonds from different sections, and make sure to apply steady pressure when placing them.
Regular breaks help maintain accuracy and enjoyment in your work.