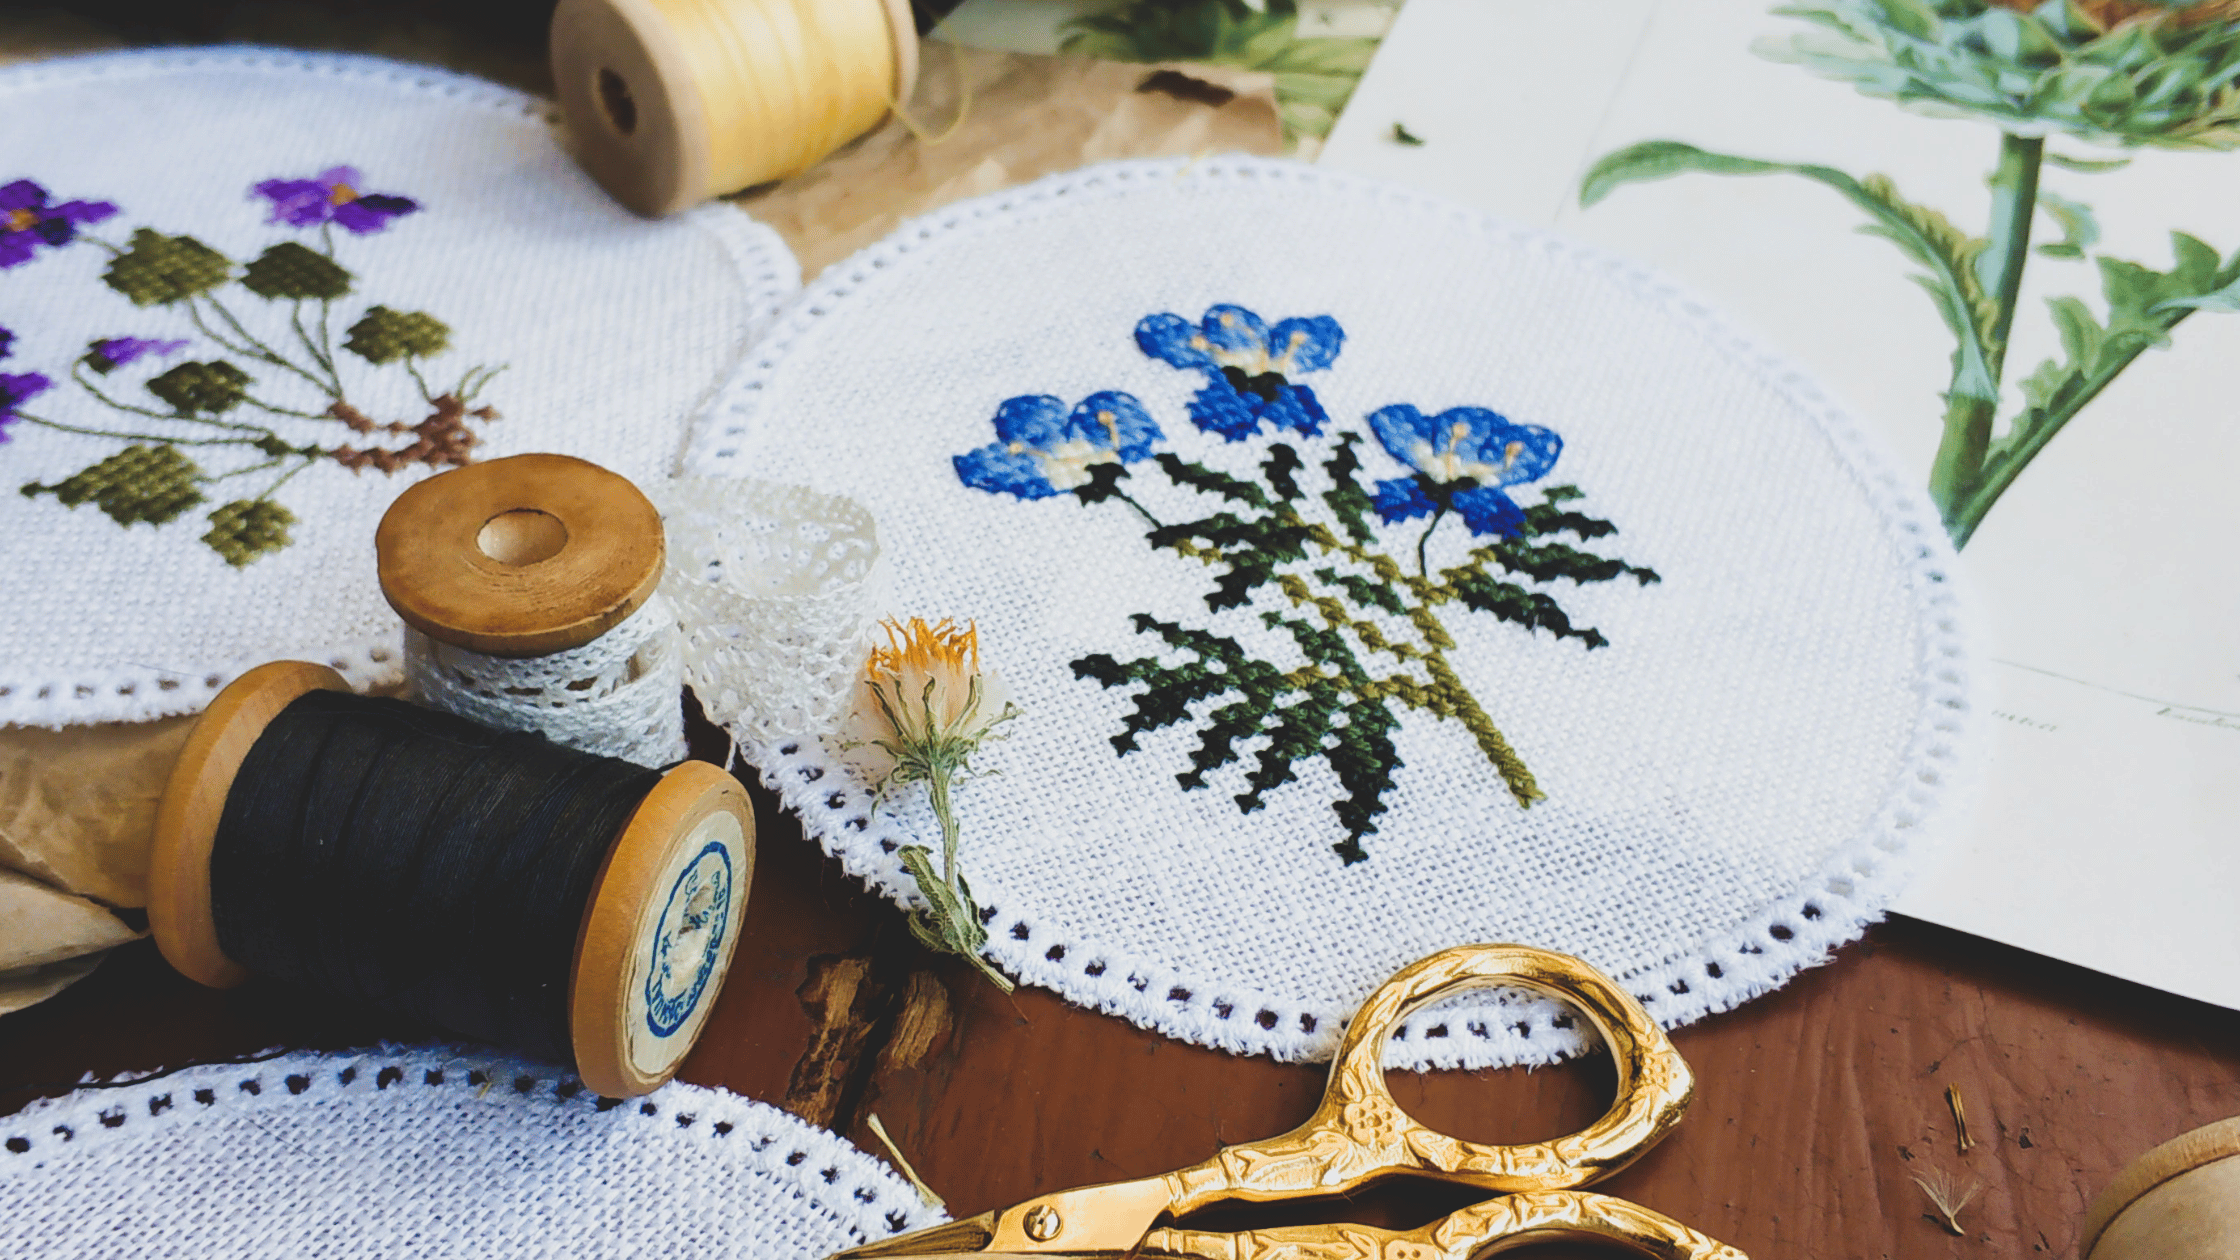
Beginner’s Guide to Needle Point as a Hobby: An Introductory Overview
Needlepoint is more than just a craft; it’s a creative outlet that has captivated generations. Whether you are seeking a soothing escape or a new creative venture, this hobby provides an opportunity to create intricate and beautiful designs with just a needle, canvas, and thread.
To start, needlepoint offers a calming and rewarding experience that helps reduce screen time and allows you to create something lasting and unique.
To dive into needlepoint, you don’t need to master everything at once. Begin by gathering essential tools like a needle, thread, and canvas, and familiarize yourself with basic stitches such as the continental stitch.
These foundational skills will set you on the path to creating your first masterpiece, giving you both the skills and the confidence to tackle more complex projects over time.
Once you have mastered the basics, you can explore advanced techniques and even finish your projects the way professionals do.
Needlepoint allows you to express your creativity while engaging in a therapeutic hobby that you can share with a passionate community. With the right guidance, your journey through needlepoint will be both enriching and enjoyable, allowing you to create personalized works of art that reflect your style.
Key Takeaways
- Needlepoint offers a calming, creative hobby suitable for beginners.
- Essential tools and basic stitches are key to starting your first project.
- Joining a needlepoint community enhances learning and enjoyment.
Understanding the Basics of Needlepoint
Needlepoint is a craft that combines artistic flair with meticulous technique. It requires knowledge of different canvases and the proper selection of threads for creating beautiful designs.
Defining Needlepoint
Needlepoint is a form of embroidery that involves stitching on a stiff, open weave canvas. With its roots in ancient Egypt, needlepoint has evolved into a contemporary art form that allows you to create intricate patterns and designs.
The process typically involves using a single stitch or a combination of stitches to cover the canvas, providing both texture and color. This craft is popular for its ability to yield decorative projects, from wall art to cushions.
Types of Needlepoint Canvas
The canvas is the foundation of any needlepoint project. Common types include mono, interlock, and penelope.
- Mono canvas: This features a single-thread weave, offering a smooth surface.
- Interlock canvas: Holds the structure well, thanks to its double-thread weave.
- Penelope canvas: Allows for detailed work with its dual-thread weave, letting you alternate the stitch size.
Selecting the right canvas depends on the design’s complexity and your personal preference for texture and durability. The open weave mesh enables easy needle movement, making it beginner-friendly.
Overview of Needlepoint Threads
Threads are crucial in needlepoint, affecting the texture and appearance of your project. You’ll typically use wool, cotton, or silk threads.
Wool offers durability and a rich texture, ideal for heavier items like cushions. Cotton, known for its smooth finish, is perfect for detailed designs. Meanwhile, silk provides a luxurious sheen but requires careful handling.
When choosing threads, consider the canvas type and the effect you want to achieve. Threads vary in thickness, which can impact the coverage and detail of the finished piece. Ensuring the harmony between the thread and canvas can greatly influence the final artwork’s quality.
Essential Tools and Materials
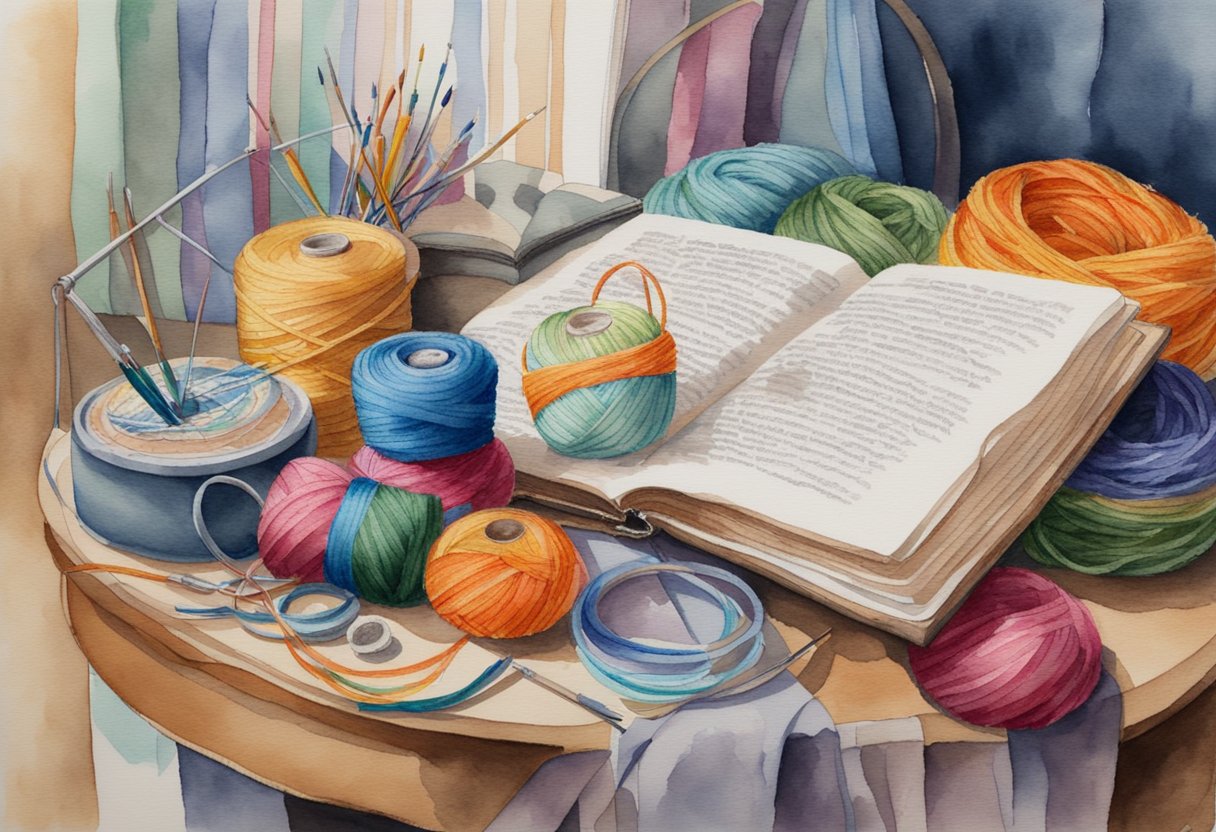
When starting with needlepoint, having the right tools and materials is crucial for a smooth and enjoyable experience. This section covers the best choices for needles, threads, fibers, and additional tools to enhance your needlepoint projects.
Choosing the Right Needles
Selecting the appropriate needle is important for efficient and comfortable needlepoint work.
Tapestry needles are a popular choice because of their blunt tips, which make it easier to pass through the canvas without splitting the threads.
You should match the needle size to the canvas mesh: smaller needles for finer meshes and larger ones for coarser ones. Carrying a range of sizes ensures you’re prepared for any project.
It’s wise to keep an assortment, as this allows you flexibility in using different mesh counts in your work.
Selecting Threads and Fibers
Choosing the right threads and fibers enhances the visual appeal and quality of your projects. Common choices include cotton, silk, and wool.
Cotton is durable and works well for most designs, while silk offers a glossy and smooth finish that’s ideal for more intricate work. Wool provides excellent coverage and is great for larger canvas meshes.
Experimenting with different fibers will help you understand their effects on your designs.
Supplementary Tools
Beyond needles and threads, several supplementary tools can significantly aid your needlepoint practice.
Embroidery scissors are essential for trimming threads precisely. They are small, sharp, and pointed for detailed work.
A needle minder is a helpful accessory; it’s a small magnetic tool that holds your needle in place when not in use, preventing it from getting lost.
Additionally, a project bag is useful for keeping your canvas, threads, and tools organized and portable, making it easier to work on your projects wherever you go.
Getting Started with Your First Project
Embarking on your first needlepoint project involves preparing your materials and understanding the basics of canvas setup and mesh count. This guide will help you navigate these initial steps with ease.
Setting Up the Needlepoint Canvas
To begin, secure your canvas on a frame or hoop to prevent distortion. This helps maintain even tension throughout the stitching process.
Make sure you have the right size needle; smaller needles are ideal for finer mesh canvases.
Next, select your threads and cut them into lengths about 18 inches long. This length helps prevent tangling.
Thread your needle by folding the thread in half and pushing the fold through the needle’s eye.
As you start, use a waste knot: tie a knot at the end of your thread and anchor it on the canvas a short distance from your starting point. This helps manage the thread’s beginning without interfering with your design, which you can trim after stitching over it.
Understanding Mesh Count and Size
Mesh count refers to the number of holes per linear inch in the canvas, determining the project’s detail level. Common mesh sizes range from 10 to 18.
A higher count like 18 is suitable for detailed designs and requires fine thread. Needlepoint.com offers resources on mesh counts and project suitability.
Choose a count that matches your project’s complexity. Beginners often start with a lower mesh count, like 10 or 12, as it’s forgiving and uses thicker threads.
This basic understanding of mesh size and count allows you to plan projects effectively and select the right materials for vivid, beautiful results.
Learning Basic Stitches and Techniques
Understanding the essential stitches is a significant step in your needlepoint journey. The basketweave stitch offers coverage and durability, while the continental stitch is a versatile key technique. Knowing how to start and end threads cleanly ensures polished results.
The Basketweave Stitch
The basketweave stitch is highly regarded for its durability and coverage. This technique involves working diagonally, which helps distribute tension evenly across the canvas.
Each row alternates direction, creating a firm and even texture that withstands frequent handling.
The Continental Stitch
The continental stitch is a staple in needlepoint, known for its versatility and ease of execution.
Often referred to as a tent stitch, it is particularly useful for smaller areas and detailed designs.
The stitch creates a diagonal, durable pattern by consistently moving from the bottom left to the top right of each canvas square.
Starting and Ending Threads
Managing your threads is crucial for achieving a neat and professional look.
Starting a thread with a loop method or weaving into previous stitches helps stabilize your work without leaving knots. This technique keeps the back of your canvas tidy.
To end threads, weave the tail into existing stitches to secure it. This prevents unraveling and maintains the integrity of your piece.
Properly starting and ending threads is often overlooked by beginners, but it’s essential for a finished, polished appearance. Focus on consistency in these practices to elevate the quality of your needlepoint projects.
Advanced Techniques and Stitches
In needlepoint, advancing your skills involves exploring more intricate stitches and techniques to bring dimension and texture to your work. Learning these advanced techniques will enhance the visual appeal of your needlepoint projects and improve your craftsmanship.
Exploring Decorative Stitches
Decorative stitches add flair and variety to your needlepoint projects. Some popular options include the Scotch stitch, which forms a block pattern, and the Parisian stitch, known for its elongated vertical lines.
These stitches can be used to create interesting patterns and visual depth.
Using different fibers, such as silks or metallic threads, adds shine and texture to your decorative stitches. Experimenting with these materials can elevate the richness of your design.
Make sure you have the right tapestry needle size to accommodate different fibers without pulling or snagging the canvas.
Mastering Dimension and Texture
Dimension and texture can transform a flat canvas into a captivating piece of art.
Techniques like the basketweave stitch provide strong coverage, ensuring your canvas is evenly filled and giving the piece a neat appearance.
Incorporating French knots can add small raised points, perfect for creating texture in floral designs or animal coats.
Blending different fiber types offers various tactile experiences and visual contrasts. Mixing wool with silk or cotton lets you highlight certain areas and add depth.
A well-chosen tapestry needle ensures precision and ease when working with these mixed materials. Adding techniques like couching further enhances texture, allowing you to attach thicker fibers like ribbon to your canvas.
Finishing Techniques for Needlepoint
Completing a needlepoint project involves both presentation and practical transformation. Techniques like blocking and lacing prepare your canvas for display, while creative finishing ideas can turn your hard work into functional household items.
Blocking and Lacing the Canvas
After finishing your needlepoint, it’s crucial to ensure the canvas is properly shaped.
Blocking involves stretching the canvas taut over a flat surface using stretcher bars. This process ensures your piece maintains its intended shape and size.
Next, with lacing, you secure the edges of the canvas to the bars, which helps prevent sagging and distortion over time.
This technique uses sturdy thread to lace the back, pulling it taut across the bars.
Both methods enhance the appearance of your needlepoint and prepare it for further transformation into household pieces.
Whether your work is destined for a wall or another creative use, proper blocking and lacing are essential steps for preserving its beauty.
Transforming Projects into Functional Items
Needlepoint designs can be transformed into a variety of functional decorations.
Consider turning your project into pillows, where a beautiful design can add elegance to any seating area.
Additionally, needlepoint can be used to create custom coasters that bring personal flair to your dining table.
For unique home decor, finished canvases can be sewn onto tote bags or stretched over frames for wall art.
Regardless of the final product, these transformations highlight the versatility of your needlework, allowing it to serve both aesthetic and practical purposes in everyday use.
Choosing Your Next Project
Selecting your next needlepoint project involves considering your current skill level and interests.
It’s important to choose designs that challenge you while still feeling achievable.
Focus on projects that will help improve your technique and explore different styles and complexities.
Project Ideas for Improving Skills
To enhance your skills, consider projects that introduce new stitches or techniques.
For instance, a piece that combines basic tent stitches with more intricate stitches like the basketweave offers a gradual learning curve.
Choose designs that incorporate various colors or textures, which can help you become familiar with shading and depth.
Sampler projects or small decorative items such as bookmarks are excellent for practicing and showcasing different stitches.
Working on these types of projects allows you to build confidence and understanding of diverse needlepoint styles.
Picking Projects by Mesh Size and Complexity
When selecting a project based on mesh size, start with a larger mesh for easier handling.
This makes it simpler to see where each stitch goes and helps you gain precision. A project with 10-12 stitches per inch can be suitable for beginners.
Consider the complexity of the design as well.
Simpler geometric patterns or floral motifs can be less daunting and more manageable.
As you advance, try tackling more detailed works with tighter meshes and intricate designs.
This gradual increase in complexity ensures steady skill development without overwhelming you.
Guidance for Buying Supplies
When starting to needlepoint, finding the right supplies that suit your style and project needs is crucial. This section will guide you in discovering local shops and navigating online purchases to ensure a seamless beginning to your needlepoint journey.
Finding a Local Needlepoint Shop
Start your search for supplies by visiting a local needlepoint shop.
These stores often provide personalized assistance, helping you select canvases and threads that fit your projects.
Many shops carry a variety of designs, including renowned options like Lycette Designs, which are known for their vibrant patterns.
Visiting in person allows you to feel the materials and examine the colors closely.
Additionally, local shops often host classes and workshops, providing you with the opportunity to learn techniques and connect with fellow enthusiasts.
Building a relationship with your local shop can also result in valuable advice for future projects. Don’t forget to check for loyalty programs or discounts, which can help with future purchases.
Online Shopping Tips for Needlepoint
If you prefer the convenience of online shopping, there are key factors to consider when buying needlepoint supplies on the internet.
Start by researching reputable websites that specialize in needlepoint to ensure quality and authenticity.
Look for platforms that offer detailed product descriptions, which include information on canvas size, thread content, and color options.
User reviews can provide insights into product satisfaction and shipping reliability.
Be sure to compare prices across different sites to get the best deal.
Websites featuring Lycette Designs or other well-known brands are ideal places to begin your search, as they offer a variety of patterns and kits.
Finally, consider websites that offer free shipping or discounts on bulk purchases to maximize your budget and make your online shopping experience more enjoyable.
Building a Needlepoint Community
Building a community around your needlepoint hobby can enrich your experience and enhance your skills. Engaging with fellow enthusiasts and sharing your projects can provide inspiration, support, and opportunities for collaboration.
Connecting with Other Enthusiasts
Join local or online needlepoint groups to connect with others who share your passion.
Participating in workshops or classes offered by craft stores can provide a hands-on learning experience.
Online forums and social media platforms also offer spaces where you can exchange tips, project ideas, and advice.
Consider attending needlepoint events or conventions to meet others and expand your network.
Engaging in these activities not only bolsters your skills but also builds friendships with those who appreciate the art form.
Sharing Your Work and Experiences
Showcasing your needlepoint projects through blog posts or social media allows you to receive feedback and encouragement.
Instagram and Pinterest are excellent platforms to display your projects visually.
Blogs are useful for detailing your needlepoint journey, offering insights into techniques, and sharing stories behind your creations.
Engaging with a wider audience through various mediums enriches your experience and creates opportunities for discussion and collaboration within the needlepoint community.
Taking Care of Your Needlepoint Art
Proper maintenance of your needlepoint pieces ensures their longevity and beauty. It’s important to know how to clean and preserve them, as well as ways to display your finished projects effectively.
Cleaning and Preservation Tips
To keep your needlepoint art looking vibrant, regular cleaning is essential.
Start by dusting your pieces lightly using a soft brush or a vacuum with a brush attachment.
Avoid any washing in water to prevent color bleeding.
If spots appear, blot them gently with a cloth slightly dampened in water mixed with a few drops of mild detergent.
Test this solution on a small, inconspicuous area first to ensure color fastness.
For long-term preservation, store needlepoint in a cool, dry place away from direct sunlight.
Use acid-free tissue paper to wrap the piece if it’s not being displayed, as this helps to protect the fibers from yellowing.
It’s advisable to avoid folding the art to prevent creases.
Displaying Your Finished Projects
When it comes to showcasing your needlepoint projects, consider framing them under glass to reduce dust accumulation and minimize contact with environmental pollutants.
Choose UV-protective glass to shield the embroidery from light damage.
You can also consider using custom frames that complement the colors and themes of your artwork.
Alternatively, convert the needlepoint art into functional items such as pillows or bags, which can add decorative value to your space.
Ensure that displayed needlepoint is placed away from direct sunlight and excessive moisture, as these conditions can damage both the threads and the canvas.
Rotating pieces periodically can also help in preserving them for years to come.
Frequently Asked Questions
Needlepoint can be a fulfilling hobby for beginners, offering ways to express creativity and craft intricate designs. Knowing what kits to try, the differences from other techniques, and where to find learning resources can enhance your experience.
What are the best needlepoint kits for beginners?
When you’re starting out, kits with simple patterns and larger mesh sizes like 10 mesh are ideal.
These kits include all necessary materials, which can make learning less overwhelming. Brands like Penny Linn Designs offer beginner-friendly kits to help you get started.
What is the difference between needlepoint and cross stitch?
Needlepoint and cross stitch both involve embroidery, but their techniques vary.
Needlepoint uses a canvas with larger mesh sizes, whereas cross stitch involves fabric and a grid pattern.
While cross stitch is often performed on evenweave fabric, needlepoint is done on a canvas.
How do you start needlepoint on printed canvas?
To begin needlepoint on a printed canvas, first secure your canvas in a frame.
Select a simple stitch, like the continental stitch, and use threads included with your kit.
Following the printed design, slowly work stitch by stitch, taking care not to rush.
Which needlework is easiest for new crafters to learn?
Cross stitch is often considered easier for beginners because of its clear grid pattern and fewer stitch varieties.
Needlepoint can be more intricate, but beginners can find it manageable with larger mesh sizes and simple patterns. Both crafts have their unique challenges and rewards.
Can beginners find needlepoint a challenging hobby?
Needlepoint can initially seem challenging due to its detailed designs and variety of stitches.
However, with practice and patience, you’ll find it rewarding.
Start with simple projects to gradually build your skills, which can help ease the learning curve and boost your confidence.
What are some good resources for learning needlepoint as a beginner?
Numerous resources are available to help you learn needlepoint.
Websites like Martha Stewart offer comprehensive guides.
Meanwhile, Needlepoint.com has engaging blog posts.
YouTube tutorials can also provide visual guidance to complement written instructions. This enhances your learning experience.

