
Beginner’s Guide to Scrapbooking as a Hobby: Essential Tips for New Crafters
Scrapbooking is a fantastic way to combine creativity and the preservation of memories, making it an ideal hobby for beginners. As you start this journey, you’ll transform your personal photographs and memorabilia into beautiful keepsakes.
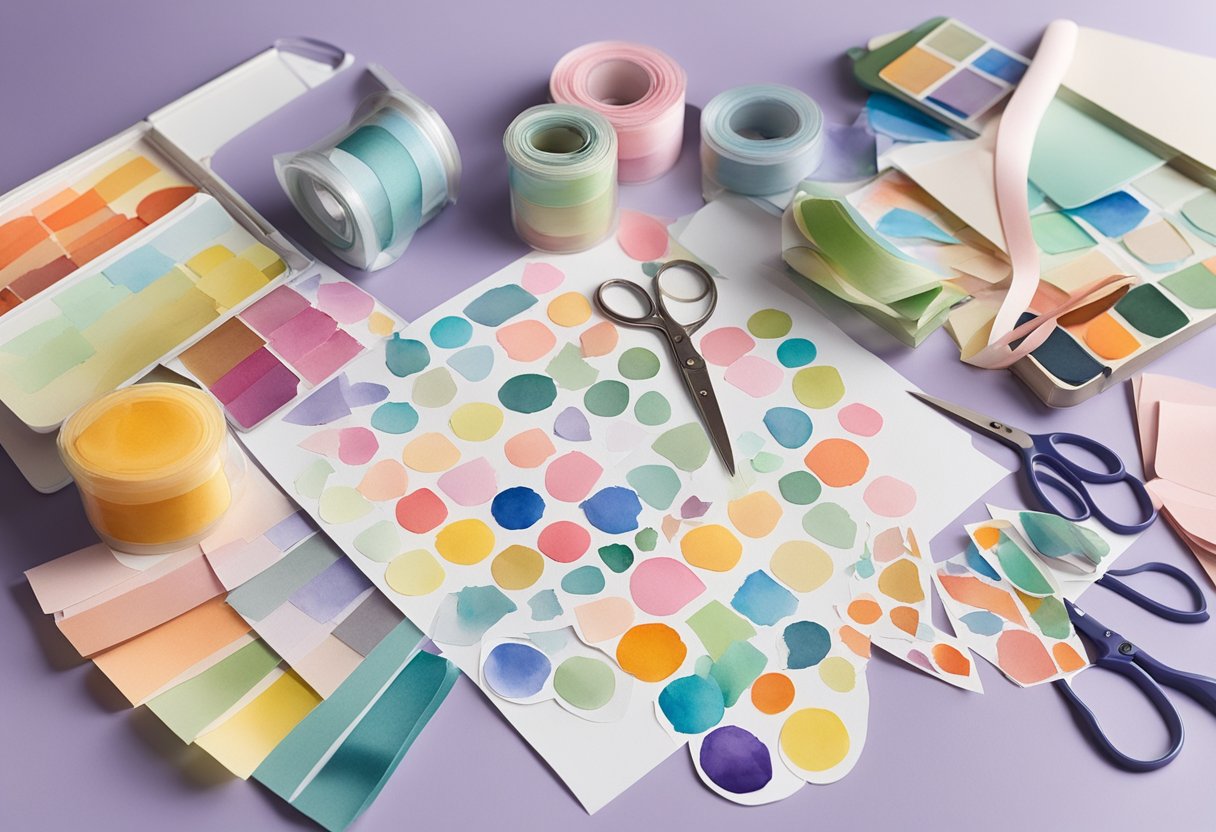
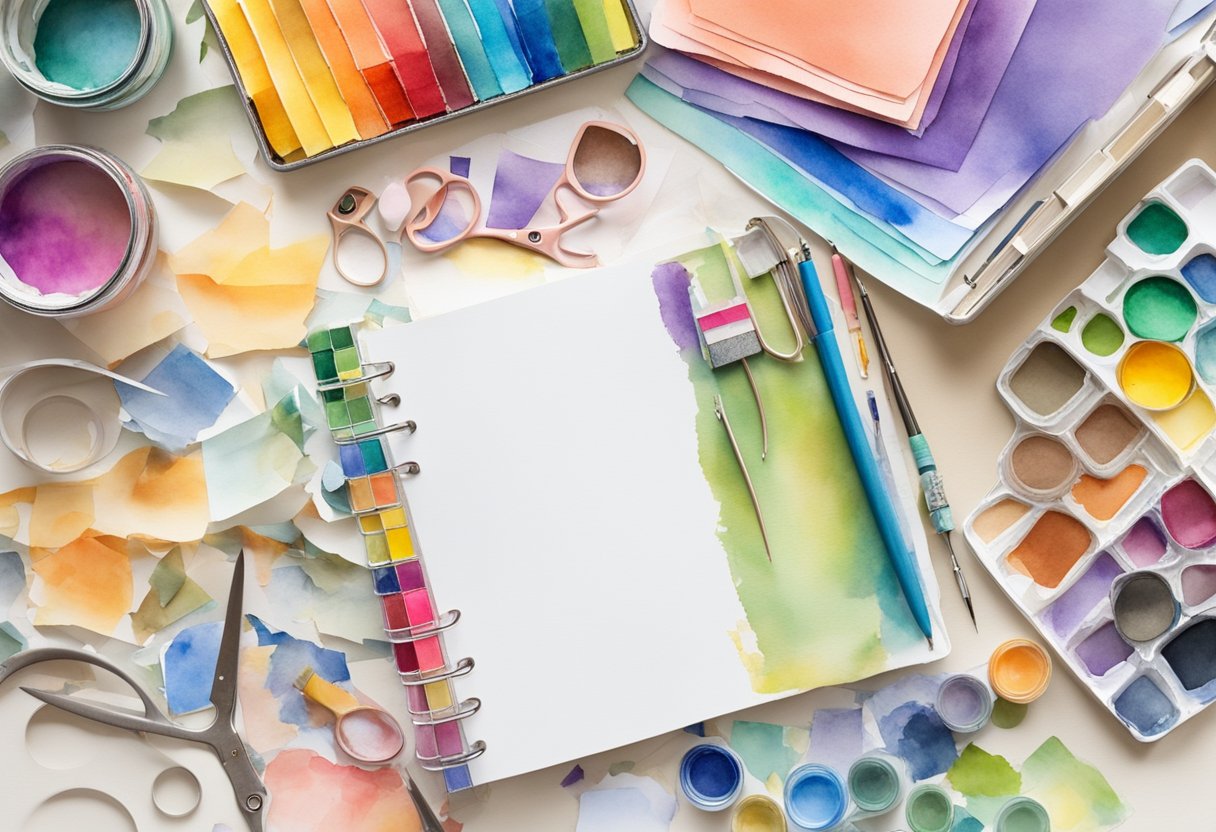
Beginner’s guide tips emphasize that organizing your workspace and supplies is crucial before diving in.
Establishing your workspace allows for a smoother creative process.
Whether you’re arranging your photos or choosing embellishments, having everything at your fingertips makes the task more enjoyable.
For inspiration, check out Scraps of Five on how to arrange and layout your scrapbook elements effectively.
Your scrapbook can become a cherished record of moments on paper, perfect for sharing with friends and family. From simple design ideas to more detailed projects, explore various techniques to see what resonates with you.
For a comprehensive start, visit the Ultimate Scrapbook Guide for Beginners and immerse yourself in this creative hobby.
Understanding Scrapbooking
Scrapbooking is a creative way to preserve memories and tell stories through a combination of photos, journaling, and decorative elements. This section explores its history, core definitions, and various benefits as a hobby.
The History and Evolution of Scrapbooking
Scrapbooking dates back to the 15th century, originating with commonplace books where people collected letters, poems, recipes, and other personal artifacts.
Over time, the practice evolved with the introduction of photo albums in the Victorian era, which included photographs along with written descriptions.
By the late 20th century, scrapbooking became a popular hobby, especially in the United States. Modern scrapbooking emphasizes storytelling and the creative integration of various elements such as photographs, embellishments, and journaling.
Defining Scrapbooking: What It Is and Isn’t
Scrapbooking is a methodical and creative way to document and preserve memories. It involves compiling photographs, mementos, and personal narratives in a visually appealing layout.
Essential tools include scrapbook albums, acid-free adhesives, and high-quality pens.
What scrapbooking isn’t is a random collection of items; it’s an organized and meaningful presentation.
While it can include artistic elements, the focus remains on storytelling and preserving memories rather than just creating art for art’s sake.
Benefits of Scrapbooking as a Hobby
Engaging in scrapbooking offers numerous benefits. It’s a therapeutic activity that allows you to relive emotions tied to your memories.
The process of arranging photos and journaling enhances mindfulness and creativity.
Scrapbooking also becomes a tangible way to preserve family histories and traditions.
Sharing your scrapbook with others can strengthen relationships and provide a unique perspective on your personal experiences.
Additionally, participating in this hobby can improve organizational skills and offer a sense of accomplishment and satisfaction.
Setting Up Your Scrapbooking Space
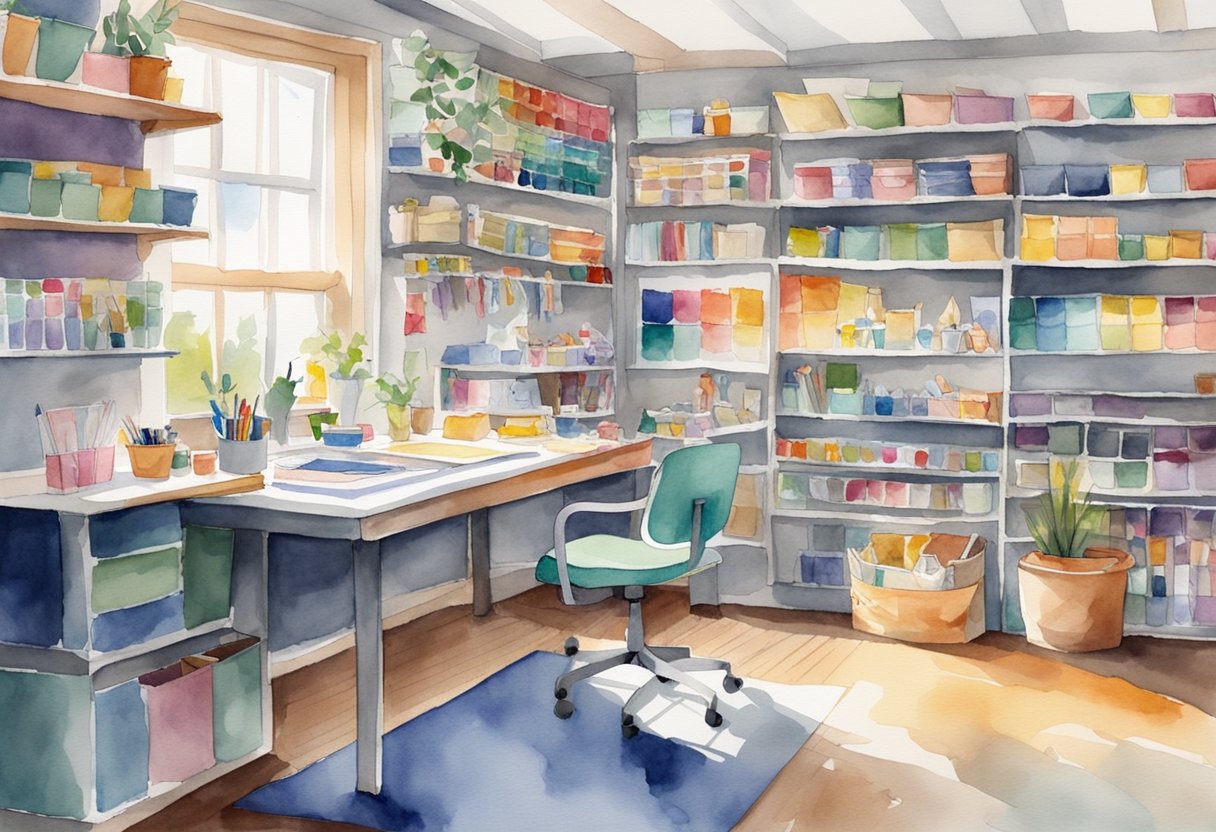
Creating an effective scrapbooking space is crucial for maintaining organization and fostering creativity. This involves choosing an ideal environment for your work and efficiently organizing your supplies to keep everything accessible.
Choosing the Right Environment
Select a well-lit area with ample space to spread out your materials. A dedicated desk or table can make a significant difference.
Natural light is beneficial, but ensure you have good artificial lighting as well for evening sessions.
Keep your work area comfortable.
This includes having a comfortable chair and minimizing distractions.
You might also want to consider the ceiling height, as having shelves nearby for storage solutions can help keep your space tidy and functional.
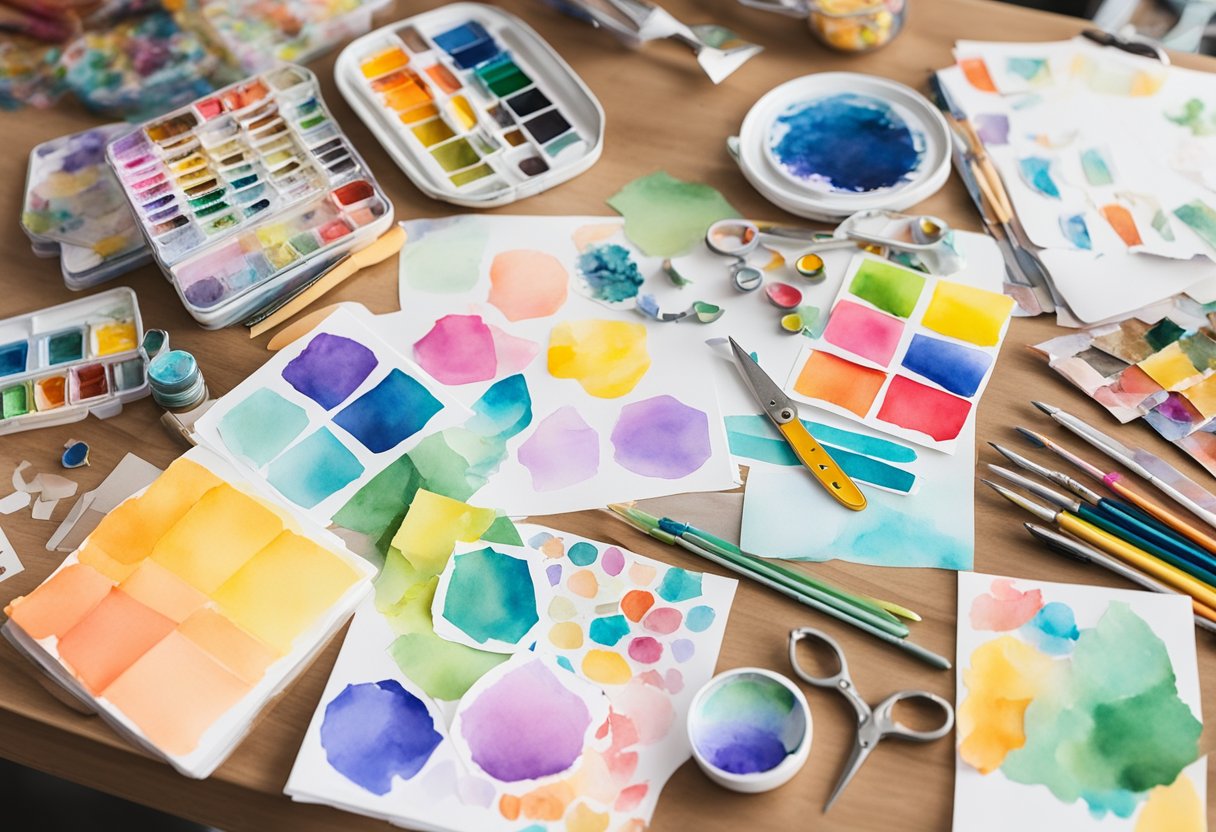
Organizing Your Scrapbooking Supplies
Start by organizing your photos. Use photo storage containers to categorize and label them.
This makes it easier to find specific images when inspiration strikes. Digital photos should be sorted into folders on your computer.
For physical supplies, use bins, drawers, or shelves to store items like paper, stickers, and embellishments.
Utilize clear containers or label each one clearly so you can quickly locate what you need.
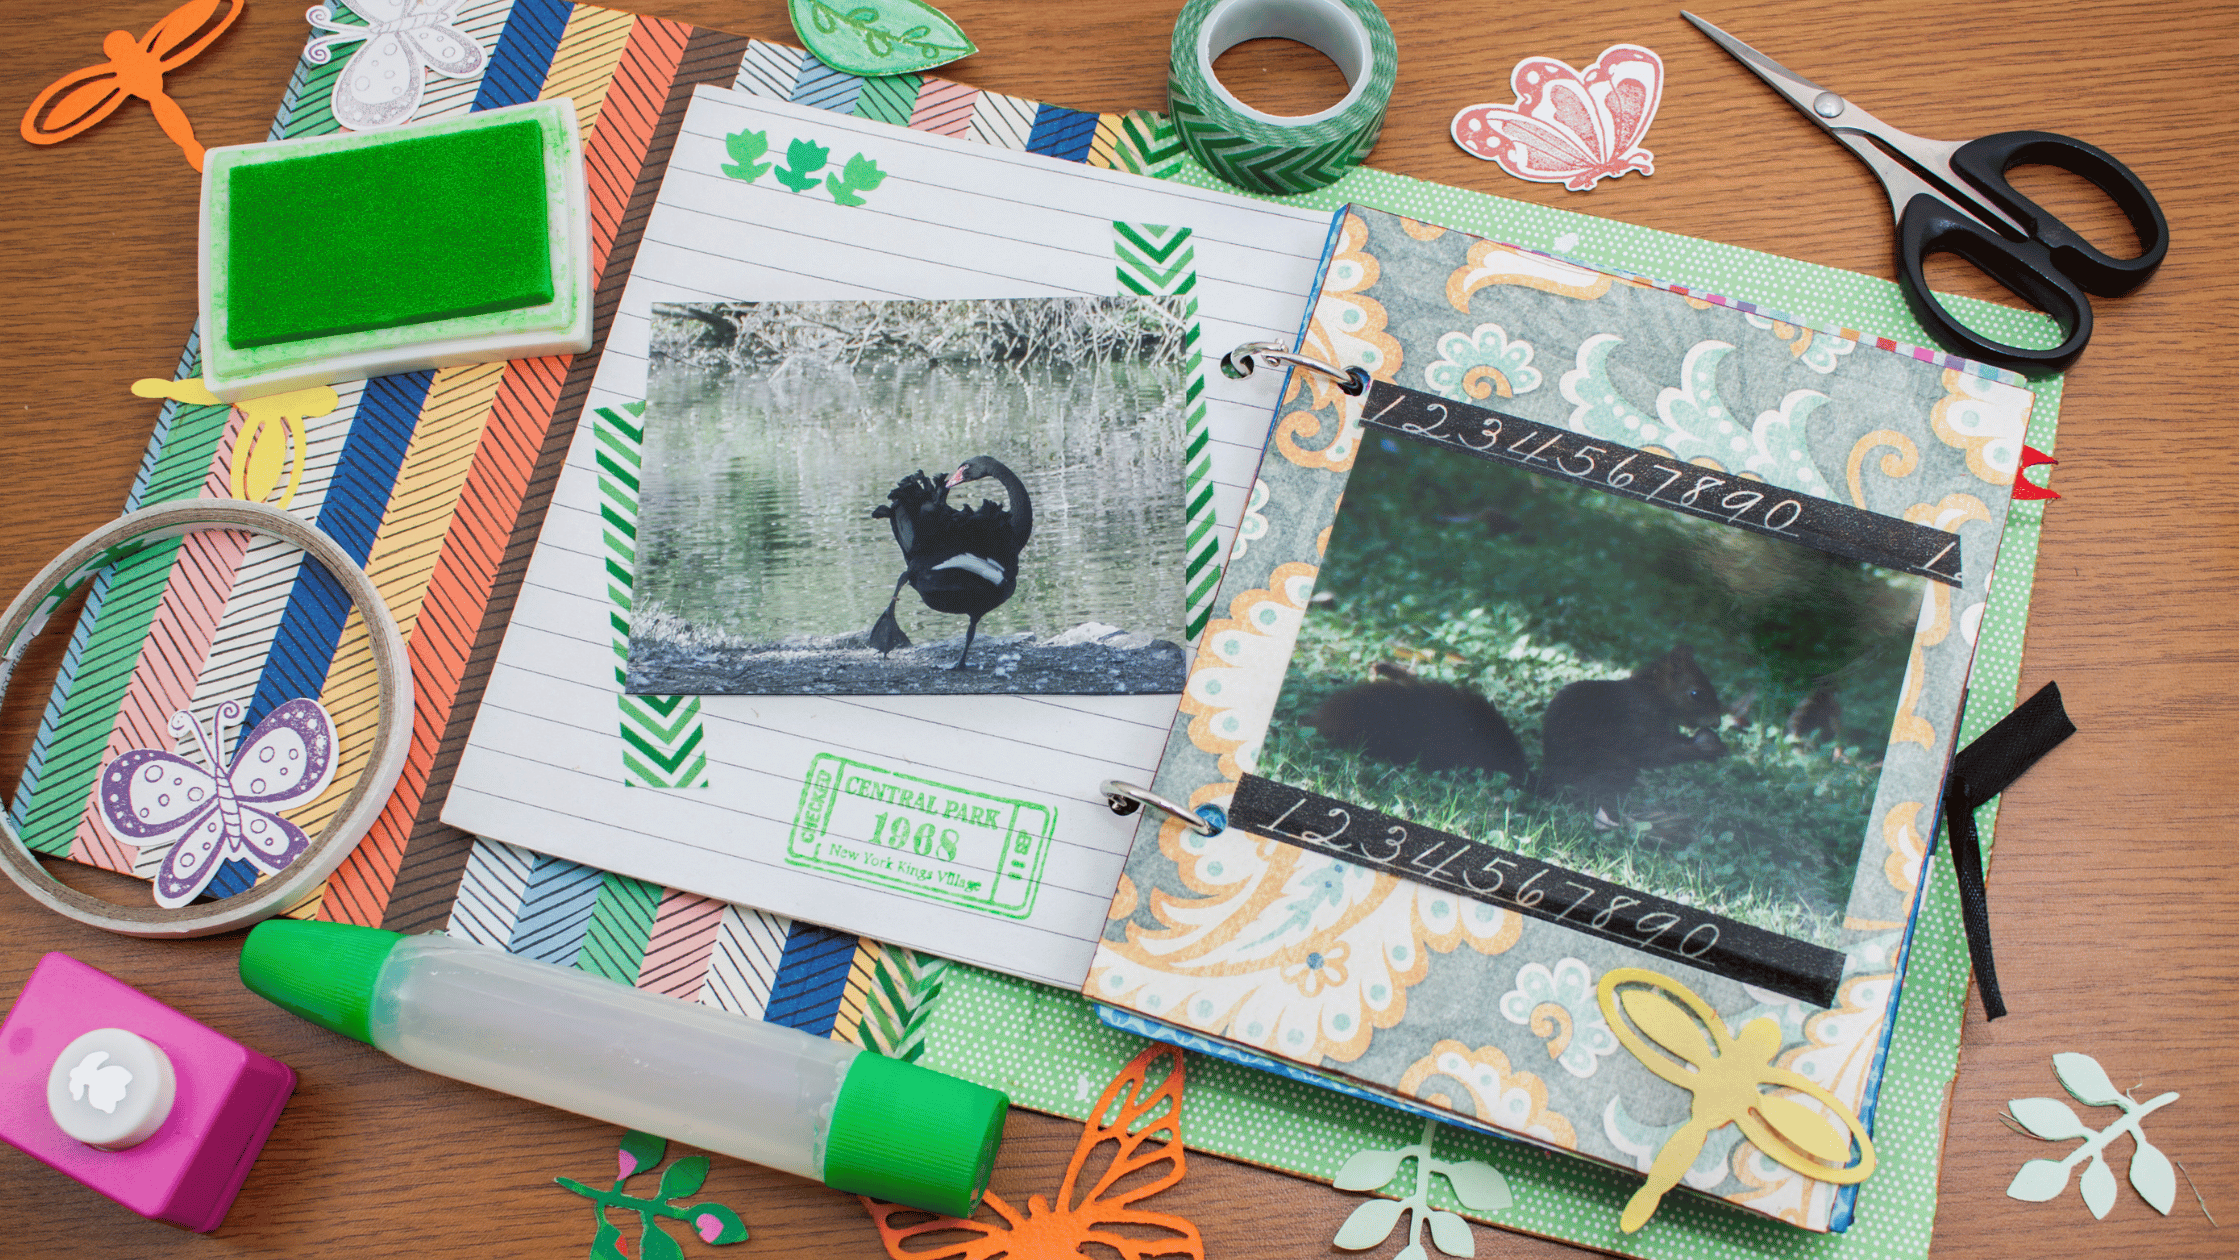
Keeping tools such as scissors, adhesives, and pens in a caddy or organizer on your workspace ensures they are always within reach.
Don’t forget to regularly declutter your supplies to keep your space neat and your creativity flowing.
Scrapbooking Materials Explained
To start your scrapbooking journey, you need a variety of materials designed to preserve your memories while ensuring the longevity of your projects. Essential supplies include quality paper, adhesives, and cutting tools.
The Basics: What You’ll Need to Start
Your basic scrapbooking kit should have the following:
- Scrapbook Album – Choose one with acid-free pages.
- Paper – Opt for a mix of patterned and solid acid-free and lignin-free paper.
- Page Protectors – These keep your pages safe from dust and damage.
- Adhesives – Use acid-free glue or double-sided tape.
- Scissors and Cutters – Precision scissors and a paper trimmer.
Having these basics ensures you can start creating without the worry of damaging your photos and keepsakes.
Understanding Paper Quality: Acid-Free and Lignin-Free Options
Using acid-free and lignin-free paper is crucial for preserving your scrapbook’s quality. Acid can cause paper to yellow and deteriorate over time, while lignin, found in wood pulp, can break down and cause similar damage.
- Acid-Free Paper: It ensures that your photos and memorabilia do not deteriorate.
- Lignin-Free Paper: Prevents the breakdown of paper fibers, keeping it intact longer.
Always look for these terms when buying scrapbooking paper to keep your projects in the best condition.
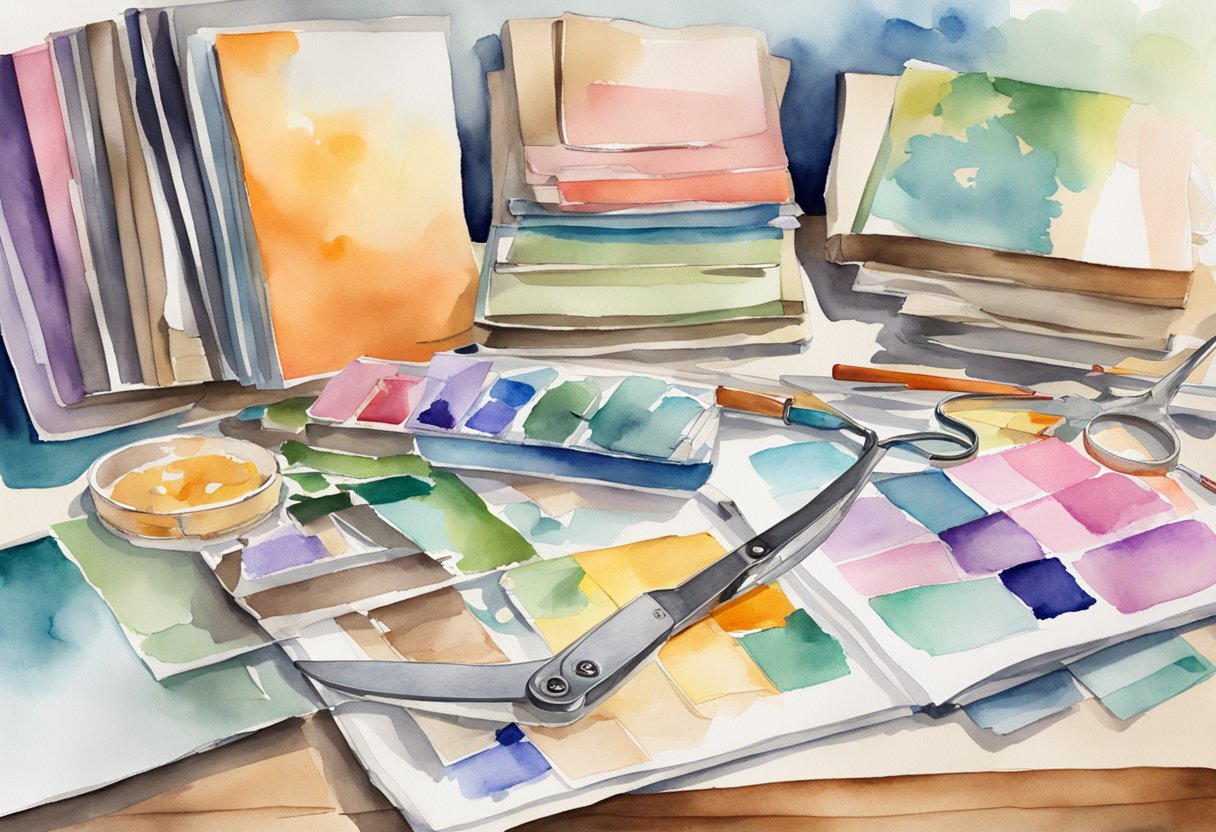
Adhesives and Cutting Tools
Choosing the right adhesives and cutting tools is important for both the aesthetic and structural integrity of your scrapbook.
- Acid-Free Adhesives: These include glue sticks, liquid glue, and double-sided tape. Acid-free adhesives prevent yellowing and preserve the quality of the attached materials.
- Scissors and Cutting Tools: Precision scissors, craft knives, and paper trimmers help you cut photos and paper cleanly.
Investing in quality tools makes it easier to layout and design your pages accurately and neatly.
Designing Your First Page
Creating your first scrapbook page involves selecting a theme and color scheme, organizing your design layout, and establishing a focal point to capture the viewer’s attention.
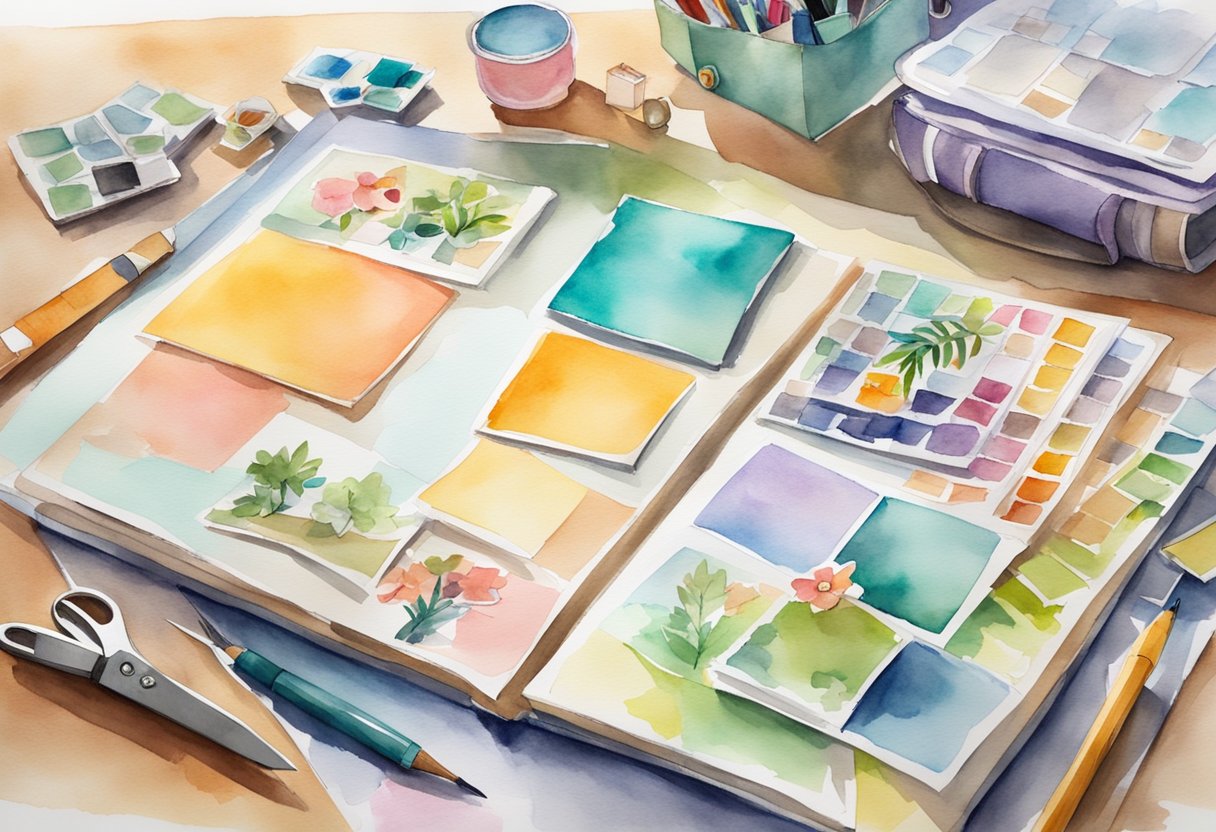
Picking a Theme and Color Scheme
Begin by choosing a theme that reflects the essence of the memories you want to showcase. Whether it’s a birthday, vacation, or special moment, the theme will guide your design choices.
Select a color scheme that complements your photos and enhances the overall visual appeal of the page.
Tips for Choosing a Theme:
- Reflect on the story you want to tell.
- Consider the mood you wish to convey.
Tips for Selecting a Color Scheme:
- Use color wheel principles to find harmonious combinations.
- Incorporate colors from your photos to create cohesion.
Laying Out Your Design
Once your theme and color scheme are set, think about the layout of your page.
Plan where each element will go before attaching anything. Use sketches or templates to visualize your layout.
Balance is crucial in page design; ensure that no part of the page appears too cluttered or too empty.
Layout Tips:
- Use grid layouts for a structured look.
- Experiment with asymmetrical layouts for a more dynamic design.
- Maintain consistent margins to create a tidy appearance.
Design Elements to Consider:
- Photos
- Journaling spots
- Embellishments like stickers or ribbons
Creating a Focal Point
The focal point is the center of attention on your page. It draws the viewer’s eye and emphasizes the most important aspect of your design.
Choose a standout photo or a significant embellishment to serve this purpose.
Steps to Create a Focal Point:
- Select the main photo you want to highlight.
- Use contrasting colors or bold embellishments around it.
- Position the focal point strategically, either in the center or using the rule of thirds for more visual interest.
Techniques to Enhance the Focal Point:
- Use frames or borders to make the focal photo pop.
- Add layering with mats or decorative papers.
- Employ techniques like shadow effects or 3D embellishments.
Techniques for Enhancing Your Layouts
Enhancing your scrapbooking layouts involves combining various techniques like layering, incorporating memorabilia, and adding personal stories through journaling. These elements create visually appealing and meaningful pages.
Layering and Texture
Layering adds depth and dimension to your scrapbook pages. Start by stacking papers, such as patterned and solid-colored ones, to create a base.
Use materials like fabric, lace, or ribbon to add texture. Experiment with different textures for a unique feel.
You can also add layers using vellum or transparency sheets for a light and airy effect.
Another technique is distressing the edges of your papers using tools like edge distresser, inks, or sandpaper. This gives your pages a worn, vintage look.
Combining these methods creates a dynamic, multi-dimensional layout.
Incorporating Memorabilia and Embellishments
Using memorabilia like ticket stubs, postcards, and letters can make your scrapbook more personal. Attach these items with photo corners or clear adhesive to avoid damaging them.
Embellishments such as stickers, die-cuts, and buttons add aesthetic appeal. Use brads, eyelets, or staples to secure embellishments and add metallic details. Group your embellishments in clusters for a balanced look.
Consider using natural elements like dried flowers or leaves for an organic feel. Arrange these items thoughtfully to ensure they complement your main photos and stories, enhancing the overall theme of your scrapbook.
The Art of Journaling: Adding Descriptions and Stories
Journaling provides context and depth to your scrapbook pages. Write captions that describe the photos and add anecdotes to tell a more complete story.
Use different formats for your journaling: handwritten notes, printed text, or even typewritten pieces for a vintage look. Ensure your stories and captions match the tone of the photos.
Adding descriptions about the people, places, and events in your photos turns your scrapbook into a narrative. Incorporate date stamps or small labels to mark significant moments. This personal touch makes your scrapbook pages come to life and preserves memories vividly.
Advanced Tools and Techniques
When you are ready to enhance your scrapbooking projects, you can explore various advanced tools and techniques that bring precision and creativity to your work. From die-cut machines and stamps to digital editing, these tools help elevate your scrapbooks to the next level.
Using Die-Cut Machines and Stamps
Die-cut machines are indispensable for creating intricate shapes and designs with ease. With these machines, you can cut paper, fabric, and other materials into precise shapes. Popular models include the Cricut and Silhouette, which offer a range of options for different skill levels and needs.
Stamps add patterns and motifs to your pages, offering a way to personalize your scrapbook with unique designs. Use rubber, clear, or cling stamps with different inks to achieve various effects. Combine die-cut shapes and stamped images to create layered, visually appealing embellishments.
Exploring Digital Tools for Scrapbookers
Digital scrapbooking tools allow you to design and compile pages using software. Programs like Adobe Photoshop and Canva let you arrange digital photos, stickers, and scrapbook embellishments without the mess of physical materials. You can also edit and resize elements for a perfect fit.
These platforms often offer templates and pre-made layouts, making it easier to create professional-looking pages. Digital kits, which include themed backgrounds, icons, and elements, provide a cohesive look for your scrapbook. This approach saves storage space and offers the flexibility to print your designs or share them online.
Photo Editing for the Perfect Touch
Editing your photos before adding them to your scrapbook can significantly enhance their quality. Use software like Photoshop or Lightroom to adjust brightness, contrast, and color balance. Crop images to focus on key details or to fit specific scrapbook layouts.
You can also apply filters or effects to give your photos a unique look. For example, converting images to black and white can add a classic touch. Finally, retouching tools help remove any blemishes or imperfections, ensuring your photos look their best. Skilled photo editing transforms good photos into standout pieces that anchor your scrapbook pages.
Cataloging and Preserving Your Scrapbooks
Proper cataloging and preservation ensure your scrapbooks remain intact and accessible. This section covers techniques for protecting and organizing your scrapbook albums to keep your memories safe.
Proper Use of Page Protectors and Albums
Using page protectors is essential for preserving your scrapbook pages. Page protectors guard against dust, dirt, and fingerprints, keeping your photos and decorations pristine. Always choose acid-free, lignin-free page protectors to prevent yellowing and deterioration over time.
Scrapbook albums come in various sizes and styles. Opt for albums with sturdy bindings and covers, as they offer better protection for your pages. When inserting pages into albums, avoid overcrowding to prevent damage. Spacing allows your pages to lie flat and prevents unnecessary pressure on the bindings.
Regularly check your albums for any signs of wear and tear. Replacing damaged page protectors and albums when needed will ensure that your memories are preserved for years to come.
Organizing Your Completed Projects
Organizing your completed scrapbook projects makes them easier to access and enjoy. Start by cataloging each scrapbook album with a clear, descriptive title. This can be based on themes such as family events, vacations, or specific milestones.
Develop a system to organize photos within your albums. Chronological order is a straightforward method, allowing you to track the passage of time through your scrapbooks. Alternatively, you can sort by event type or subject matter based on personal preference.
Use index tabs or labels to mark significant sections within each album. This helps you quickly locate specific memories without flipping through every page. Store your albums in a cool, dry place away from direct sunlight to prevent fading and deterioration.
Innovative Ideas for Scrapbooking Projects
Exploring unique scrapbook ideas and incorporating interactive elements can make each page more engaging and personalized. Themes can reflect seasons or personal milestones, creating a cohesive and creative presentation.
Themed Scrapbooks and Seasonal Crafts
Creating themed scrapbooks allows you to center your project around a specific idea or time of year. For instance, a Halloween-themed scrapbook could feature spooky decorations and autumn colors, while a birthday scrapbook might include party hats and balloons.
Incorporate materials that match your theme, such as pastel papers for springtime memories or metallic accents for a New Year’s Eve scrapbook. Personalized touches like journaling about specific events or trips can bring the theme to life.
Interactive Elements for Added Fun
Add interactive components like pockets, pull tabs, and fold-out sections. These features can create an added layer of dimension to your scrapbook. For example, a pull tab can reveal hidden photos or messages, enhancing the viewer’s experience.
Using interactive elements helps engage the audience, especially children who enjoy exploring different parts of the scrapbook. These additions also offer creative ways to present more information or memorabilia within a limited space.
Expressing Your Artistic Side
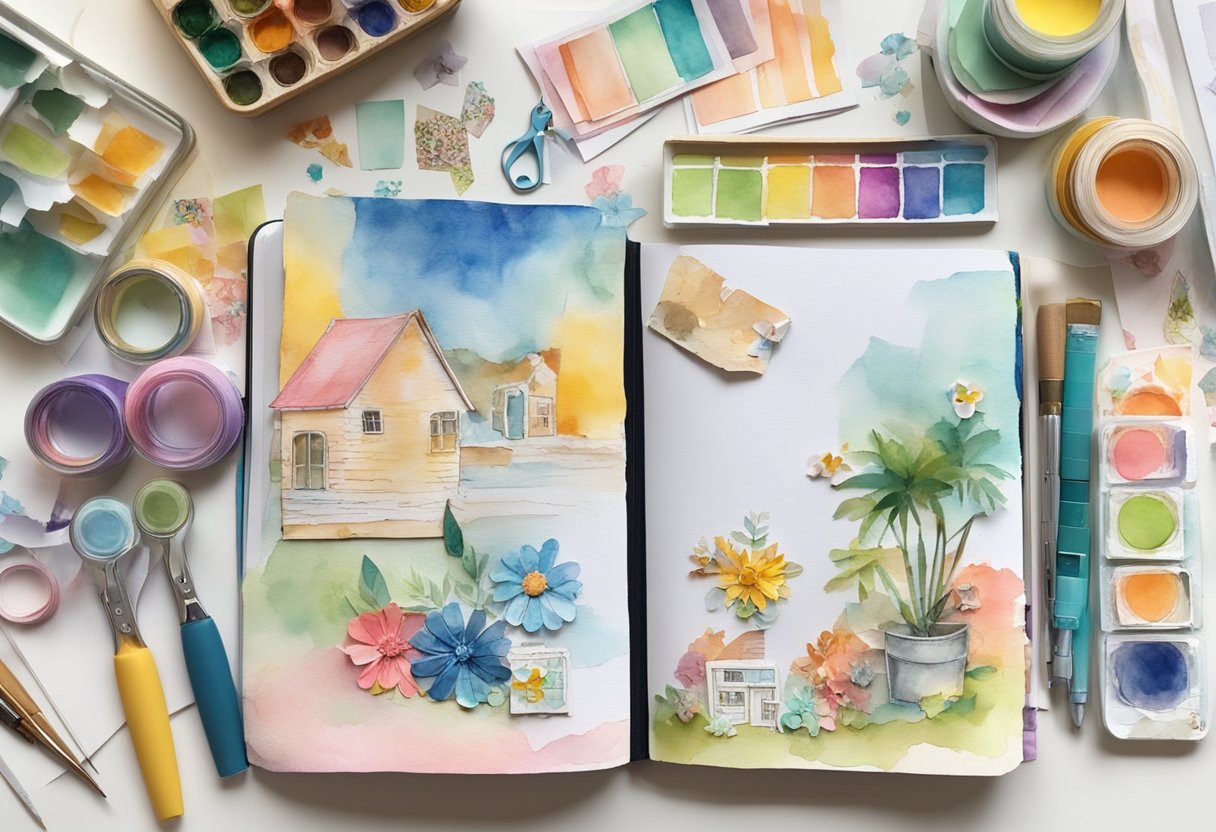
Transform your scrapbook into a canvas of artistic expression by experimenting with various techniques like painting, drawing, using fabric, and buttons. These methods add depth and personal flair to your pages, making each one unique.
Painting and Drawing in Your Scrapbook
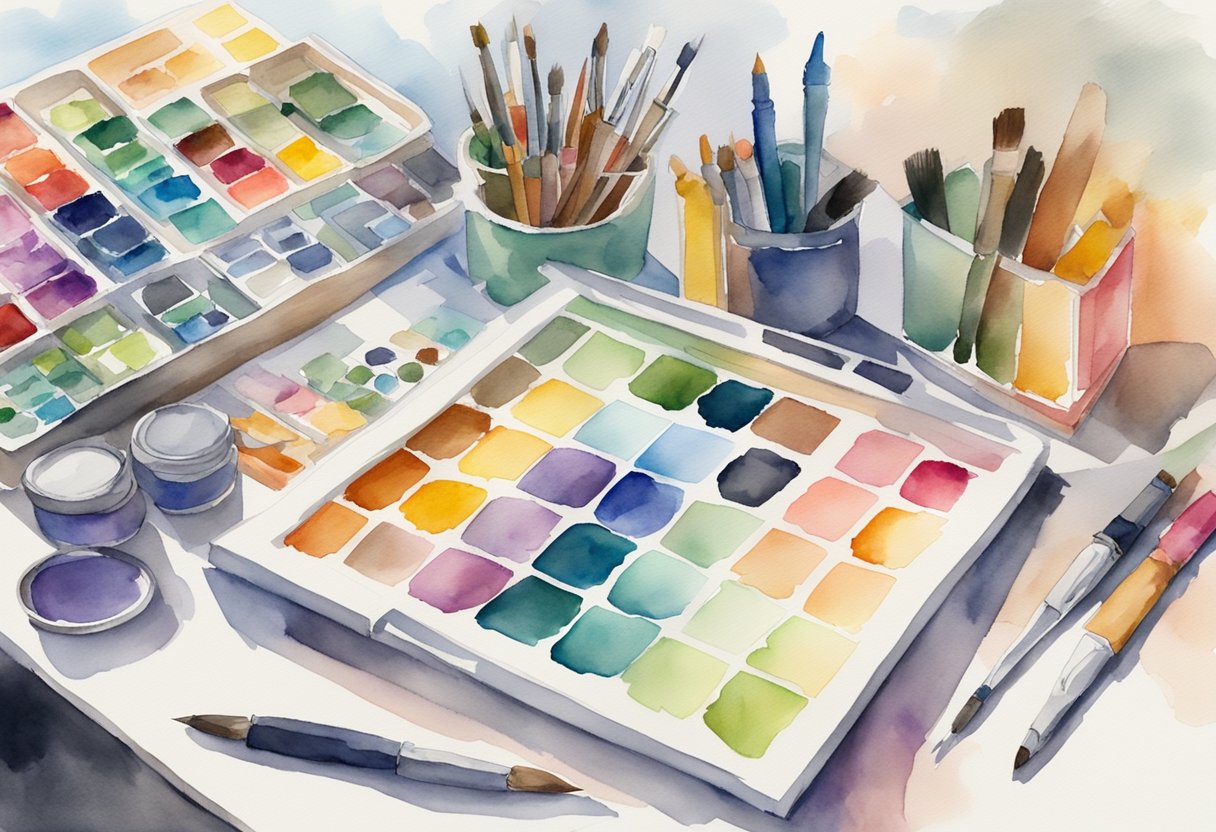
Incorporate painting and drawing to bring a vibrant and artistic touch to your scrapbook. Use watercolors, acrylic paints, or colored pencils to create backgrounds, borders, or illustrations that complement your photos and other elements.
Try blending colors to create gradients or paint abstract designs for added texture. Drawing can range from simple doodles to detailed sketches. Use pens, pencils, or markers to add personal touches such as names, dates, or small illustrations. These additions make your scrapbook pages stand out by infusing your personal artistic style.
Using Fabric and Buttons for a Handmade Feel
Enhance your scrapbook’s tactile appeal by integrating fabric and buttons. Select fabrics that match the theme of your scrapbook and cut them into shapes or patterns to use as backgrounds or decorative elements. Fabrics like lace, burlap, or felt can bring a soft, handmade feel to your pages.
Buttons, whether colorful or monochromatic, can serve as eye-catching embellishments. Sew or glue them onto your pages to anchor photos, create borders, or form patterns. This not only adds visual interest but also a textured, interactive component. Using these materials, you create a multifaceted scrapbook that engages both sight and touch.
Sharing and Showcasing Your Scrapbooks
Sharing your scrapbooks can be a rewarding experience that helps build community and inspire creativity. By hosting scrapbooking parties and exhibiting your work at fairs or online, you can connect with others who share your passion.
Hosting Scrapbooking Parties
Hosting scrapbooking parties is a fantastic way to share your hobby with friends and family. Invite attendees to bring their own projects, creating a lively and collaborative environment. Provide a variety of scrapbooking supplies such as decorative papers, adhesives, and embellishments to stimulate creativity.
Organize activities like thematic challenges or tutorials to keep the energy up and encourage participation. These gatherings foster a sense of community, allowing beginners and experienced scrapbookers to exchange ideas and techniques. You can also host virtual scrapbooking parties using platforms like Zoom, enabling broader participation.
Exhibiting at Fairs and Online Communities
Exhibiting your scrapbooks at local fairs can elevate your hobby to a larger audience. Many community events include crafting sections where you can display your work. Ensure your scrapbooks are well-presented by using stands or frames to make your pages easily viewable. Networking at these events can lead to valuable connections and inspiration.
Online communities offer another excellent avenue for showcasing your work. Websites and forums dedicated to scrapbooking are perfect for sharing photos of your projects. Social media platforms like Instagram and Facebook are also great for reaching a broader audience. Joining groups or pages that focus on scrapbooking can help you get feedback and discover new ideas. Linking your posts to informative scrapbooking guides can enhance your content’s value and reach.
Frequently Asked Questions
In this section, you will find answers to common questions about essential supplies, organization techniques, beginner project ideas, the rule of three, incorporating mixed media, and budget-friendly strategies in scrapbooking.
What are the essential supplies needed for a beginner in scrapbooking?
To start scrapbooking, you need basic supplies. Essential items include a scrapbook album, acid-free paper, adhesives like glue and tape, scissors, and markers. Decorative elements such as stickers and ribbons can add a personal touch. It’s also helpful to have a paper trimmer and a hole punch.
How do you effectively organize and store scrapbooking materials?
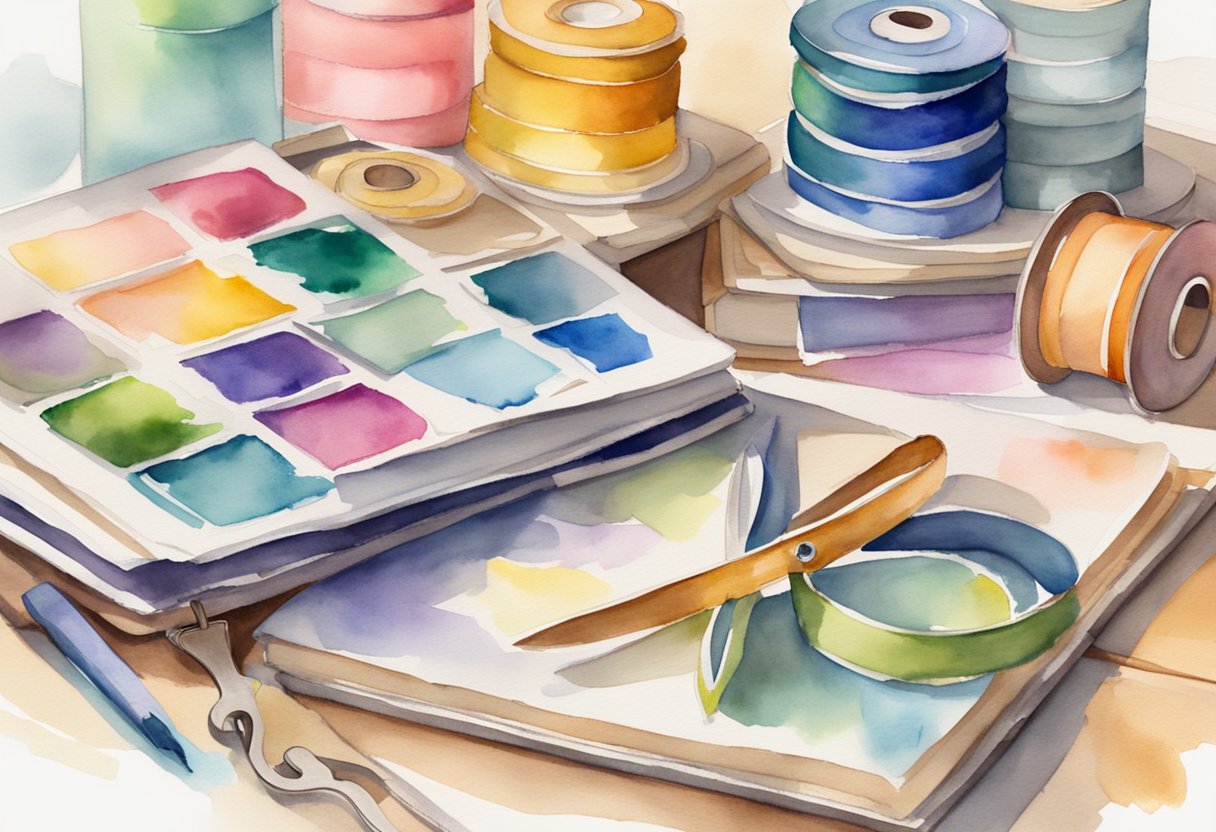
Organizing your scrapbooking materials is crucial for efficiency. Use photo storage containers to categorize your photos. Label them for easy access. Store your papers vertically in magazine holders and keep your adhesives, scissors, and markers in a caddy. Clear plastic bins can help you see and access your embellishments easily.
What are some simple scrapbooking ideas for a first project?
Start with a theme that resonates with you. Choose your favorite photos and experiment with different layouts. Add journaling to capture memories and sentiments. Simple embellishments like stickers and ribbons can enhance your page without overwhelming it. Consider creating a page dedicated to a specific event or a collage of memorable moments.
What is the rule of three in scrapbooking, and how is it used?
The rule of three involves using design elements in sets of three to create a balanced and visually appealing page. This can include three photos, three embellishments, or three clusters of decorations placed strategically.
This approach helps to guide the viewer’s eye smoothly across the page, creating a cohesive look.
How can beginners incorporate mixed media into their scrapbooking pages?
Mixed media adds depth and texture to your pages. Start with basics like stamps, inks, and stencils.
Incorporate different materials such as fabric, metal elements, or even small trinkets. You can blend various textures by layering paper with paint or using embossing techniques.
Experiment gradually to find what works best for your style.
What are the best strategies for scrapbooking on a budget?
Scrapbooking doesn’t have to be expensive.
Look for sales at craft stores or buy supplies in bulk.
Use everyday items like buttons, fabric scraps, and old greeting cards as embellishments.
Digital scrapbooking is another cost-effective option.
Printing your own embellishments and using free design software can help you create beautiful pages without breaking the bank.