
Beginner’s Guide to Glass Blowing as a Hobby: Essential Tips to Get Started
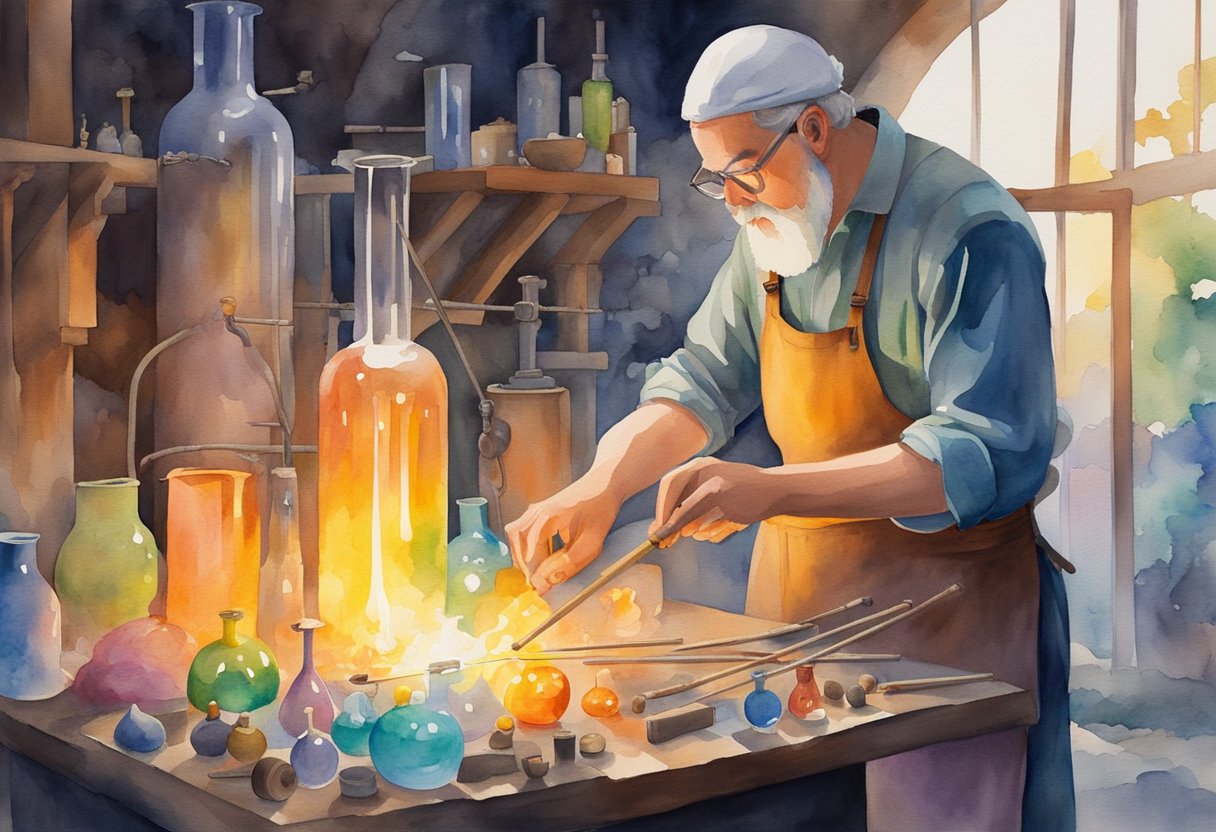
Discover the captivating world of glass blowing, an art form that transforms molten glass into intricate and stunning creations. This ancient craft is not just for experienced artisans. With the right guidance and tools, anybody can start their journey into this mesmerizing skill.
To begin this journey, understanding the basics is critical. Whether you’re prepping your workspace or learning how to shape your first piece, it’s essential to approach glass blowing with both enthusiasm and attention to safety.
Ensuring a well-ventilated area and proper protective gear will keep you safe while you ignite your passion for this artistic pastime.
Glass blowing offers a unique creative outlet, providing both a sense of accomplishment and the joy of creating something beautiful with your own hands.
Glass blowing has a rich history, evolving from an ancient art form to a crucial influence on modern glass art. Its development over centuries reflects cultural exchanges and technological advancements.
Evolution of the Ancient Art Form
The origins of glass blowing date back to the 1st century BC in the Middle East, specifically in regions like Syria. This ancient technique quickly spread throughout the Roman Empire, revolutionizing glass production with its unique ability to create intricate designs.
By blowing into a molten glass blob, artisans were able to craft various shapes and sizes that were previously unimaginable. Innovations like the blowpipe allowed for more detailed works and quickly facilitated the spread of this craft across cultures.
In later centuries, Venetian glassmakers became pioneers, refining methods and creating the renowned Venetian glass, which remains prized for its beauty and quality. By the Renaissance, glass blowing had firmly established itself, boasting a wide array of styles and techniques that continue to be foundational for glass artists today.
Influence on Modern Glass Art
The art of glass blowing persisted through the ages, maintaining its influence and adapting to modern needs. Today, it serves as both a cherished hobby and a respected form of glass art, with many artists exploring new concepts.
The melding of traditional and contemporary techniques allows for diverse artistic expressions.
Innovation has included techniques such as lampworking, which involves manipulating glass with a torch. This has opened avenues for intricate detail work and customization, appealing to both hobbyists and professional artists.
The continued fascination with glass blowing demonstrates the enduring charm and versatility of this ancient art form. If you’re interested in learning more, there are many beginner’s guides available online to help you start your own journey into glass blowing.
Fundamentals of Glass Blowing
Glass blowing starts with the melting and shaping of glass, primarily made from silicon dioxide. You will learn how glass transforms from solid to molten form and master the basic steps involved in creating beautiful art pieces.
Understanding Silicon Dioxide
Silicon dioxide is the primary component of glass. This naturally occurring compound is abundant in sand.
During glass blowing, silicon dioxide is melted at high temperatures, transforming it into a viscous, moldable material.
When heated, silicon dioxide’s crystalline structure breaks down. This change allows you to shape it into various forms.
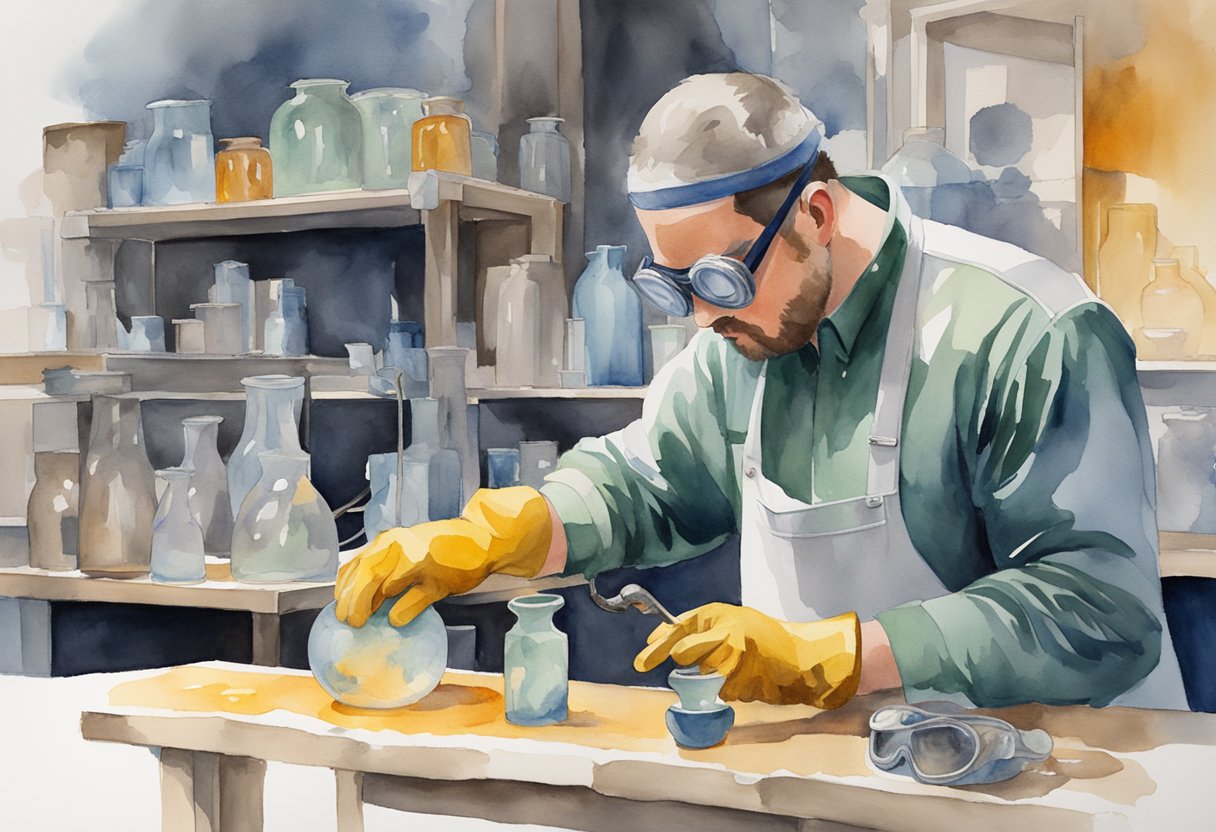
Safety is crucial during this process, as the temperatures involved are extremely high. Gloves, safety glasses, and an apron are essential for protection.
You will also require a controlled environment. A well-ventilated workspace is necessary to prevent the accumulation of fumes.
Adequate ventilation can be achieved by opening windows or using exhaust fans.
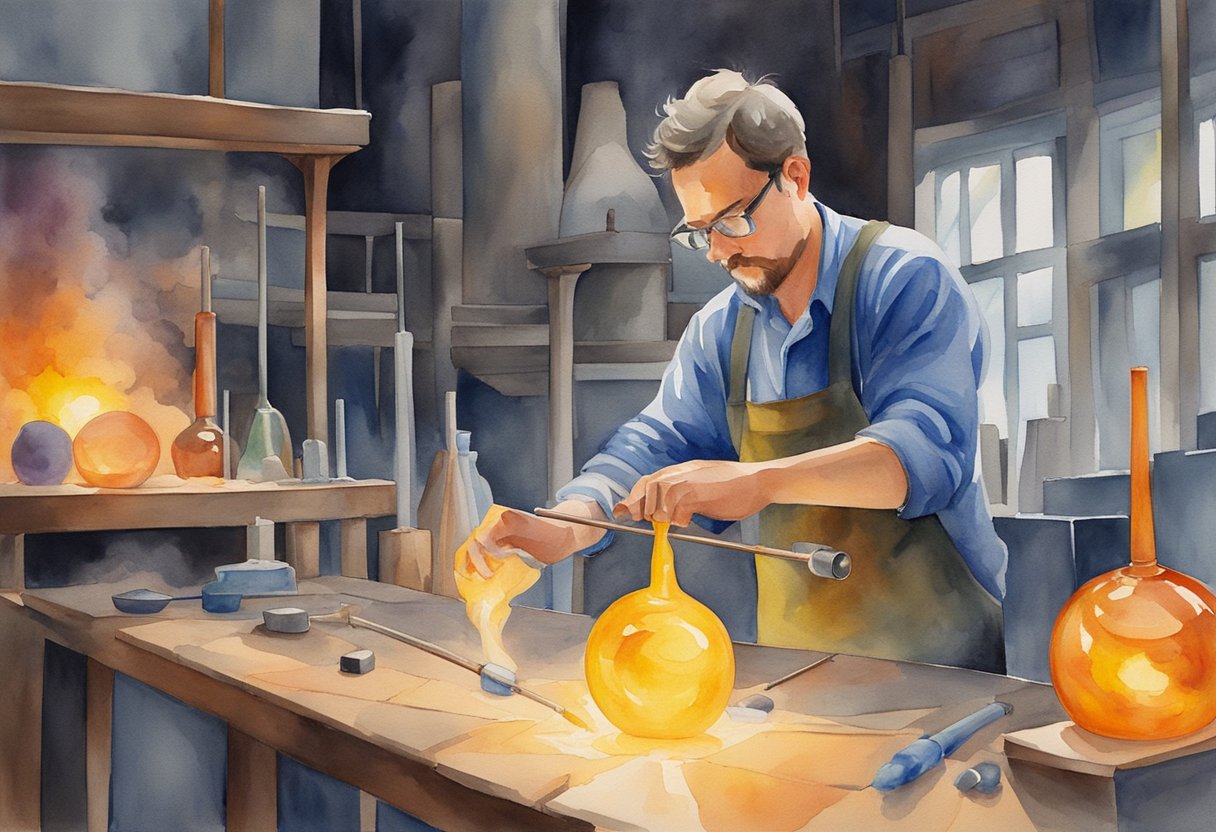
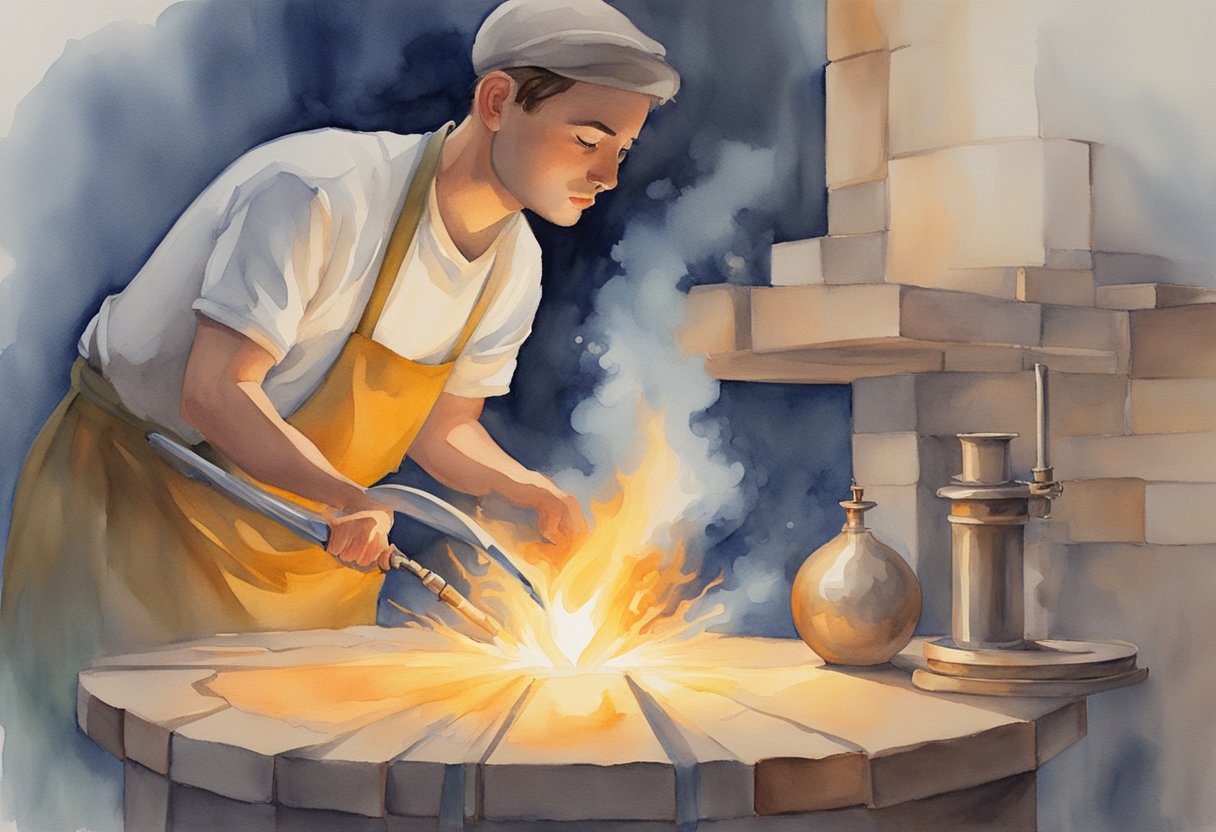
Basics of the Glass Blowing Process
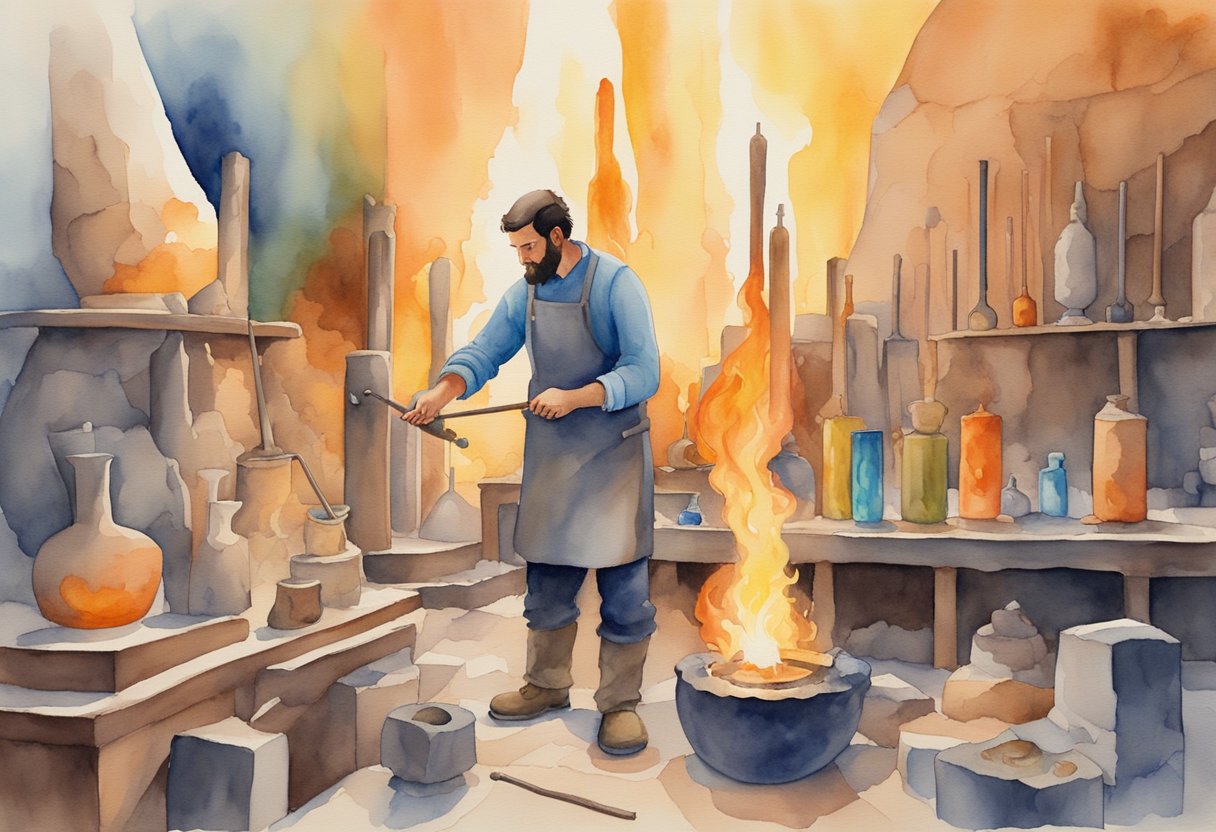
The glass blowing process begins with collecting molten glass on a blowpipe. This step involves gathering a glob of the melted material from a furnace.
By rotating and blowing through the pipe, air is introduced, creating a bubble in the glass.
Shaping the glass is done using various tools like shears and paddles. These tools help in manipulating the glass’s form while it remains pliable.
Cooling the glass slowly is vital. This prevents stress and cracking, ensuring a durable finished product.
Patience and practice help improve your proficiency in managing molten glass. Each stage requires attention to detail, ensuring a successful glass blowing creation.
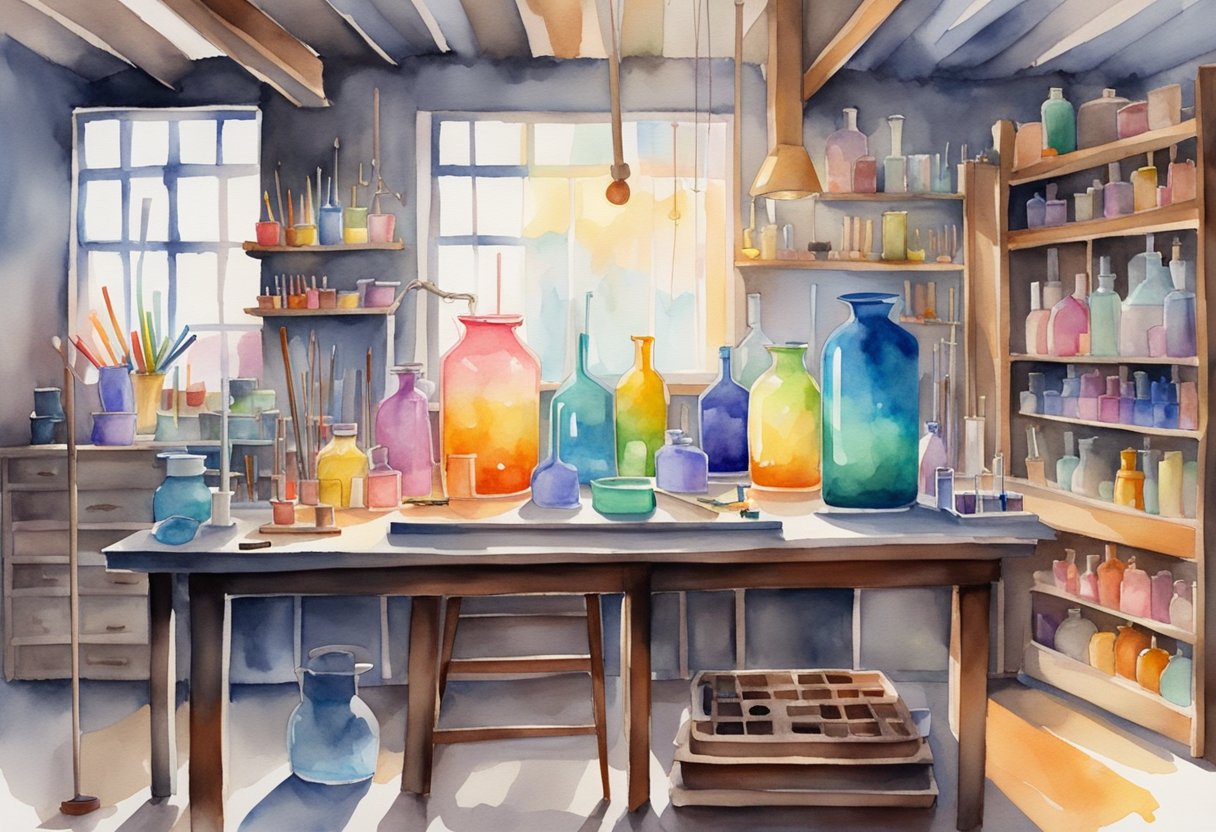
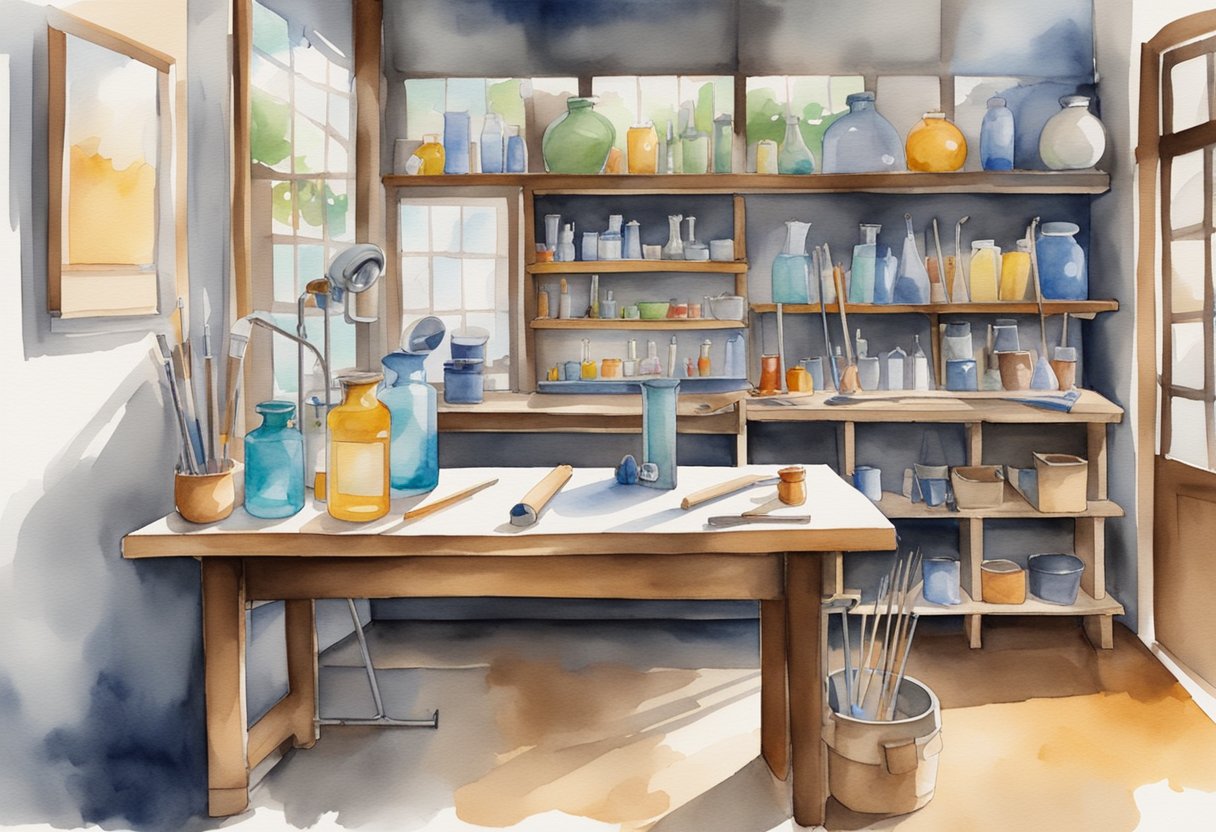
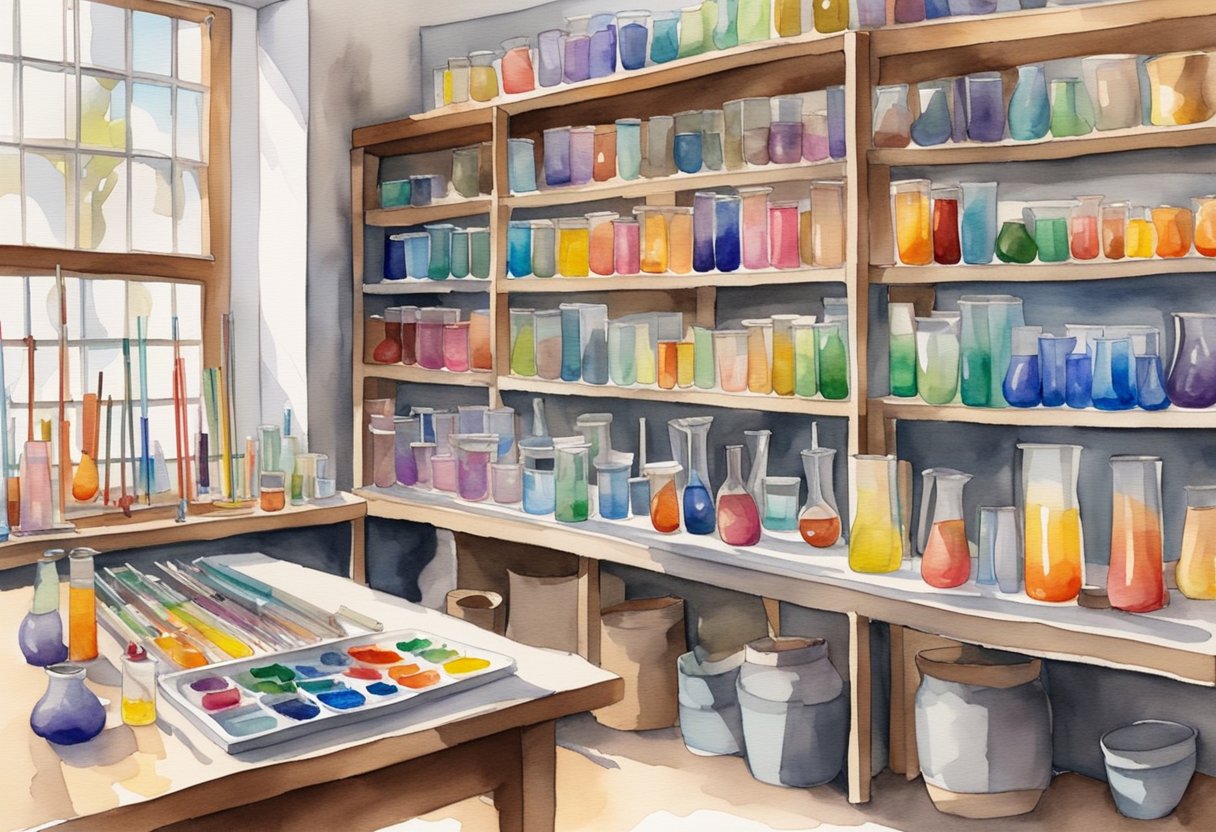
Setting Up the Workspace
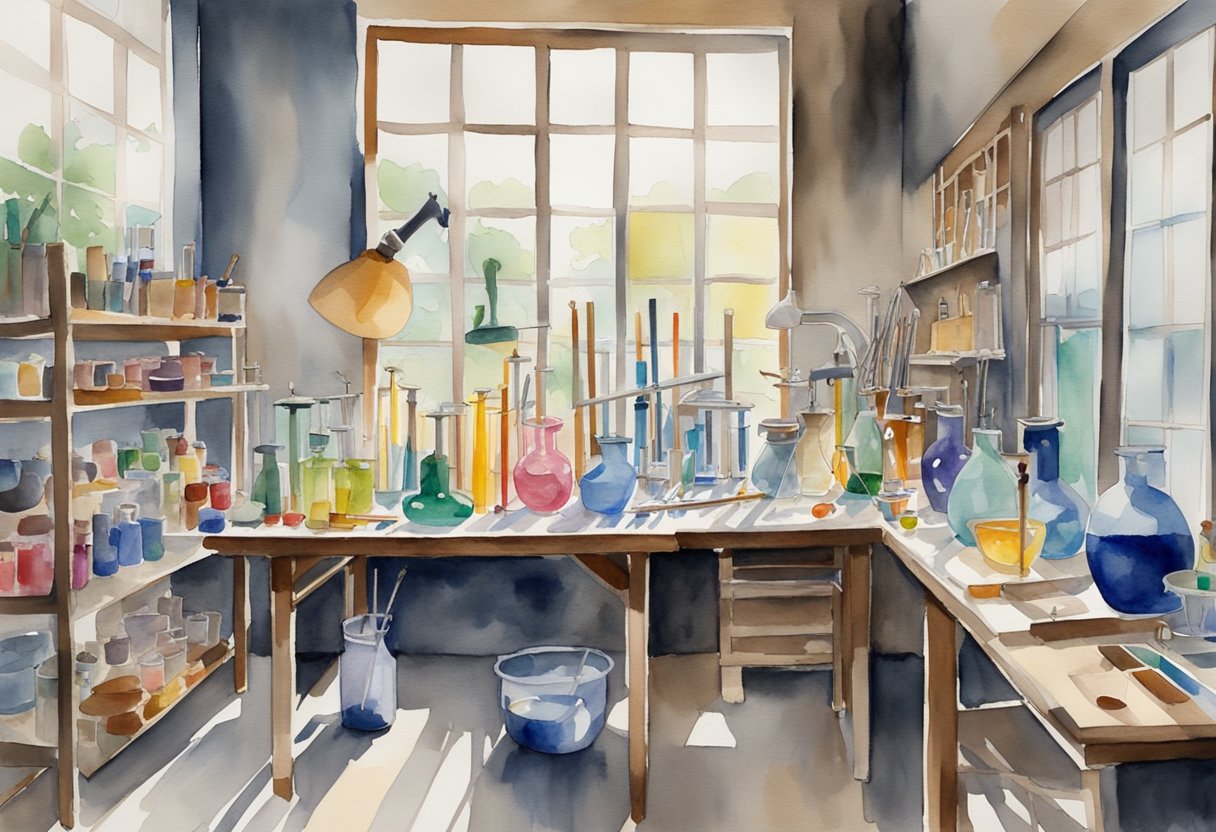
Creating an efficient glassblowing studio involves selecting an appropriate location and acquiring essential tools. A well-ventilated area is crucial for safety and comfort, while specific tools and supplies ensure a productive setup.
Choosing the Right Location
Start by finding a well-ventilated area for your glass blowing studio. Adequate airflow helps prevent the buildup of potentially harmful fumes.
Open windows, exhaust fans, or a dedicated ventilation system are highly recommended.
Consider the space available; a spacious area allows for safe movement while working.
Temperature control is another factor. Heat from the furnace can warm the room significantly, so an adjustable thermostat or air conditioning can help maintain comfort.
Ensure your location has sufficient lighting to aid detailed work, with both overhead lights and task-oriented lamps being beneficial.
Finally, consider the proximity to your tools.
The setup should heighten efficiency, keeping essential tools within arm’s reach of your working area. This planning minimizes risks and enhances the glassblowing experience.
Essential Tools and Equipment
When setting up a glassblowing studio, gathering the right equipment is fundamental.
A glassblowing torch is vital for shaping and forming glass. Complement this with hand tools such as jacks, marvers, and tweezers for intricate work.
Protective gear is non-negotiable. Safety glasses, gloves, and a dust mask protect against shards, heat, and fumes.
Wear a flame-resistant apron to shield yourself from potential splashes of molten glass.
A reliable workbench must be sturdy, level, and ideally made of a flame-resistant material.
A furnace for glass melting and an annealer to gradually cool finished pieces are also key installations.
Safety in Glass Blowing
Safety in glass blowing is crucial to prevent injuries and ensure a pleasant experience. It involves wearing appropriate protective gear and following strict safety protocols.
Personal Protective Gear
When engaging in glass blowing, wearing personal protective gear is essential.
Safety goggles shield your eyes from shards and intense light emitted by the heated glass.
A heat-resistant apron protects your body from burns, while gloves ensure your hands are safe from hot glass and tools.
Using a dust mask is advisable to prevent inhaling fine particles, especially when working with certain glass types.
Additionally, wearing closed shoes with thick soles can protect your feet from falling glass fragments.
Comfortable clothing that covers exposed skin is also important to reduce injury risks.
Safety Protocols and Precautions
Establishing and following stringent safety protocols is vital in glass blowing.
Always work in a well-ventilated space to prevent exposure to harmful fumes. Set up your work area to allow easy access to exits in case of an emergency.
It’s important to have a fire extinguisher nearby and to know how to use it correctly.
Always inspect your tools and equipment before use to ensure they are in good condition. Keep your workspace organized to avoid tripping hazards and distractions.
Getting Started with the Basics
Starting with glass blowing requires an understanding of the tools and techniques crucial to shaping molten glass.
Mastering the preparation of your pipe and effectively gathering the glass are foundational skills that will set you on the right path.
Preparation of the Pipe and Glass
Before you begin working, it’s essential to prepare your glassblowing pipe. This long metal tube is used to gather and shape molten glass.
Make sure the pipe is clean, free from any debris, and appropriately warmed. Preheating the pipe prevents thermal shock when it contacts the hot glass.
The type of glass you choose is equally important. Many beginners start with soda-lime glass due to its workability at lower temperatures.
Secure an appropriate amount for your project, ensuring you have enough to practice the initial stages of blowing and shaping.
Begin by rehearsing how to handle the pipe with confidence, rotating it smoothly to maintain consistency in heat and shape.
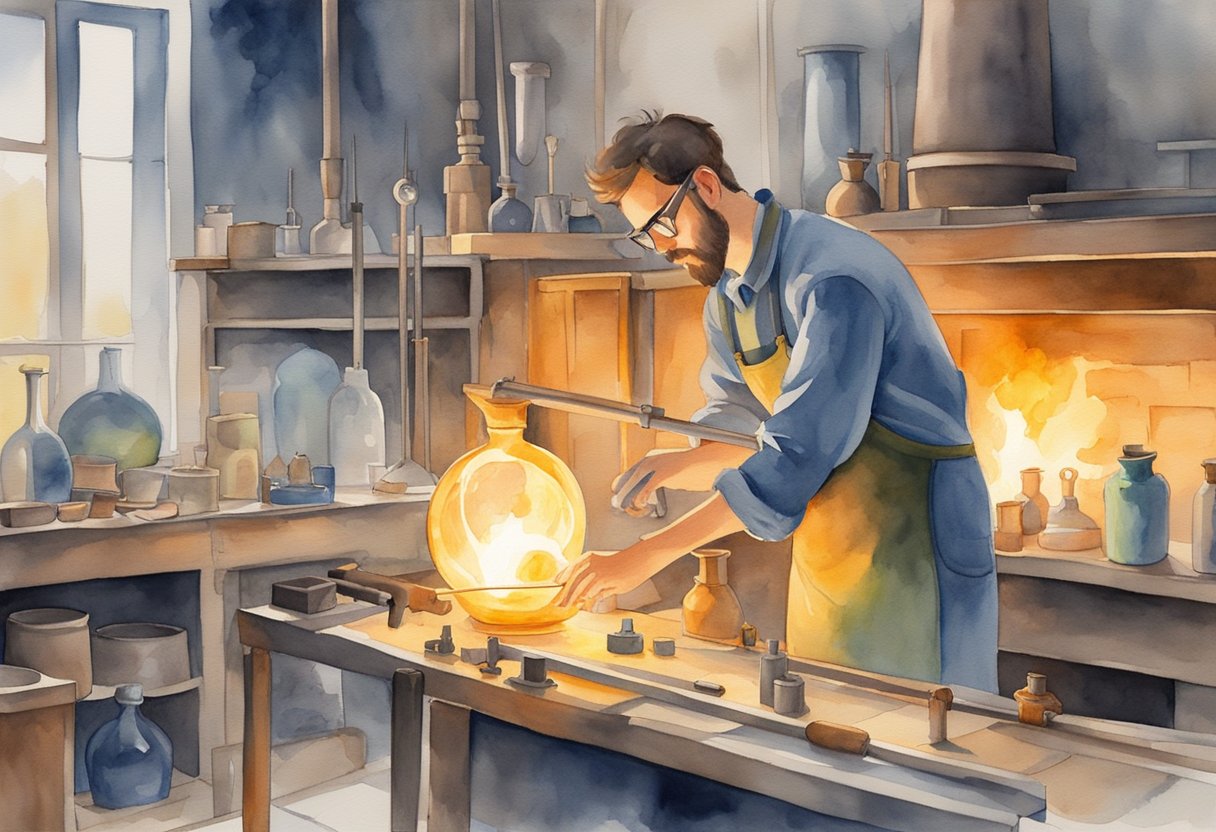
The Gathering Technique
The gathering technique involves collecting the right amount of molten glass on the tip of your blowpipe.
Start by warming the glass batch until it reaches a pliable state.
Hold your pipe at a slight angle, entering the furnace to collect a small blob of glass. This process is referred to as the gathering technique.
Continue rotating the pipe as you gather, avoiding uneven collection.
Practice swiping the gathered glass against a marver (a flat, heat-resistant surface) to shape it initially before adding further gathers.
Maintaining a continuous rotation keeps the glass centered and balanced on the blowpipe, crucial for the subsequent stages of glass blowing.
Shaping and Forming Glass
In glassblowing, the transformation of molten glass into beautiful shapes is both an art and a science. Understanding and mastering essential techniques and tools such as marvering and the use of jacks and paddles is crucial for shaping your glass pieces effectively.
Marvering and Shaping Techniques
Marvering involves using a flat surface, known as a marver, to cool and shape hot glass. This technique helps you refine the glass shape by rolling it back and forth.
As you work with the marver, use slow, controlled movements to ensure even shaping.
Start by gathering molten glass on a blowpipe. Then, using the marver, roll the glass to create a uniform form.
This technique is fundamental for creating smooth, consistent surfaces and adjusting the glass’ thickness.
Mastering marvering will give you control over basic shapes, setting a strong foundation for more intricate designs.
Always be aware of the temperature and viscosity of the glass, as this will affect your ability to mold the material.
Using Jacks and Paddles
Jacks are essential shaping tools, resembling a large pair of tongs with flat blades. They are used to form constrictions and refine shapes.
By applying gentle pressure with jacks, you can taper or widen sections of your glasswork. Precision is key as excessive force can lead to unwanted alterations.
Paddles, on the other hand, provide a flat surface to shape and flatten glass pieces.
Use paddles to keep your vessel or sculpture symmetrical. Their flatness allows you to press parts of the glass while maintaining a smooth texture.
Both tools are vital in adjusting the final form of your glass piece.
Practice using jacks and paddles together for complex shaping, allowing each tool to complement the other’s strengths.
Advanced Techniques
As you progress in your glass blowing skills, mastering the use of color and texture will elevate your work. Additionally, creating intricate glassware and unique art pieces provides a rewarding challenge.
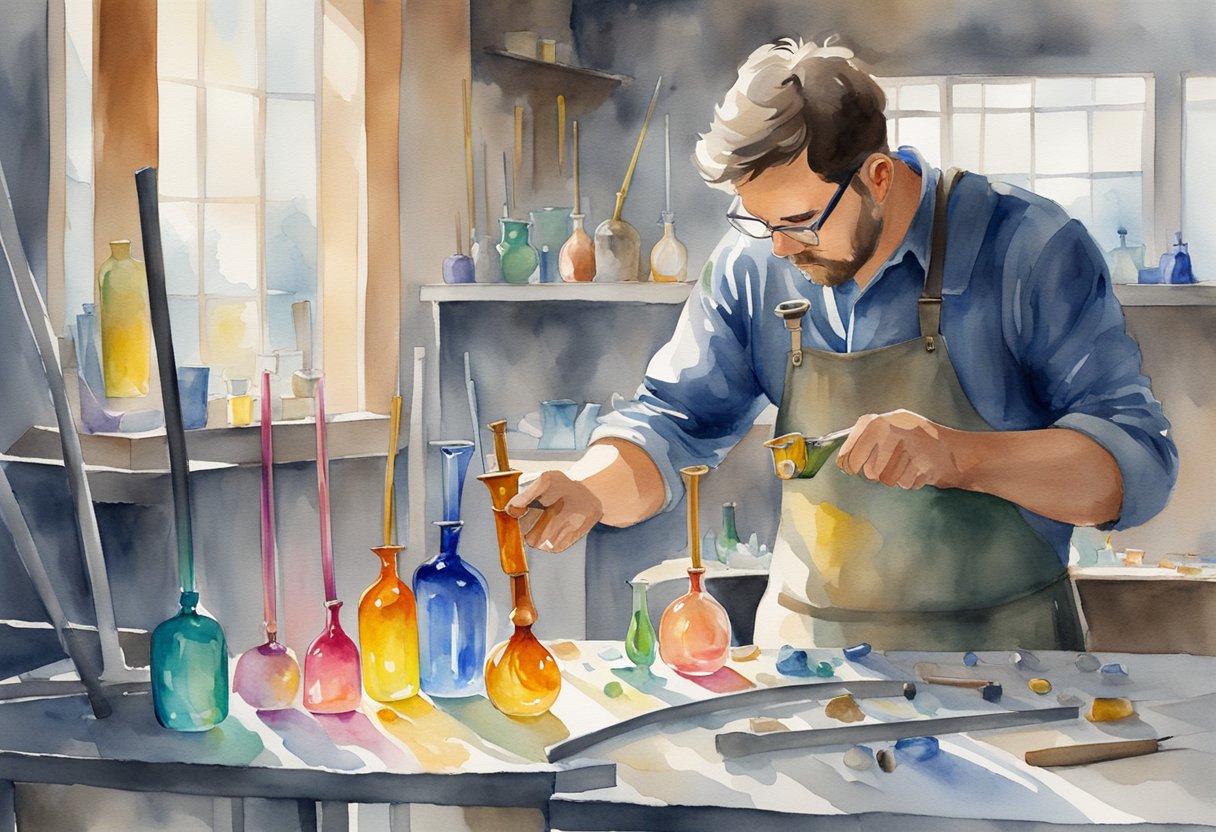
Mastering Color and Texture
To add vibrancy to your glasswork, you can incorporate colored glass rods or frits.
Frits are small granules of colored glass that melt into the base glass, providing unique patterns.
Using tools like paddles and marvering tables, you can manipulate the surface of the glass for different textures.
Applying techniques such as frit overlay or adding layers allows for creative expression.
Experiment with different temperatures in the glory hole furnace to affect color saturation.
Properly controlling the heat ensures the colors meld seamlessly.
For more detailed information, explore resources like this guide on mastering glass blowing.
Creating Glassware and Art Pieces
In your glass blowing journey, creating functional glassware such as bowls and vases is a significant milestone.
Start with simple shapes using techniques like puntying, which supports the piece while you shape it.
To achieve complex forms, practice with a variety of glass blowing tools, including jacks and shears.
Use blowing and sculpting techniques to refine your art pieces.
Experiment with scale, from small ornaments to larger, intricate designs.
Focus on balance and symmetry while maintaining a steady rotation of the blowpipe.
These skills are essential for crafting professional-quality glassware.
Explore how to start by reading through guides like this beginner’s glass blowing guide.
The Annealing Process
In glass blowing, mastering the annealing process is crucial for creating durable and stress-free glass pieces. This process involves a controlled cooling phase using specific equipment, ensuring the structural integrity of your creations.
Understanding Annealing
Annealing is the procedure of slowly cooling glass to reduce internal stresses that form during the glass blowing process.
These stresses can lead to cracking, making annealing essential for producing strong and stable pieces.
The annealing kiln, also known as a lehr, plays a key role in this process.
The equipment gradually lowers the temperature of the glass to the point just above its strain point, allowing the internal structure to stabilize.
The glass transition temperature is pivotal, marking the shift where glass becomes less rigid.
By relieving stresses, annealing increases the longevity of the glass.
Operating the Annealing Oven
An annealing oven, equipped with a pyrometer, is vital for regulating the temperature during the annealing process.
A pyrometer provides precise temperature readings, ensuring the glass cools at the correct rate.
To operate this oven, begin by setting it to the desired annealing temperature, specific to the type of glass used.
Once your piece is finished, place it inside the oven for a designated period, usually a few hours to several days, depending on size and thickness.
The cooling rate is controlled, preventing any sudden temperature drops that could reintroduce stress.
Consistent monitoring and adjusting are key for effective annealing results.
Finishing Touches and Presentation
Creating stunning glass art, like paperweights, involves refined techniques such as coldworking and polishing. These key stages elevate your piece, and thoughtful display choices enhance its visual impact.
Coldworking and Polishing
Once your glass art is shaped, the process doesn’t end there.
Coldworking is vital for refining the surface, removing imperfections, and adding smoothness.
This involves using tools such as diamond pads and polishing wheels to grind and polish the glass.
Polishing helps achieve a sleek, transparent finish, which is essential for highlighting intricate details in your artwork.
For smaller pieces, a paperweight might benefit from extra care in sanding edges to avoid sharp areas.
Attention to these finishing touches can transform a basic piece into an elegant work of art.
Displaying Your Glass Art
Displaying your glass creations effectively enhances their stylistic value.
Choose a location with good lighting to highlight the clarity and colors of your work.
Natural light can bring out vibrant hues, while accent lights can create dramatic effects.
Consider placing your art on a pedestal or specialized display stand to ensure it’s an eye-catching feature in any room.
Clean surfaces regularly to maintain the brilliance of the glass.
For collections or smaller items like paperweights, display cases can provide both protection and an organized look.
The way you present your art is just as important as creating it, allowing others to fully appreciate the craftsmanship.
Cleaning and Maintenance
Regular cleaning and maintenance of your glassblowing equipment and studio are essential for ensuring efficiency and safety. This includes cleaning tools to prevent residues from affecting your work, and organizing your studio to create a safe working environment.
Proper Cleaning of Equipment
Regularly cleaning your glassblowing tools is critical to maintain their effectiveness and durability.
Start by inspecting your glassblowing torch for any blockages.
Any residual materials can hinder the flame’s performance, so make sure to clear them safely using appropriate cleaners.
For smaller tools, remove any glass fragments or debris as they can interfere with your work.
Wash these tools with warm, soapy water, making sure to thoroughly rinse and dry them to avoid rust or corrosion.
Lubricating moving parts, like hinges and screws, can also enhance their lifespan.
Using a mild detergent is often sufficient for ensuring that tools remain free from grease and other contaminants.
Consistent care prevents potential disruptions during your creative processes.
Maintaining a Safe and Organized Studio
Safety and organization are crucial in a glassblowing studio.
Ensure that your workspace is well-ventilated to avoid inhaling any harmful fumes.
Keeping a clean studio floor reduces tripping hazards and helps you focus on crafting your glass pieces.
Arrange your tools and supplies neatly, where they are easily accessible.
Clearly label storage areas for different materials, ensuring quick retrieval when needed.
Regular checks of all safety equipment, such as gloves and goggles, verify their readiness for use.
Fire extinguishers and first-aid kits should be kept within reach, and fully functional as part of your safety routine.
Proactive organization and safety checks create an efficient and hazard-free work environment, allowing you to focus on honing your glassblowing skills.
Exploring Glass Blowing as a Business
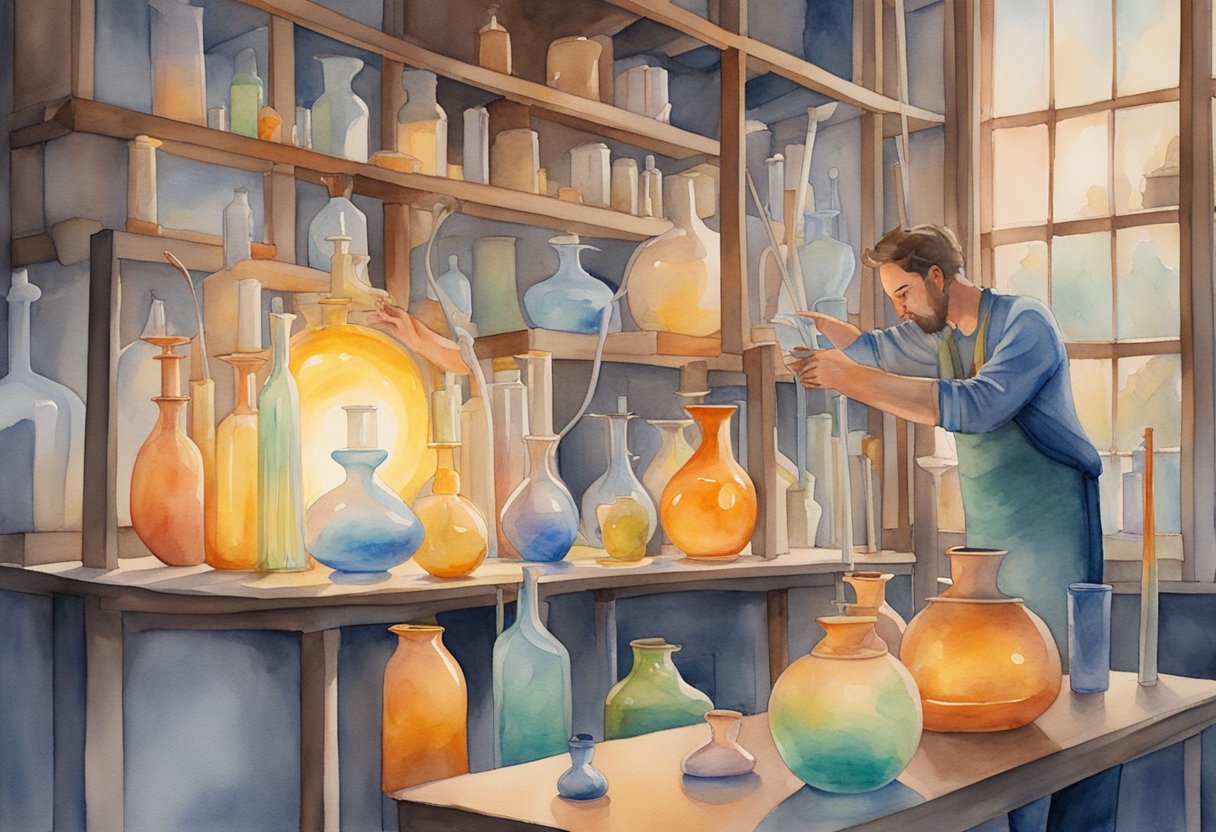
Starting a glass blowing business combines artistry with entrepreneurship. The following subtopics delve into transforming your passion for glassblowing into a viable business and effectively marketing your creations.
Turning Passion into Profit
To turn your passion into profit, begin by setting up a studio with essential equipment like benches, furnaces, and annealers.
You’ll also need a consistent supply of materials, such as glass rods and cullet.
Consider starting small to minimize costs and gradually scale up as your business grows.
It’s vital to understand your target market.
Research local and online demand for glass art, and set competitive prices.
Testing the market through local craft fairs or online platforms can provide insights into customer preferences and potential sales channels.
You may want to explore starting with a pop-up shop to gauge interest.
Marketing Your Glass Artwork
Marketing your glass artwork requires a solid strategy.
Utilize social media platforms to showcase your pieces and behind-the-scenes processes.
Engage with followers through regular updates and live demonstrations to build a dedicated audience.
Develop a professional website, highlighting your portfolio and providing easy purchasing options.
Consider collaborating with local artisans or participating in joint exhibitions to expand your reach.
Analyzing local economic conditions can also help you identify potential markets and tailor your marketing efforts accordingly.
Networking in art communities and attending relevant workshops or trade shows can further enhance your visibility and open new business opportunities.
Benefits of Glass Blowing as a Hobby
Engaging in glass blowing offers a unique and creative outlet. It allows you to express your artistic vision through the creation of beautiful glass pieces.
You can craft intricate designs and master the techniques that have been developed over thousands of years, bringing your concepts to life in a tangible form.
Stress Relief: Glass blowing can serve as a therapeutic escape. The focus required to shape molten glass draws your attention away from daily stressors.
The meditative process of shaping and blowing glass can enhance relaxation and provide mental clarity.
Skill Development: When you participate in glass blowing, you gain valuable skills.
You’ll develop a keen eye for detail, improve hand-eye coordination, and enhance your creative problem-solving abilities.
These skills can be applied to various areas of life and work.
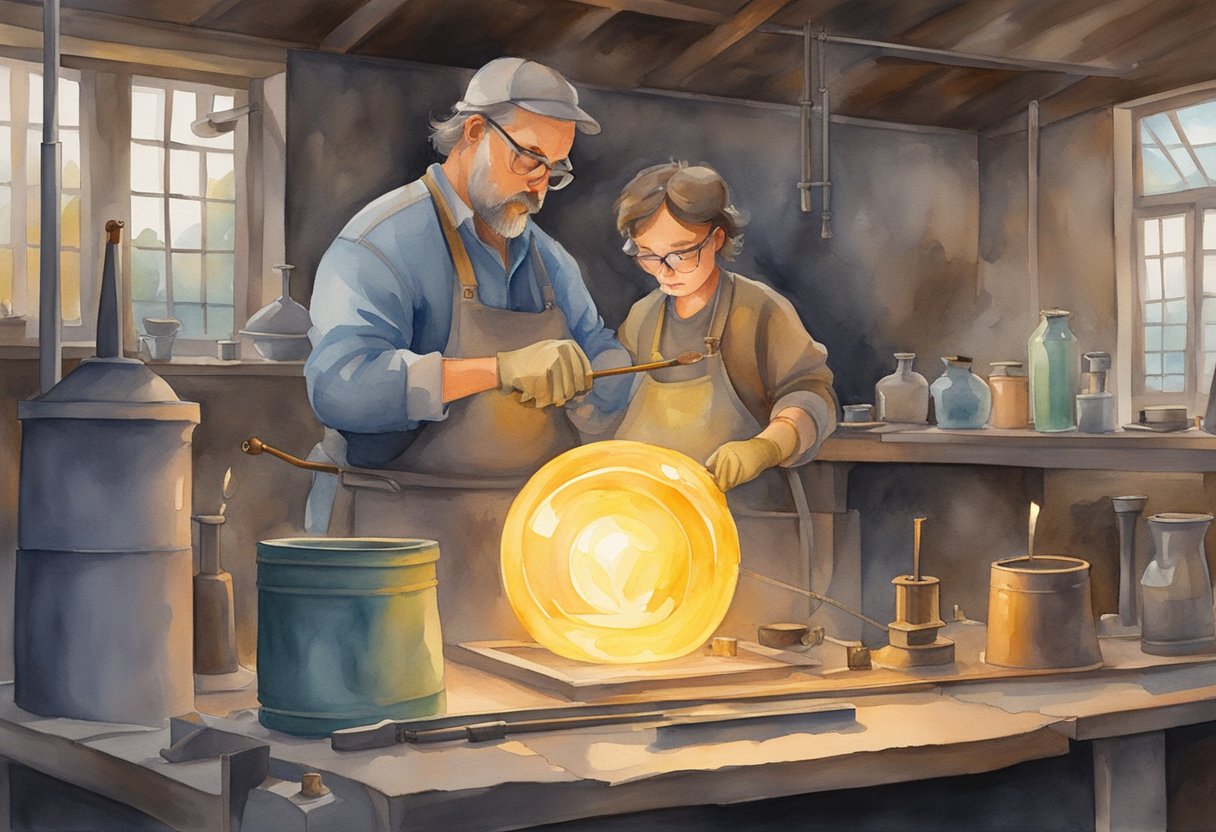
Social Connections: By joining a glass blowing community or taking classes, you can connect with other enthusiasts.
Sharing tips, techniques, and experiences fosters camaraderie and helps you learn from others.
Engaging with a community can deepen your appreciation for the craft and provide support as you learn.
Mindfulness: The process of glass blowing demands concentration and presence, promoting mindfulness.
You must pay close attention to temperature, timing, and form, which keeps your mind engaged in the moment.
This practice encourages a mindful approach that can be beneficial beyond the studio.
Frequently Asked Questions
When starting with glass blowing, understanding the basics, accessing learning resources, and acquiring the right tools are crucial. Safety and cost considerations are also essential as you embark on this artistic journey.
What is the best way to start learning glass blowing?
To begin learning, attending a workshop or class is highly beneficial. These settings provide hands-on experience with guidance from skilled instructors.
You can also familiarize yourself with the basic techniques and gain insights into the materials and tools used in this craft.
Where can I find glass blowing classes for beginners?
Look for classes at local art schools, community colleges, or specialized studios. Many places offer beginner courses, which cover the fundamentals and allow you to try your hand at creating simple glass pieces.
Additionally, some studios may offer weekend classes or intensive workshops.
What tools are essential to begin glass blowing?
Essential tools for beginners include a blowpipe, punty, and marver as part of a basic glass blowing kit.
A blowpipe is used to gather and shape molten glass, while a marver helps in shaping. Ensuring you have the right furnace and safety gear is also important.
What is the average cost of taking up glass blowing as a hobby?
Glass blowing requires an investment in equipment and materials, which can be costly. The initial setup, including tools and access to a studio, can vary widely.
Some estimates suggest that starters should budget a few hundred to several thousand dollars depending on the level of involvement and commitment.
Can glass blowing be self-taught through online videos?
While online videos offer useful tutorials and tips, they can’t replace the tactile experience of working with glass in a guided environment.
Watching videos can build foundational knowledge, but it’s advisable to pair them with hands-on practice whenever possible to develop your skills effectively.
What safety precautions should be taken when glass blowing for the first time?
Safety is paramount when working with hot glass. Ensure you have protective gear, such as gloves and safety glasses.
Work in a well-ventilated space, and always be aware of your surroundings and the equipment. Proper studio setup and supervision can significantly mitigate risks, especially for beginners.