20 Christmas-Themed Craft and DIY Hobbies to Transform Your Holiday Decorating
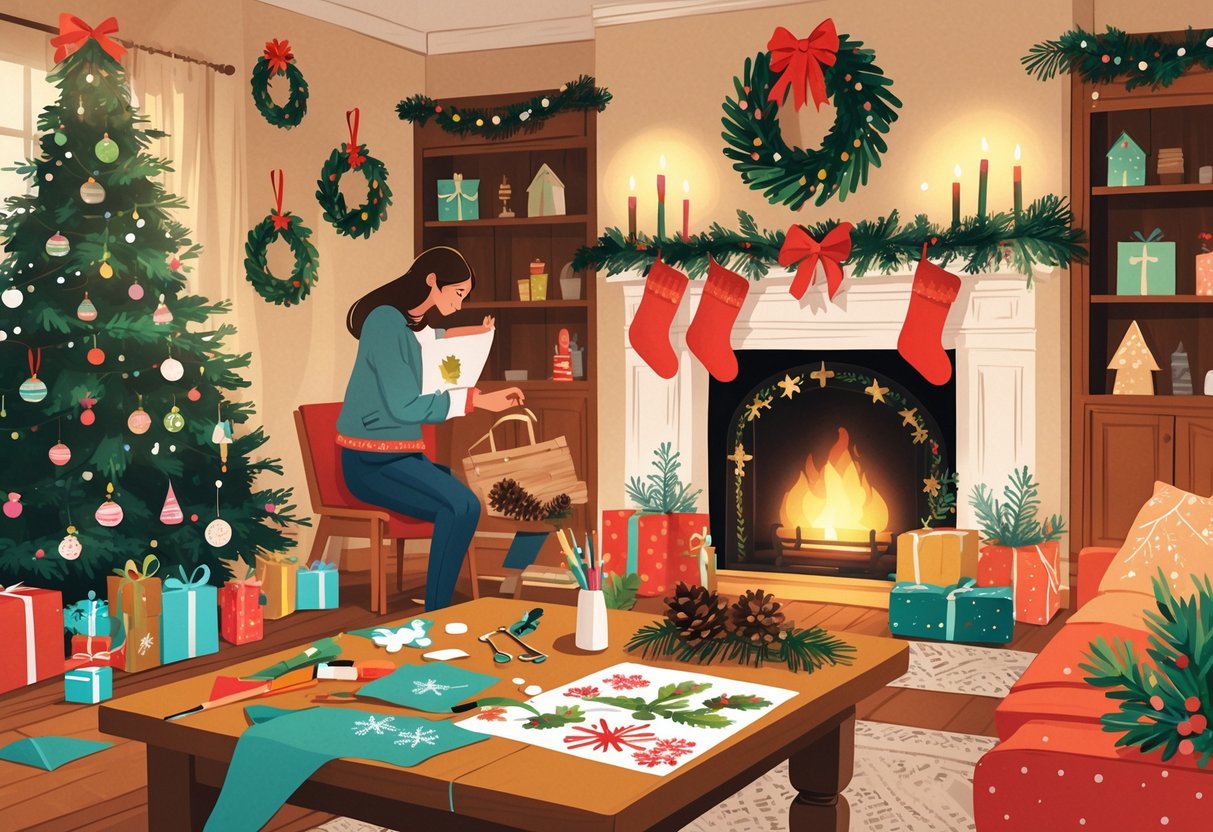
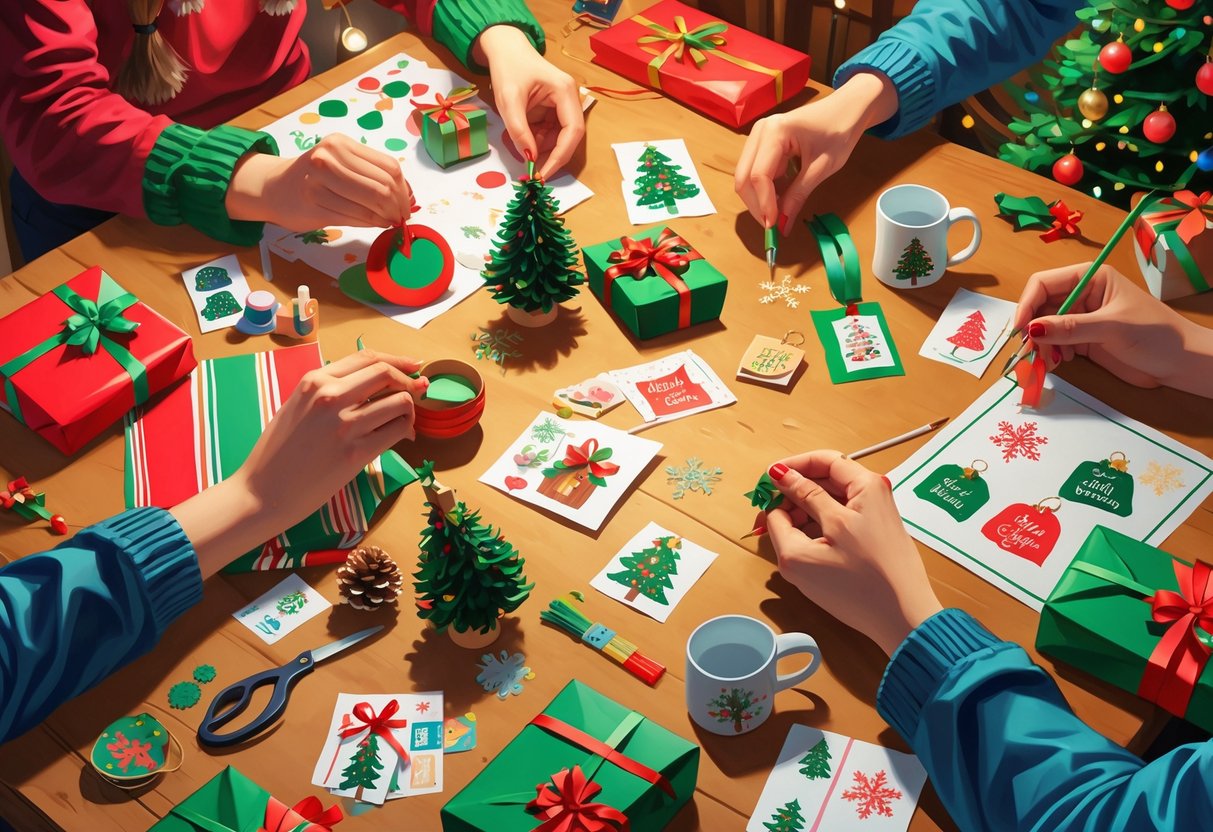
Christmas crafting transforms ordinary materials into magical holiday decorations, gifts, and keepsakes that bring warmth to your home. Whether you’re looking to create handmade ornaments, festive wreaths, or personalized gifts, the right DIY projects can turn your holiday season into a creative adventure that saves money while building lasting memories.

You can master 20 different Christmas-themed crafts and DIY hobbies that range from simple paper snowflakes to advanced woodworking projects, giving you options for every skill level and available time. These Christmas crafts for adults and children alike offer opportunities to bond with family while creating unique decorations that reflect your personal style.
From eco-friendly upcycling projects to traditional needlework techniques, these hobby ideas will help you develop new skills while celebrating the season. You’ll discover projects that use materials you already have at home alongside crafts that introduce you to specialized techniques like macrame, wood burning, and fabric painting.
Key Takeaways
- Christmas crafting offers projects suitable for all skill levels from beginner paper crafts to advanced woodworking techniques
- DIY holiday projects help you save money while creating personalized decorations and meaningful handmade gifts
- These crafting hobbies provide year-round skills development opportunities that extend beyond the holiday season
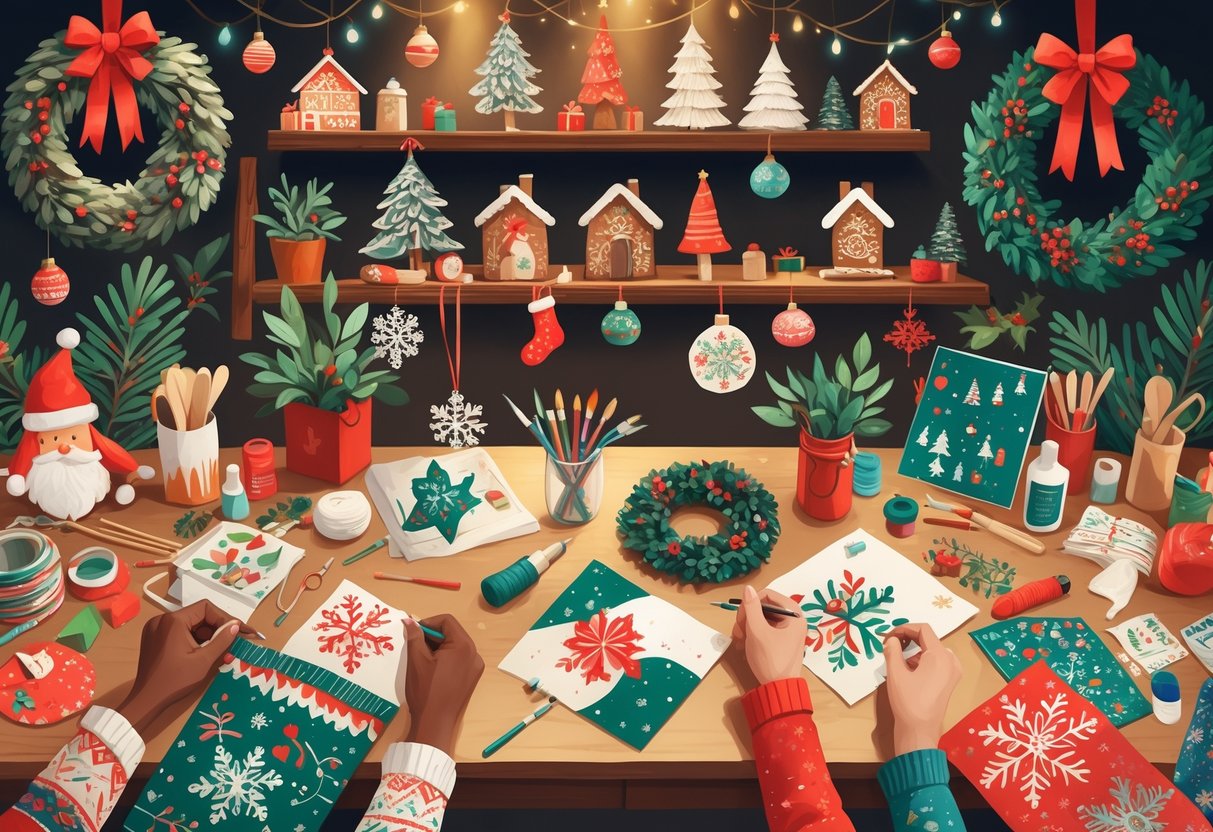
Classic Christmas Crafts and DIYs

These time-tested holiday crafts form the foundation of Christmas decorating traditions. You can create personalized ornaments using simple materials, design custom greeting cards with paper and embellishments, construct festive wreaths from natural or artificial materials, and transform plain stockings into unique family heirlooms.
Ornament Making Techniques
Paper ornaments offer the simplest starting point for beginners. Cut snowflakes from white or metallic paper using sharp scissors and fold techniques. Create paper angels by folding cone shapes and adding delicate wing details.
Salt dough ornaments require only flour, salt, and water in a 2:1:1 ratio. Roll the dough to quarter-inch thickness and use cookie cutters for shapes. Bake at 200°F for 2-3 hours until completely dry.
Fabric ornaments work well with felt or cotton scraps. Cut matching shapes and hand-stitch around edges, leaving small openings for stuffing. Add buttons, sequins, or embroidery for decoration.
Glass ball customization transforms plain ornaments into personalized pieces. Remove metal caps and add glitter, paint, or small decorative elements inside. Use acrylic paints on the outside for solid color changes.
Handmade Christmas Cards
Watercolor techniques create elegant backgrounds for holiday cards. Apply wet washes in red, green, and gold tones. Let layers dry completely between applications to prevent muddy colors.
Embossed designs add professional texture to handmade cards. Place stencils under cardstock and rub with embossing tools. Heat embossing powder creates raised, glossy effects when heated with craft guns.
Pop-up elements make cards interactive and memorable. Cut tabs and fold sections to create Christmas trees that stand when opened. Simple accordion folds work for basic dimensional effects.
Collage methods incorporate multiple materials like fabric scraps, dried flowers, and metallic papers. Layer elements with acid-free adhesive to prevent yellowing over time.
DIY Wreaths and Garlands
Evergreen wreaths start with wire frames in 12, 16, or 24-inch diameters. Attach fresh pine, fir, or spruce branches using floral wire, overlapping each bundle to hide attachment points.
Fabric rag garlands use cotton strips cut 1 inch wide by 6 inches long. Tie strips onto rope or twine, spacing knots every 2 inches. Mix complementary colors like red, white, and green for traditional looks.
Paper chain garlands require construction paper cut into strips measuring 1 by 8 inches. Loop strips and staple or glue ends together, linking each new ring through the previous one.
Dried fruit decorations add natural elements to DIY Christmas decorations. Slice oranges, apples, and lemons quarter-inch thick and dehydrate at 135°F for 6-12 hours until completely dry.
Stocking Customization Ideas
Embroidery personalization adds names and dates to store-bought or homemade stockings. Use backstitch for clean lettering and satin stitch for filled areas. Choose contrasting thread colors for visibility.
Appliqué techniques attach fabric shapes using fusible web and decorative stitching. Cut holiday motifs from coordinating fabrics and iron onto stocking fronts before finishing edges with zigzag stitches.
Beading and sequins create sparkly accents on solid-colored stockings. Sew individual elements by hand using strong thread and small, tight stitches to prevent loss during handling.
Fabric paint designs work best on cotton or cotton-blend stockings. Use fabric medium mixed with acrylic paints to prevent cracking. Apply thin coats and heat-set with an iron after complete drying.
Festive Home Décor Projects
Transform your living space into a winter wonderland with handcrafted decorations that showcase your personal style. These projects focus on creating stunning table displays, interactive calendars, and ambient lighting that captures the Christmas spirit.
Table Centerpiece Creations
Wine glass luminaries offer an elegant solution for holiday table décor. You flip wine glasses upside down and place battery-operated tea lights on the base. Add fake snow, miniature ornaments, or evergreen sprigs underneath the glass dome for a magical festive atmosphere.
Natural greenery arrangements bring outdoor beauty inside. Gather fresh pine branches, holly, and red berries in a shallow wooden box or vintage tray. Weave in string lights for subtle illumination.
Mason jar snow globes create whimsical focal points. Fill jars with glycerin, water, and artificial snow. Add small Christmas trees, deer figurines, or miniature houses inside.
| Material | Cost Range | Difficulty |
|---|---|---|
| Wine glasses + lights | $15-25 | Beginner |
| Fresh greenery | $20-35 | Beginner |
| Mason jar supplies | $10-20 | Intermediate |
Advent Calendar Builds
Wooden pocket calendars provide reusable holiday traditions. Cut 25 small fabric pouches and attach them to a wooden frame or tree shape. Number each pocket with stencils or wooden numbers.
Envelope wall displays offer budget-friendly alternatives. Create 25 decorated envelopes using scrapbook paper, stamps, and ribbons. Mount them on a large piece of cardboard covered in festive fabric.
Mini gift box towers add dimensional appeal. Stack small wrapped boxes in a pyramid formation. Fill each box with small treats, inspirational quotes, or activity suggestions.
These creative advent calendars work perfectly for families with children. You can customize the daily surprises based on your family’s interests and traditions.
Holiday Candle Holders
Birch log votives bring rustic charm to any room. Drill holes into birch logs to hold standard votive candles. Sand the surfaces smooth and add protective felt pads to the bottom.
Glass jar luminaries transform everyday containers into festive lighting. Wrap mason jars with burlap, lace, or twine. Create patterns using frosting spray or glass paint for soft light diffusion.
Cinnamon stick bundles combine fragrance with function. Bundle cinnamon sticks around glass cylinder candles using raffia or ribbon ties. The heat releases natural holiday scents throughout your home.
Pine cone candle surrounds incorporate natural textures. Arrange pine cones around pillar candles on wooden trays or metal platters. Spray pine cones with gold or silver paint for added elegance.
Kid-Friendly Christmas Crafting
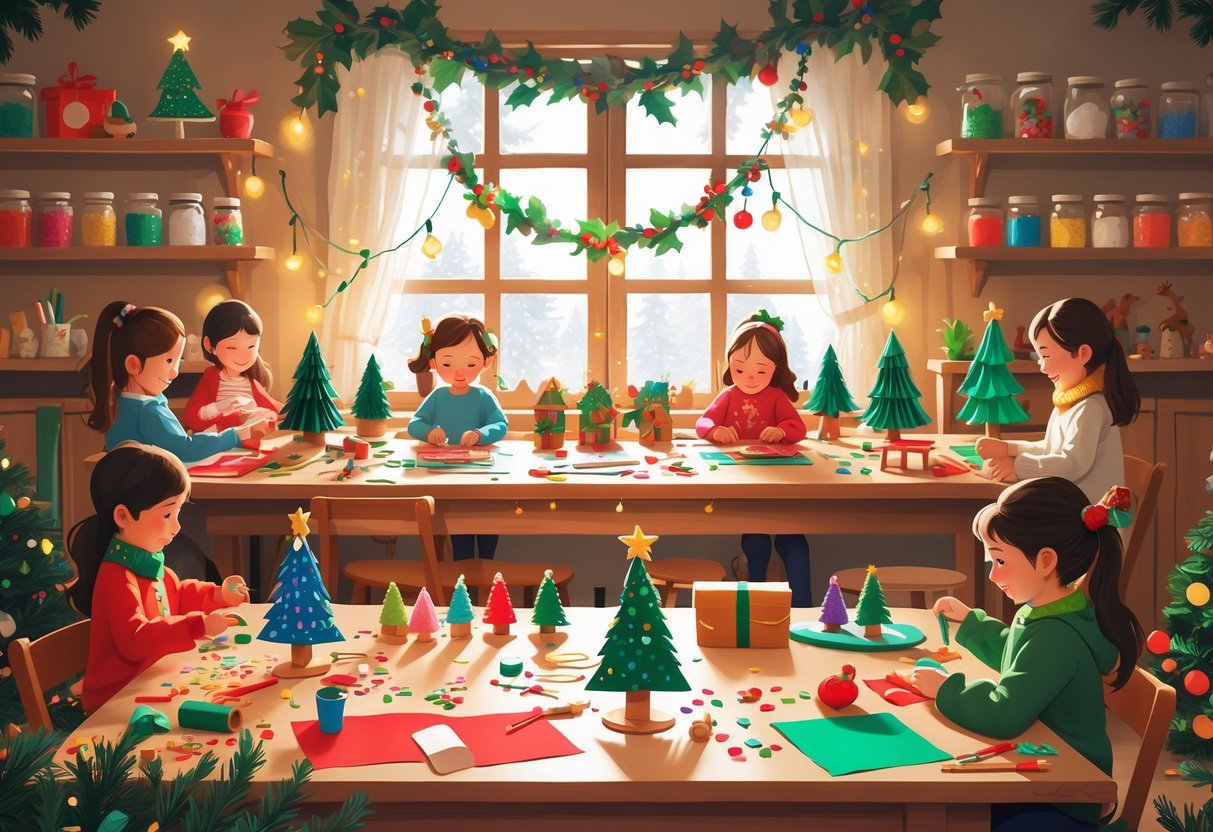
Children thrive with age-specific craft kits that match their developmental abilities, while edible projects like decorated cookies combine creativity with tasty rewards. Paper-based decorations offer affordable, mess-free options that develop fine motor skills.
Age-Appropriate DIY Kits
Toddlers (2-3 years) benefit from large-piece ornament kits with chunky foam shapes and stickers. These projects require minimal cutting and focus on color recognition and basic assembly skills.
Preschoolers (4-5 years) can handle slightly more complex tasks. Look for Christmas card making kits with pre-cut shapes, child-safe scissors, and washable markers. Easy Christmas crafts for kids work best when they involve simple gluing and decorating.
School-age children (6-12 years) excel with multi-step projects like wooden ornament painting kits or felt stockings with embroidery. These ages can follow detailed instructions and use basic tools safely.
| Age Group | Best Kit Types | Key Skills Developed |
|---|---|---|
| 2-3 years | Foam stickers, large beads | Hand-eye coordination |
| 4-5 years | Paper crafts, simple sewing | Following directions |
| 6-12 years | Wood painting, fabric work | Fine motor skills |
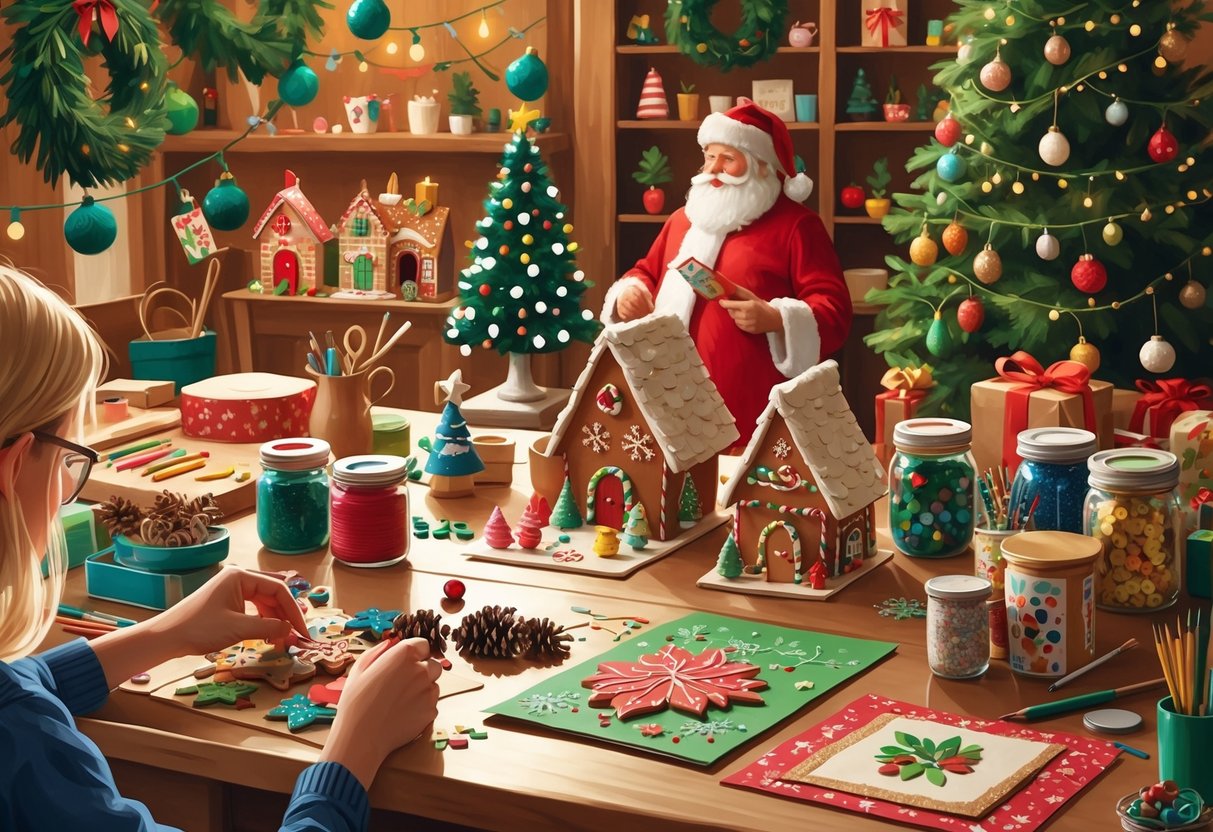
Edible Holiday Crafts
Gingerbread house kits provide structured edible crafting with pre-baked pieces and included icing. Choose kits with sturdy walls that won’t collapse easily during assembly.
Cookie decorating combines baking with artistic expression. Use sugar cookies as your base and provide royal icing, sprinkles, and small candies for decoration. Red and green colored icing creates classic Christmas themes.
Pretzel reindeer require only pretzels, chocolate chips, and red candies. Break pretzel twists in half for antlers, use melted chocolate as “glue,” and add candy pieces for noses and eyes.
Hot chocolate stirrers make excellent gifts. Dip plastic spoons in melted chocolate, roll in crushed peppermint, and let cool completely. Package in clear bags with ribbon for gifting.
Simple Paper Decorations
Paper snowflakes need only white paper and scissors. Fold paper into triangles and cut various shapes along the edges. Unfold to reveal unique patterns that never repeat.
Construction paper chains create colorful garland using red, green, and white strips. Cut paper into 1-inch wide strips, form loops, and connect with glue or staples.
Paper plate angels transform ordinary plates into decorations. Cut plates in half for wings, use coffee filters for the body, and add yarn for hair. Christmas crafts for kids of all ages often feature these simple materials.
Handprint Christmas trees capture memories while creating art. Use green paint on palms, press onto paper, and add star stickers or drawn decorations. These make meaningful keepsakes for parents and grandparents.
Eco-Friendly Holiday DIYs
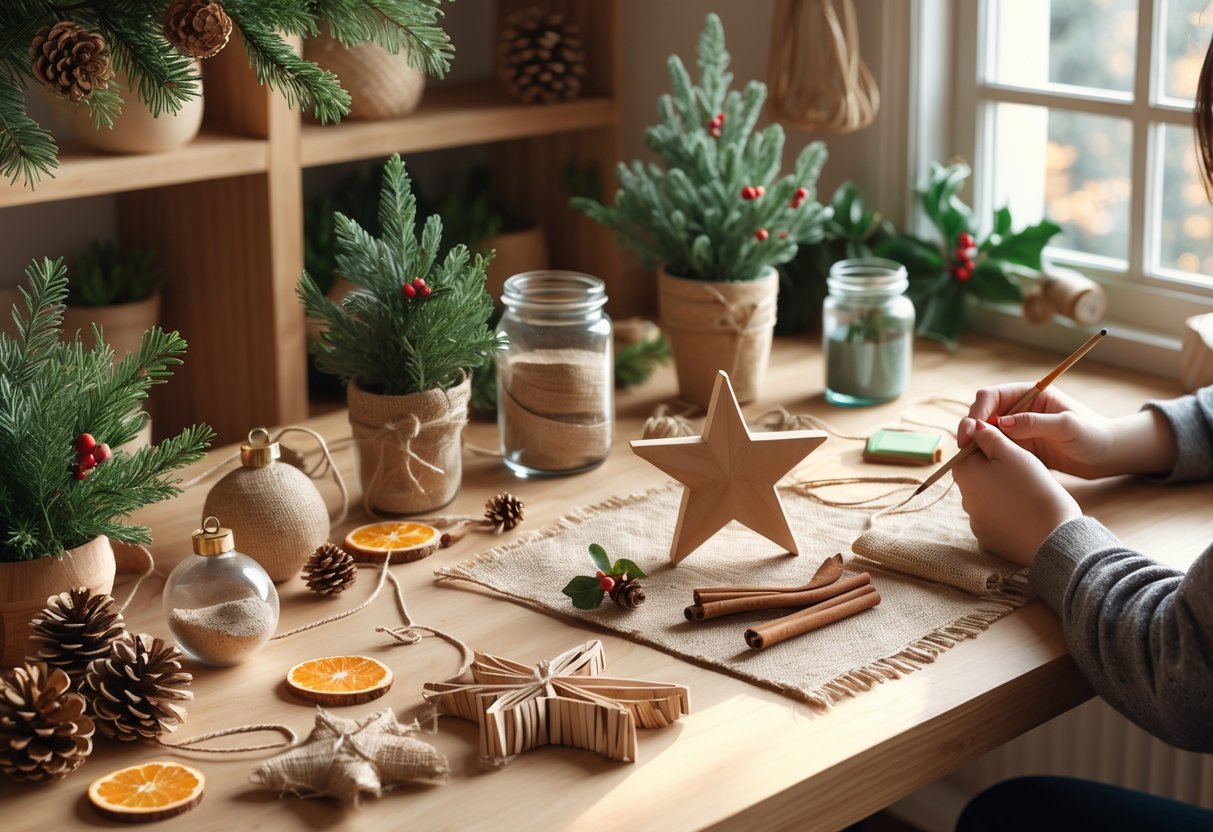
Transform discarded materials into festive decorations while reducing waste through creative upcycling projects. Natural elements and reusable wrapping alternatives offer sustainable ways to celebrate the season.
Recycled Material Ornamentation
Old Christmas cards become beautiful wreaths when cut into holly leaf shapes and arranged in circles. You can create recyclable paper wreaths using newspapers or magazines combined with empty cereal boxes for backing.
Materials for Card Wreaths:
- Used holiday greeting cards
- Craft knife
- Wire wreath form
- Hot glue gun
Plastic bottles transform into snow globes or ornament bases. Cut the bottom sections and decorate with paint or fabric scraps. Glass jars work similarly for creating miniature winter scenes.
Fabric scraps from old clothing make excellent stuffing for handmade ornaments. Cut felt or cotton into festive shapes like stars, trees, or stockings. Embroider details using thread from previous projects.
Wine corks become miniature reindeer or snowmen with simple additions of twigs and buttons. These sustainable Christmas craft projects use materials that would otherwise end up in landfills.
Reusable Gift Wrap Solutions
Fabric wrapping creates beautiful presentations while eliminating paper waste. Japanese furoshiki techniques use square cloths that recipients can reuse for storage or future gifts.
Fabric Wrap Options:
- Cotton scarves
- Tea towels
- Vintage handkerchiefs
- Remnant fabric pieces
Brown paper bags transform into custom gift wrap with stamps, drawings, or natural decorations. Add twine, dried flowers, or pressed leaves for rustic appeal.
Mason jars serve as both wrapping and gift container. Layer cookie ingredients or hot chocolate mix inside, then tie fabric over the lid. The jar becomes part of the present.
Newspaper wrapping gains elegance with creative folding and natural embellishments. Comic sections work especially well for children’s gifts, while financial pages suit adult presents.
Natural Décor Elements
Pine cones gathered from local parks become ornaments with simple paint touches or glitter applications. Drill small holes for hanging or attach wire loops.
Fresh cranberries and popcorn create classic garlands that birds can enjoy after the holidays. Thread them alternately on strong cotton string for traditional red and white patterns.
Natural Decoration Materials:
- Fallen branches for mantel displays
- Pinecones for table scatter
- Holly sprigs for door swags
- Orange slices dried for garlands
Cinnamon sticks bundled with twine create aromatic tree decorations. Their natural fragrance eliminates need for artificial air fresheners while adding warm holiday scents.
Dried orange slices make beautiful translucent ornaments when hung in windows. Slice oranges thinly and dehydrate in low ovens or air dry for several days.
Textile and Needlework Hobbies
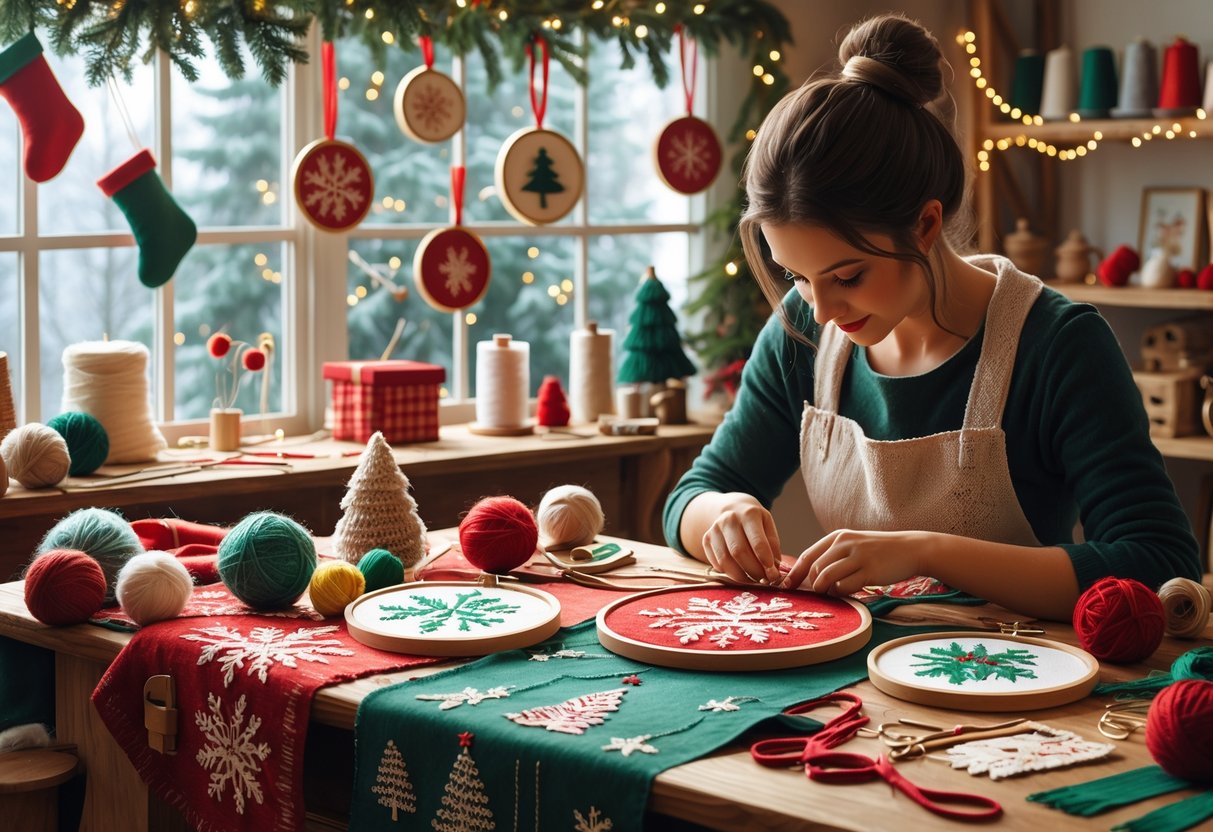
Textile crafts offer endless opportunities to create personalized Christmas decorations and gifts through knitting, cross-stitch, and quilting. These traditional techniques transform yarn and fabric into festive stockings, ornaments, wall hangings, and cozy holiday quilts.
Christmas-Themed Knitting Projects
Christmas knitting projects range from simple ornaments to complex garments that capture the holiday spirit. You can create classic cable-knit stockings, Fair Isle sweaters with snowflake patterns, or miniature Christmas trees using basic knitting stitches.
Popular Christmas knitting projects include:
- Christmas stockings with personalized names
- Holiday-themed dishcloths and pot holders
- Festive baby booties and mittens
- Christmas tree skirts in chunky yarn
- Snowman and reindeer amigurumi
Yarn choices significantly impact your finished projects. Red, green, white, and gold yarns create traditional Christmas color schemes, while metallic threads add sparkle to ornaments and accessories.
Essential techniques for Christmas knitting include colorwork, cable patterns, and basic increases and decreases. These skills allow you to create textured patterns like holly leaves, candy canes, and geometric snowflakes.
Festive Cross-Stitch Patterns
Cross-stitch transforms simple X-shaped stitches into detailed Christmas scenes and messages. You can stitch holiday quotes, nativity scenes, Santa portraits, or winter landscapes on fabric for framing or incorporating into pillows and table runners.
Common Christmas cross-stitch themes:
| Theme | Examples |
|---|---|
| Religious | Nativity scenes, angels, wise men |
| Winter Scenes | Snow-covered houses, sledding children |
| Traditional Icons | Santa, reindeer, Christmas trees |
| Holiday Messages | “Merry Christmas,” family names, verses |
Digital patterns make starting cross-stitch projects easier than ever. You can download patterns instantly and adjust colors to match your home décor or personal preferences.
Basic supplies include Aida cloth, embroidery floss in Christmas colors, tapestry needles, and embroidery hoops. Most Christmas patterns use 14-count Aida cloth, which provides good detail while remaining beginner-friendly.
Holiday Quilting Ideas
Christmas quilts combine traditional quilting techniques with festive fabrics and patterns to create heirloom pieces. You can design table runners with appliquéd holly leaves, wall hangings featuring pieced Christmas trees, or full-size quilts with poinsettia blocks.
Holiday fabric collections released each fall feature coordinated prints in Christmas colors. These collections include small-scale prints for backgrounds, medium prints for borders, and large focal prints for centerpieces.
Popular Christmas quilt patterns:
- Christmas Tree blocks arranged in rows
- Log Cabin blocks in red and green
- Star patterns representing the Star of Bethlehem
- Appliquéd wreaths and holly designs
Christmas quilting projects can be completed at various skill levels. Beginners can start with simple patchwork table runners, while experienced quilters tackle complex appliqué wall hangings.
Time-saving techniques include using pre-cut fabric strips, fusible appliqué methods, and machine quilting with festive thread patterns. These approaches help you complete projects before the holiday season arrives.
Creative Gift Making and Personalization
Homemade Christmas crafts for gifts are more personal and thoughtful than store-bought alternatives. You can create meaningful presents through custom gift baskets, personalized ceramic designs, and hand-poured candles that reflect each recipient’s unique preferences.
DIY Gift Basket Assembly
Start with a sturdy wicker basket or decorative container that matches your recipient’s style. Choose a cohesive theme like spa relaxation, coffee lover, or holiday baking to guide your selections.
Essential Components:
- Base filler (shredded paper, fabric, or tissue)
- 3-5 main items related to your theme
- Small complementary treats or accessories
- Ribbon or cellophane for finishing
Layer your base filler first, then arrange larger items toward the back. Place smaller items in front to create visual depth. Fill gaps with tissue paper or additional treats.
For a coffee theme, include gourmet beans, a ceramic mug, biscotti, and flavored syrups. Spa baskets work well with bath salts, essential oils, soft washcloths, and scented soaps.
Secure everything with clear cellophane wrap and tie with coordinating ribbon. Add a handwritten card explaining each item’s significance for a personal touch.
Personalized Mug Designs
Plain ceramic mugs transform into unique gifts with personality using porcelain markers or vinyl decals. Clean the mug thoroughly with rubbing alcohol before starting any design work.
Design Techniques:
- Porcelain markers: Draw directly on the mug, bake at 350°F for 30 minutes
- Vinyl decals: Cut custom shapes, apply smoothly, seal edges
- Paint pens: Create detailed artwork, cure according to manufacturer instructions
Consider inside jokes, favorite quotes, or meaningful dates for personalization. Pet portraits, family names, or hobby-related graphics make excellent choices.
Test your design on paper first. Simple geometric patterns, constellation maps, or hand-lettered messages often work better than complex illustrations.
Wrap the finished mug with coordinating hot chocolate packets or specialty tea bags for a complete gift set.
Scented Homemade Candles
Soy wax creates clean-burning candles that hold fragrance well. You need wax flakes, cotton wicks, essential oils, and heat-safe containers like mason jars or small ceramic vessels.
Melt wax in a double boiler to 185°F. Add essential oils when the temperature drops to 160°F – use approximately 1 ounce of fragrance per pound of wax.
Popular Holiday Scent Combinations:
- Cinnamon, orange, and clove
- Pine, eucalyptus, and cedar
- Vanilla, nutmeg, and sandalwood
- Peppermint and chocolate
Center the wick using a pencil or wick holder before pouring. Pour slowly to avoid air bubbles. Allow 24-48 hours for complete hardening.
Trim wicks to ¼ inch before gifting. Decorate containers with ribbon, kraft paper labels, or twine for rustic appeal. Include burning instructions and safety tips with each candle.
Advanced and Unique Christmas DIY Hobbies
These sophisticated crafting techniques require specialized tools and skills but produce professional-quality holiday items. Resin work creates stunning translucent ornaments, woodworking builds lasting seasonal furniture, and pottery forms unique ceramic gifts.
Resin Holiday Accessories
Resin crafting opens up endless possibilities for creating unique Christmas decorations with glass-like clarity and durability. You can embed dried flowers, glitter, or miniature holiday scenes within clear or tinted resin.
Essential supplies:
- Epoxy resin and hardener
- Silicone molds (ornament shapes, coasters, keychains)
- Mica powders for coloring
- Dried botanicals or small decorations
- Heat gun for bubble removal
Popular resin projects include snow globe-style ornaments with suspended glitter, coasters featuring pressed holiday greenery, and jewelry incorporating miniature Christmas trees. The curing process takes 24-48 hours, so plan accordingly.
Safety considerations include working in well-ventilated areas and wearing nitrile gloves. Temperature affects curing time, with ideal conditions between 70-75°F.
You can create layered effects by pouring resin in stages, allowing each layer to partially cure before adding the next. This technique works beautifully for sunset-colored ornaments or gradient effects.
Woodworking for Seasonal Décor
Woodworking transforms raw lumber into heirloom-quality Christmas decorations that last generations. You can build everything from simple rustic signs to complex advent calendars with multiple compartments.
Popular beginner projects:
- Wooden Christmas tree silhouettes
- Holiday serving trays with routed edges
- Rustic picture frames for seasonal photos
- Simple ornament displays
Intermediate builds include nativity scenes with multiple carved figures, multi-tiered spice racks shaped like Christmas trees, and wooden advent calendars with individual drawers.
Pine, cedar, and oak work well for holiday projects due to their grain patterns and workability. Pine offers affordability and easy cutting, while oak provides durability for functional pieces.
Essential tools include a miter saw for precise cuts, router for decorative edges, drill press for clean holes, and various sanders for smooth finishes. Wood burning tools add personalized text or decorative patterns.
Finishing options range from natural stains that highlight wood grain to painted designs in traditional Christmas colors. Polyurethane topcoats protect pieces from moisture and wear.
Holiday-Themed Pottery Projects
Pottery allows you to create completely custom Christmas pieces from functional dinnerware to decorative sculptures. Hand-thrown or hand-built ceramics develop unique character impossible to achieve with mass-produced items.
Functional pottery ideas:
- Christmas-themed mugs with carved holly designs
- Serving platters for holiday cookies
- Candle holders with cut-out star patterns
- Personalized ornaments with family names
Decorative options include miniature Christmas villages, nativity figures, and sculptural trees with textured surfaces. You can create matching sets for gift-giving or develop signature pieces for your own holiday table.
Clay preparation involves wedging to remove air bubbles that cause cracking during firing. Leather-hard clay accepts carving and detail work best, while wet clay allows for major shape modifications.
Glazing techniques produce various effects from matte earth tones to glossy metallic finishes. Layering different glazes creates unique color combinations perfect for holiday themes.
Firing schedules typically include bisque firing at cone 04 (1945°F) followed by glaze firing at cone 6 (2232°F) for stoneware. Plan 2-3 weeks from start to finished piece including drying time.
Frequently Asked Questions
Christmas crafting involves specific techniques, materials, and time-tested methods that beginners often wonder about. These common questions address practical concerns about starting projects, working with natural elements, and creating personalized holiday items.
What are some easy Christmas DIY projects for beginners?
Paper snowflakes make an excellent starting point for new crafters. You need only white paper and scissors to create intricate designs that look professionally made.
Mason jar luminaries require minimal supplies and produce beautiful results. Fill clean jars with battery-operated string lights, add some fake snow or pinecones, and wrap with burlap or ribbon.
Salt dough ornaments work well for beginners because the recipe uses basic kitchen ingredients. Mix two cups flour, one cup salt, and one cup water to create moldable dough for cookie-cutter shapes.
Pinecone Christmas trees need only pinecones, green paint, and small star toppers. Paint the pinecones, let them dry, and glue stars on top for instant mini trees.
Waterless snow globes offer another simple option that requires basic craft store supplies. These projects shake like traditional snow globes but eliminate the mess of water-filled versions.
How can I create a Christmas wreath using natural materials?
Start with a wire wreath frame from any craft store. These frames provide sturdy support for natural materials and come in various sizes.
Gather fresh evergreen branches like pine, fir, or cedar from your yard or local tree farm. Cut branches into 6-8 inch sections for easier handling.
Attach branches to the frame using thin floral wire. Work in one direction around the frame, overlapping each branch to hide the wire and create fullness.
Add natural accents like pinecones, dried berries, or seed pods. Wire these elements directly onto the evergreen base or use hot glue for lighter items.
Finish with a weather-resistant bow made from burlap, plaid ribbon, or natural jute. Position the bow at the bottom or top of the wreath depending on your preference.
What are the best techniques for crafting handmade Christmas ornaments?
Clear glass or plastic ornament balls work well for painted designs. Remove the metal cap, add a small amount of acrylic paint inside, and swirl to coat the interior evenly.
Felt ornaments require basic hand-stitching skills using blanket stitch or running stitch. Cut two identical shapes, sew around the edges, and stuff lightly with cotton batting.
Wood slice ornaments need thin tree branch cuts and basic woodworking tools. Sand the surface smooth, apply your design with paint or wood-burning tools, and drill a small hole for hanging.
Paper quilling creates delicate ornament designs using thin paper strips. Roll the strips into coils, pinch into shapes, and glue together to form snowflakes or flowers.
Beaded ornaments work best with memory wire that holds its shape. Thread beads in your chosen pattern, leaving loops at both ends for hanging hooks.
Can you provide steps for making a DIY advent calendar?
Choose your container system first. Small paper bags, matchboxes, or fabric pouches work well for holding daily treats or activities.
Number each container from 1 to 25 using stickers, stamps, or hand lettering. Make sure numbers are clearly visible and large enough to read easily.
Create a display method for your containers. Hang them on a wooden ladder, arrange in a Christmas tree shape on the wall, or place in a decorative basket.
Fill containers with age-appropriate items. Consider small candies, tea bags, mini toys, or written activities rather than expensive gifts.
Secure containers closed with clips, ribbons, or small stickers. This prevents contents from spilling while maintaining the surprise element for each day.
What materials are essential for starting Christmas-themed scrapbooking?
Quality cardstock in Christmas colors forms the foundation of your pages. Choose deep reds, forest greens, gold, and cream for traditional holiday themes.
Patterned papers with Christmas motifs add visual interest. Look for designs featuring snowflakes, plaid patterns, vintage Santa images, or winter scenes.
Acid-free adhesives prevent photos from deteriorating over time. Use photo-safe glue sticks, double-sided tape, or mounting squares designed for scrapbooking.
Holiday-themed embellishments enhance your page designs. Stock up on Christmas stickers, ribbon, buttons, and die-cut shapes.
Archival quality photo albums or scrapbooks protect your finished pages. Choose albums with acid-free pages and sturdy binding that will last for years.
How do I make personalized Christmas stockings using sewing or knitting methods?
For sewn stockings, create a paper pattern first by tracing an existing stocking or drawing your own design. Add one-inch seam allowances around all edges.
Cut two pieces of fabric using your pattern. Choose festive fabrics like velvet, corduroy, or cotton prints in Christmas colors.
Sew the pieces together with right sides facing, leaving the top opening unsewn. Trim seams and clip curves to reduce bulk when turned right-side out.
Add a hanging loop by cutting a small strip of matching fabric, folding it in half, and sewing it inside the top back seam.
For knitted stockings, cast on stitches for the cuff width and work in ribbing for flexibility. Switch to stockinette stitch for the leg portion, then shape the heel using short rows or heel flap techniques.
Create the foot by picking up stitches around the heel and decreasing gradually toward the toe. Finish with a standard toe decrease and weave in all loose ends securely.